
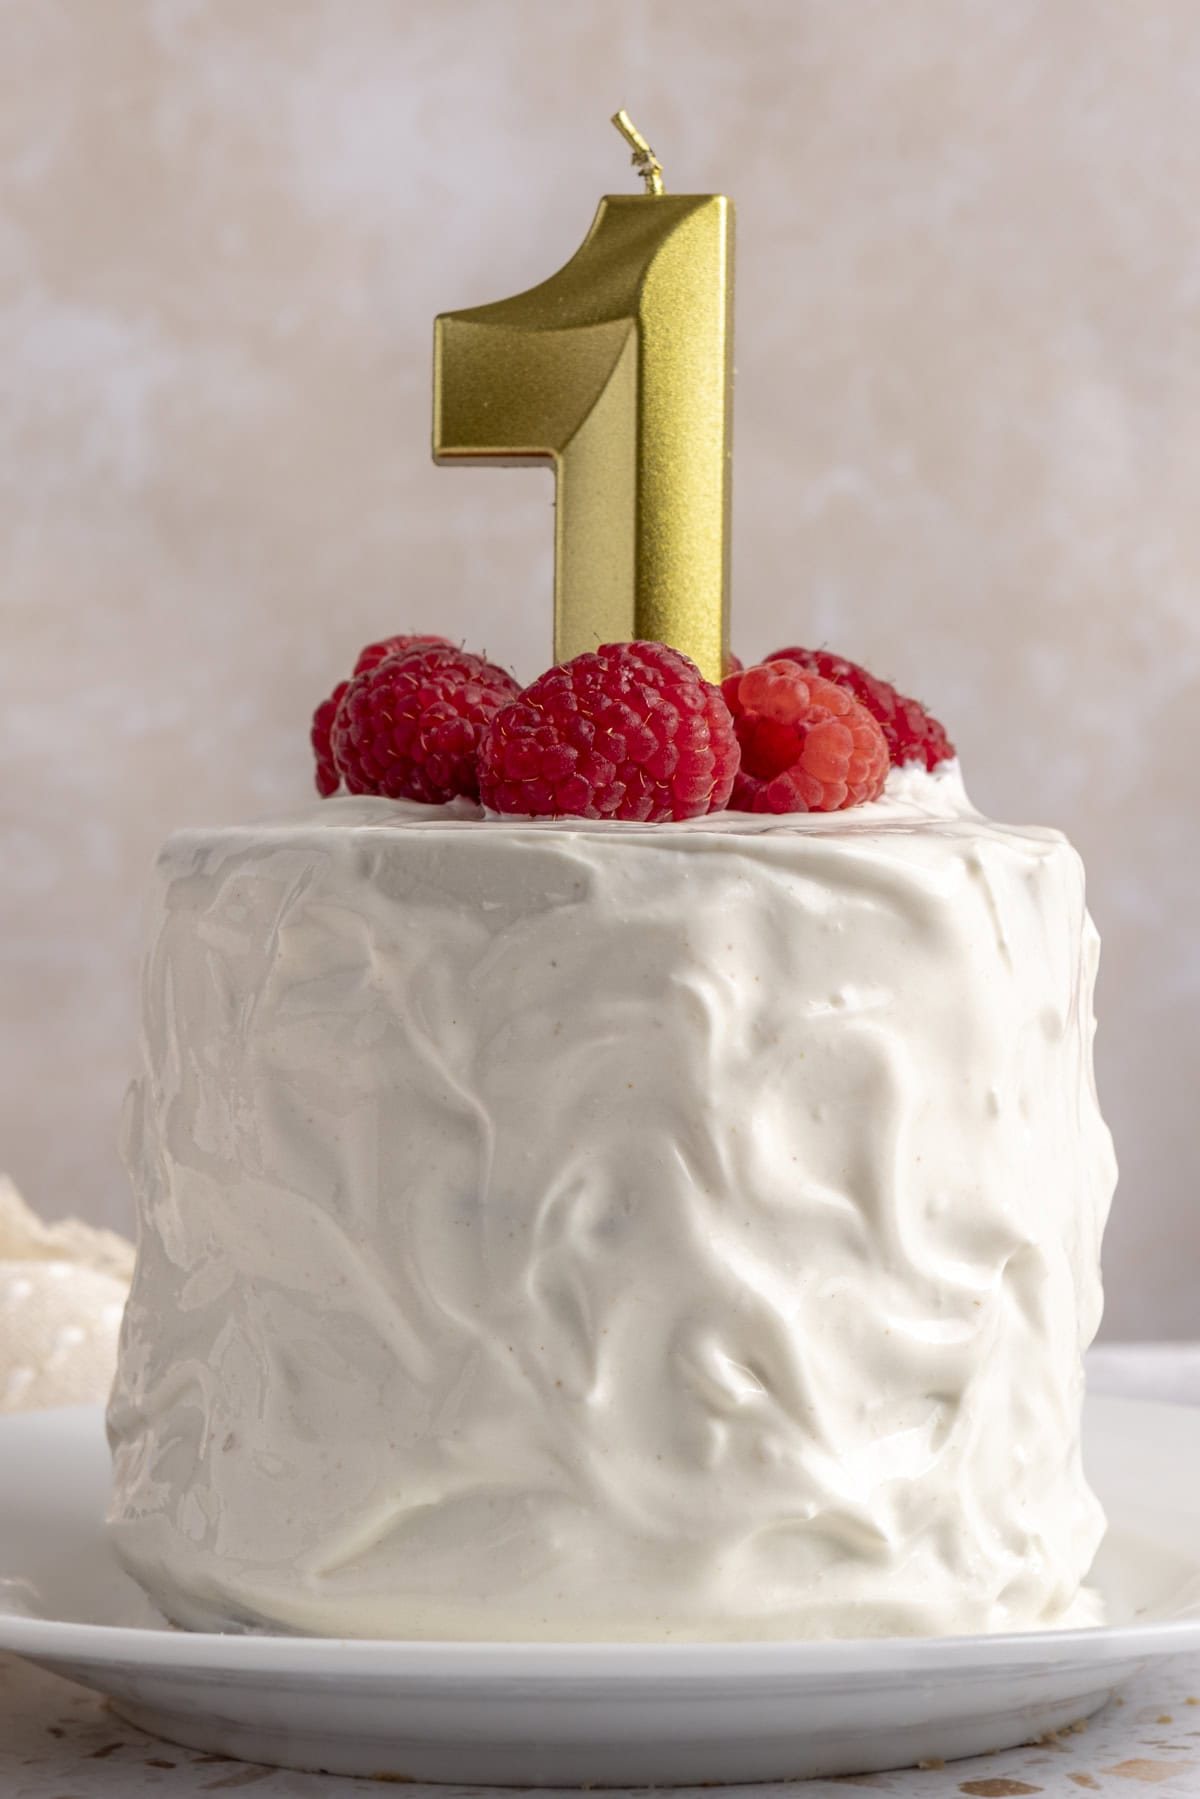
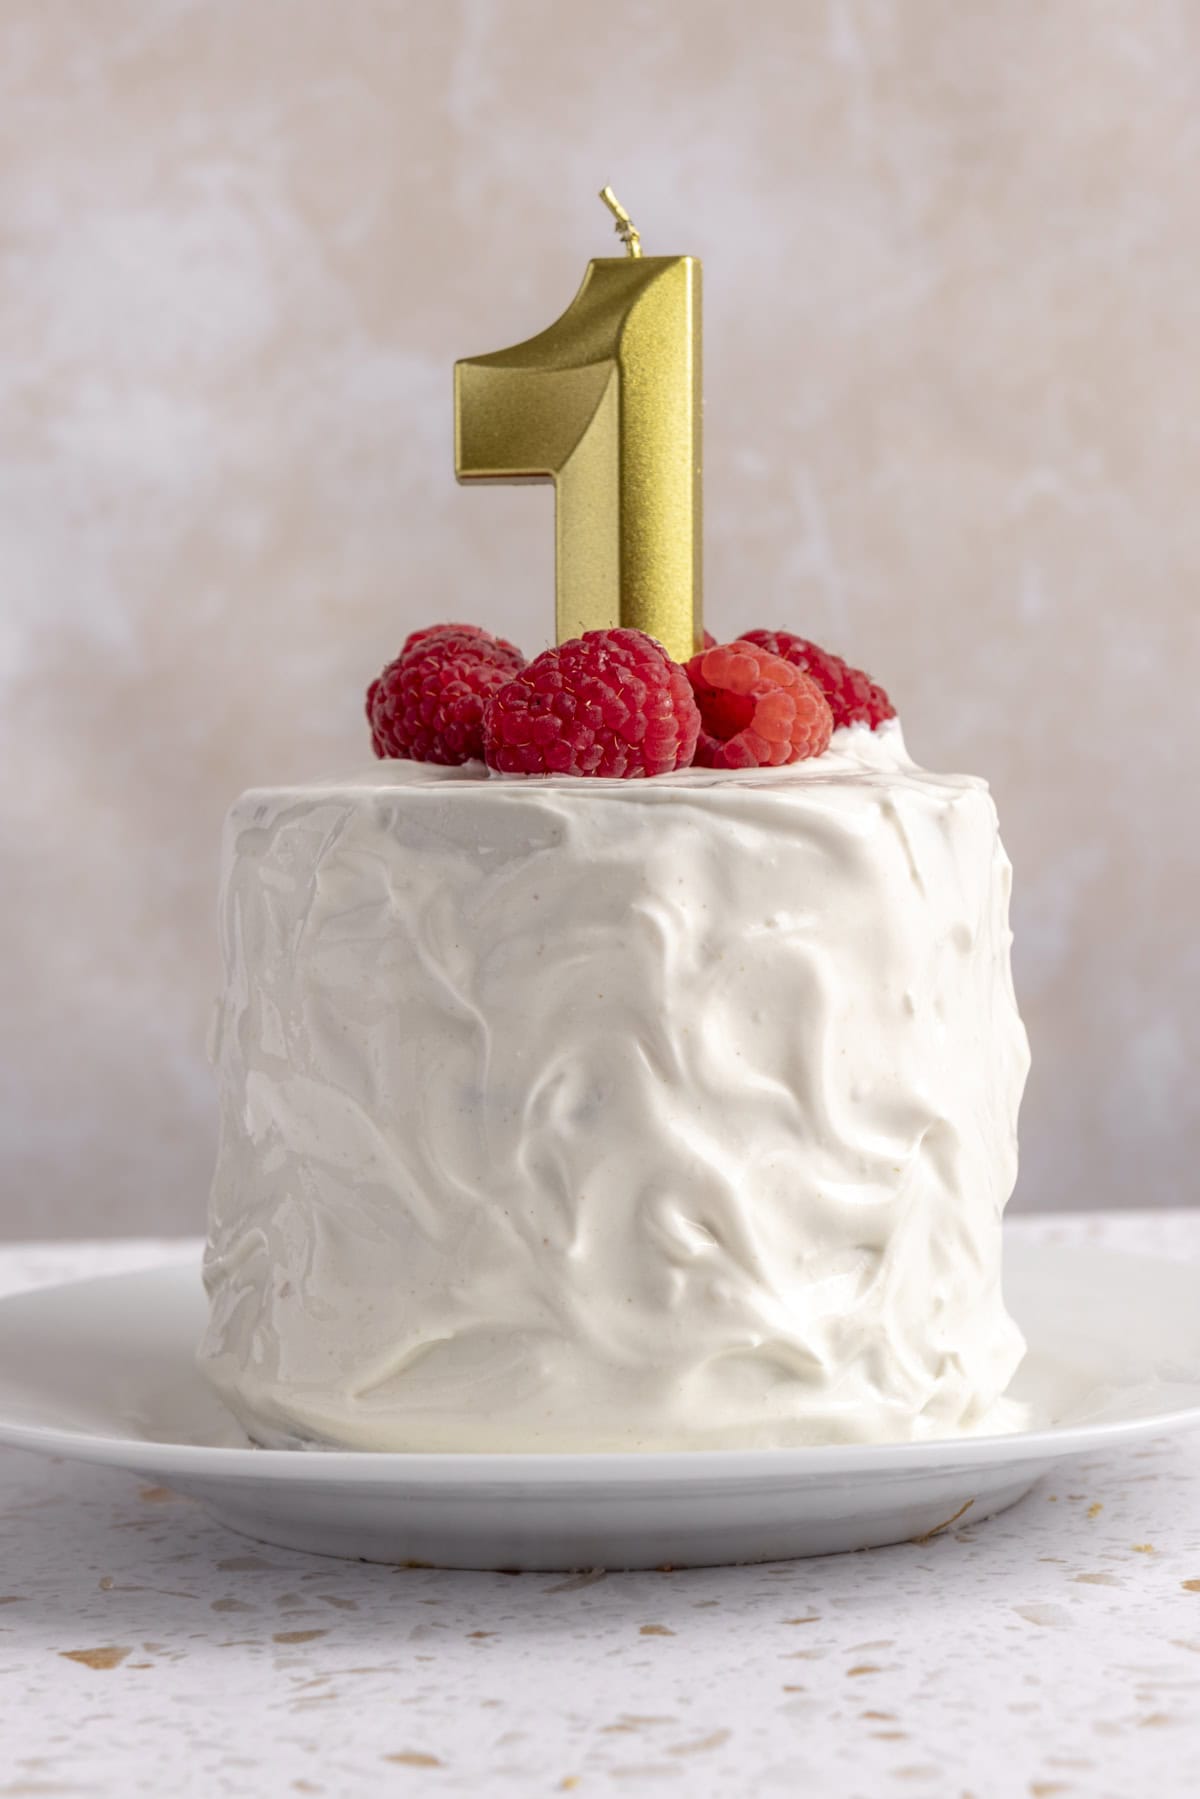
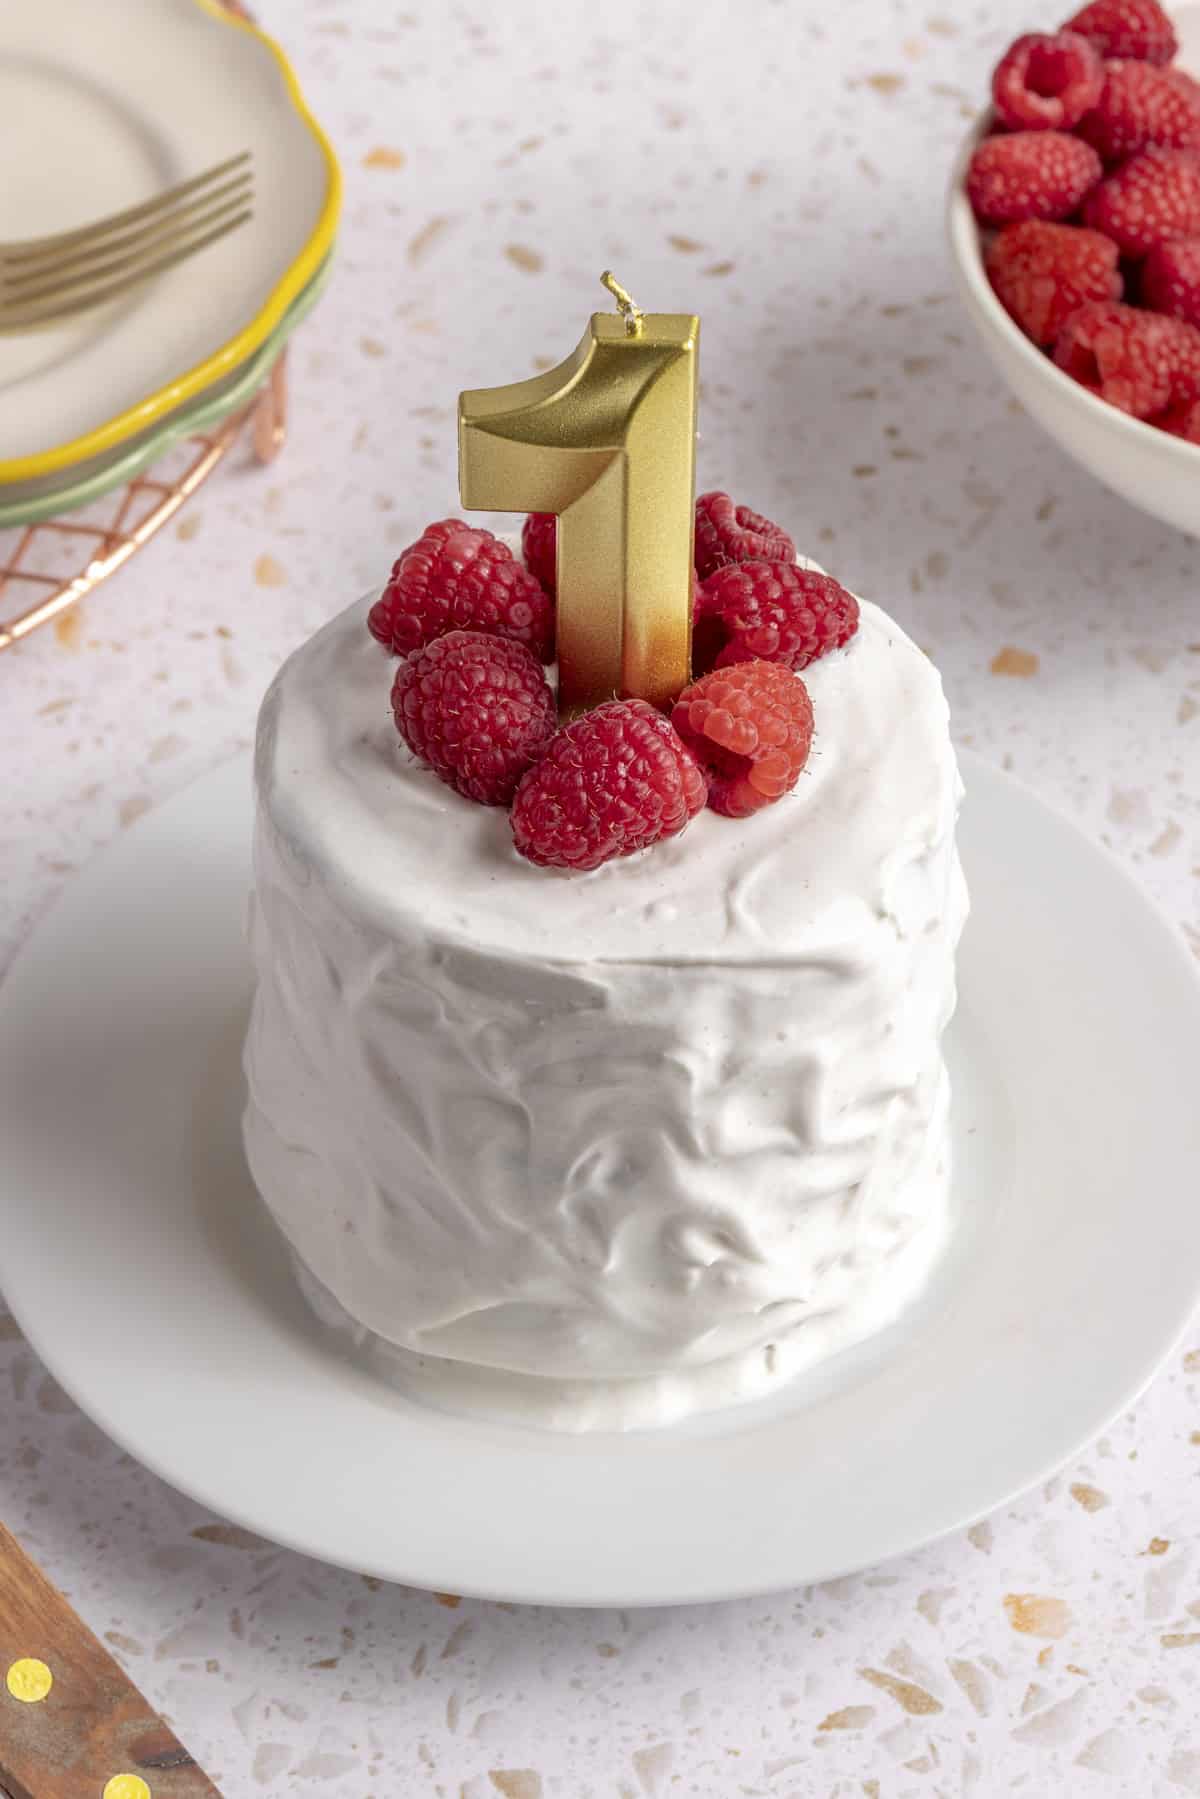
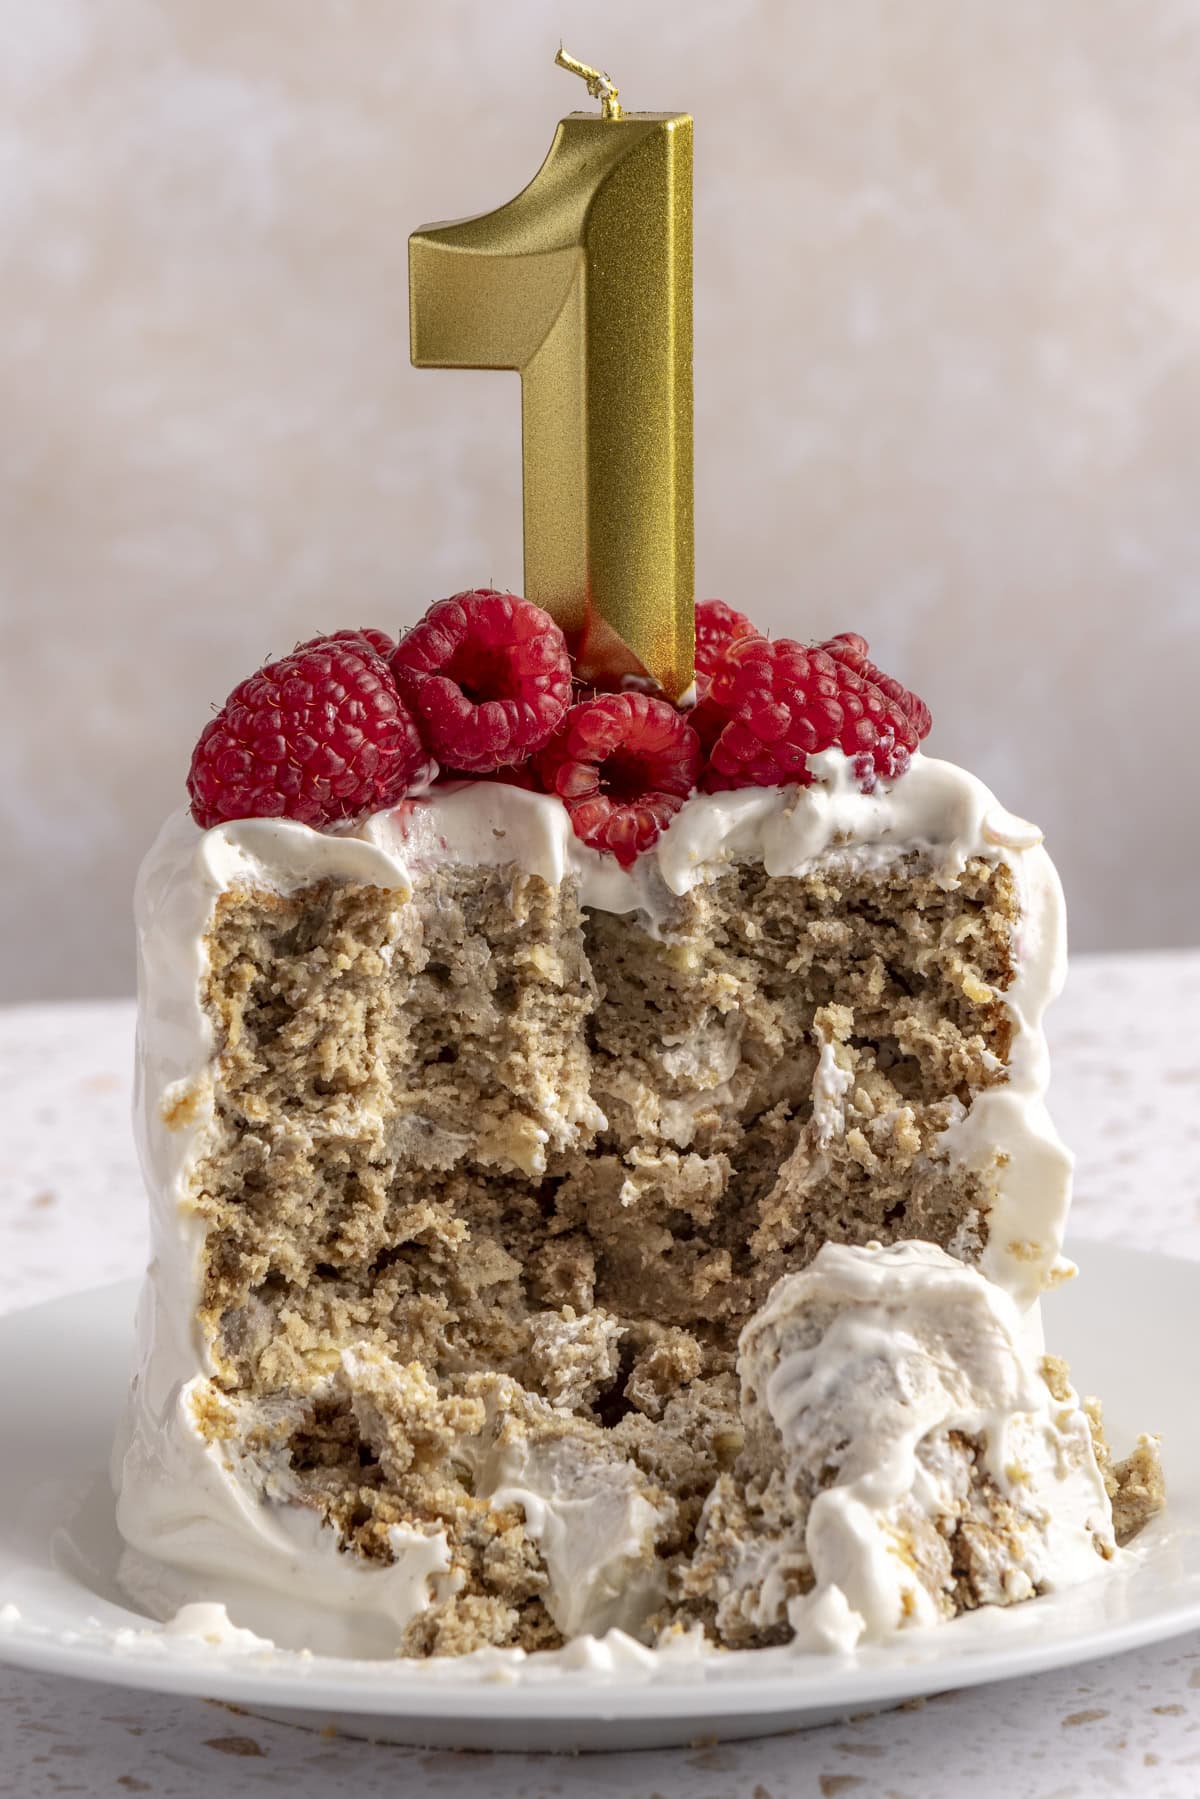
I still can’t believe my baby turned 1 this month — this first year flew by way too fast! With it being such a special milestone, I figured what better way to celebrate than with this First Birthday Smash Cake?
It took me a couple of tries to perfect the recipe, but it turned out so good (as confirmed by Hayes; watch here – he loves it!). It’s naturally sweetened, refined sugar-free, and made with wholesome ingredients you’ll feel good about serving. It’s also gluten-free and easy to make dairy-free, too!
Perfect for little hands (and big messes!), this healthy smash cake recipe is soft, moist, and made without any added sugar — using ripe bananas and unsweetened applesauce as natural sweeteners. Whether you’re planning a cake smash photoshoot or just want a baby-friendly first birthday cake that’s gentle on little tummies, this easy recipe checks all the boxes for a sweet, simple, and nourishing celebration.
Why You’ll Love This Healthy Smash Cake
Made with clean, nutrient-rich ingredients that are all naturally sweet and easy to digest for babies — like the ripe bananas, unsweetened applesauce, and oat flour — it’s a cake you’ll be proud to serve your little one.
Bananas provide potassium and fiber, applesauce adds natural moisture and gentle sweetness, and oat flour is a great whole-grain option that’s gluten-free (I like Bob’s Red Mill GF Oat Flour). You’ll also get healthy fats from peanut butter (or sunflower seed butter for a nut-free alternative) and a creamy texture thanks to full-fat coconut milk or whole milk.
This no sugar cake for baby’s first birthday can easily be made gluten-free and dairy-free (substitutions listed below), making it a flexible, allergy-friendly choice. A major win for parents who want to serve something festive without compromising on nutrition or ingredient quality.
A Smash Cake Recipe Parents Can Trust
As a dietitian and mom, it’s really important to me to use real, whole food ingredients and limit added sugars in his diet (you guys know me 😊). So, I wanted to create a smash cake recipe that felt just as special as a traditional cake, but without the sugar crash. Soo, for the icing, I used protein-rich, plain, whole milk Greek yogurt (but I included a more flavorful option in the ingredients), and Hayesie was obsessed.
After all the taste-testing between Bridge and I too, it’s safe to say this refined sugar-free smash cake recipe is perfect for introducing your baby to cake in a gentle, wholesome way.
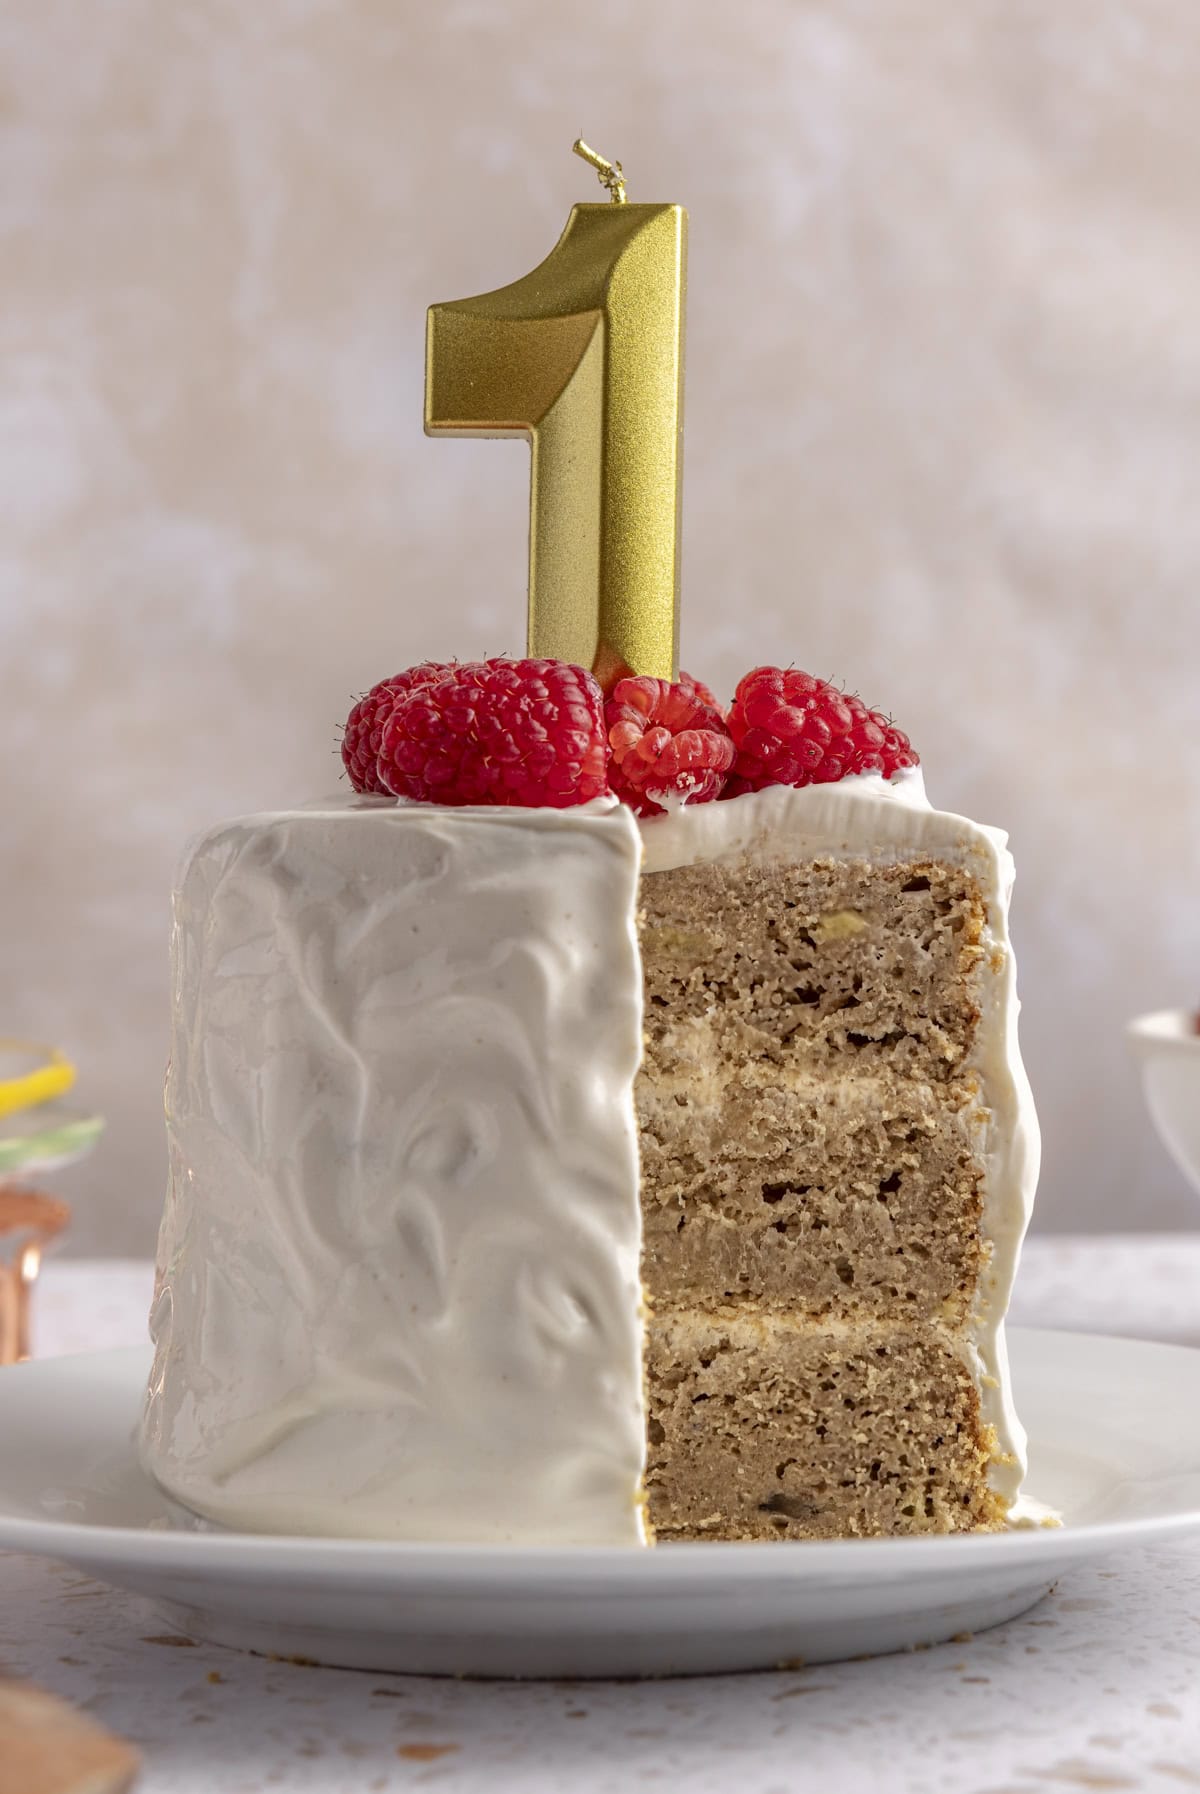
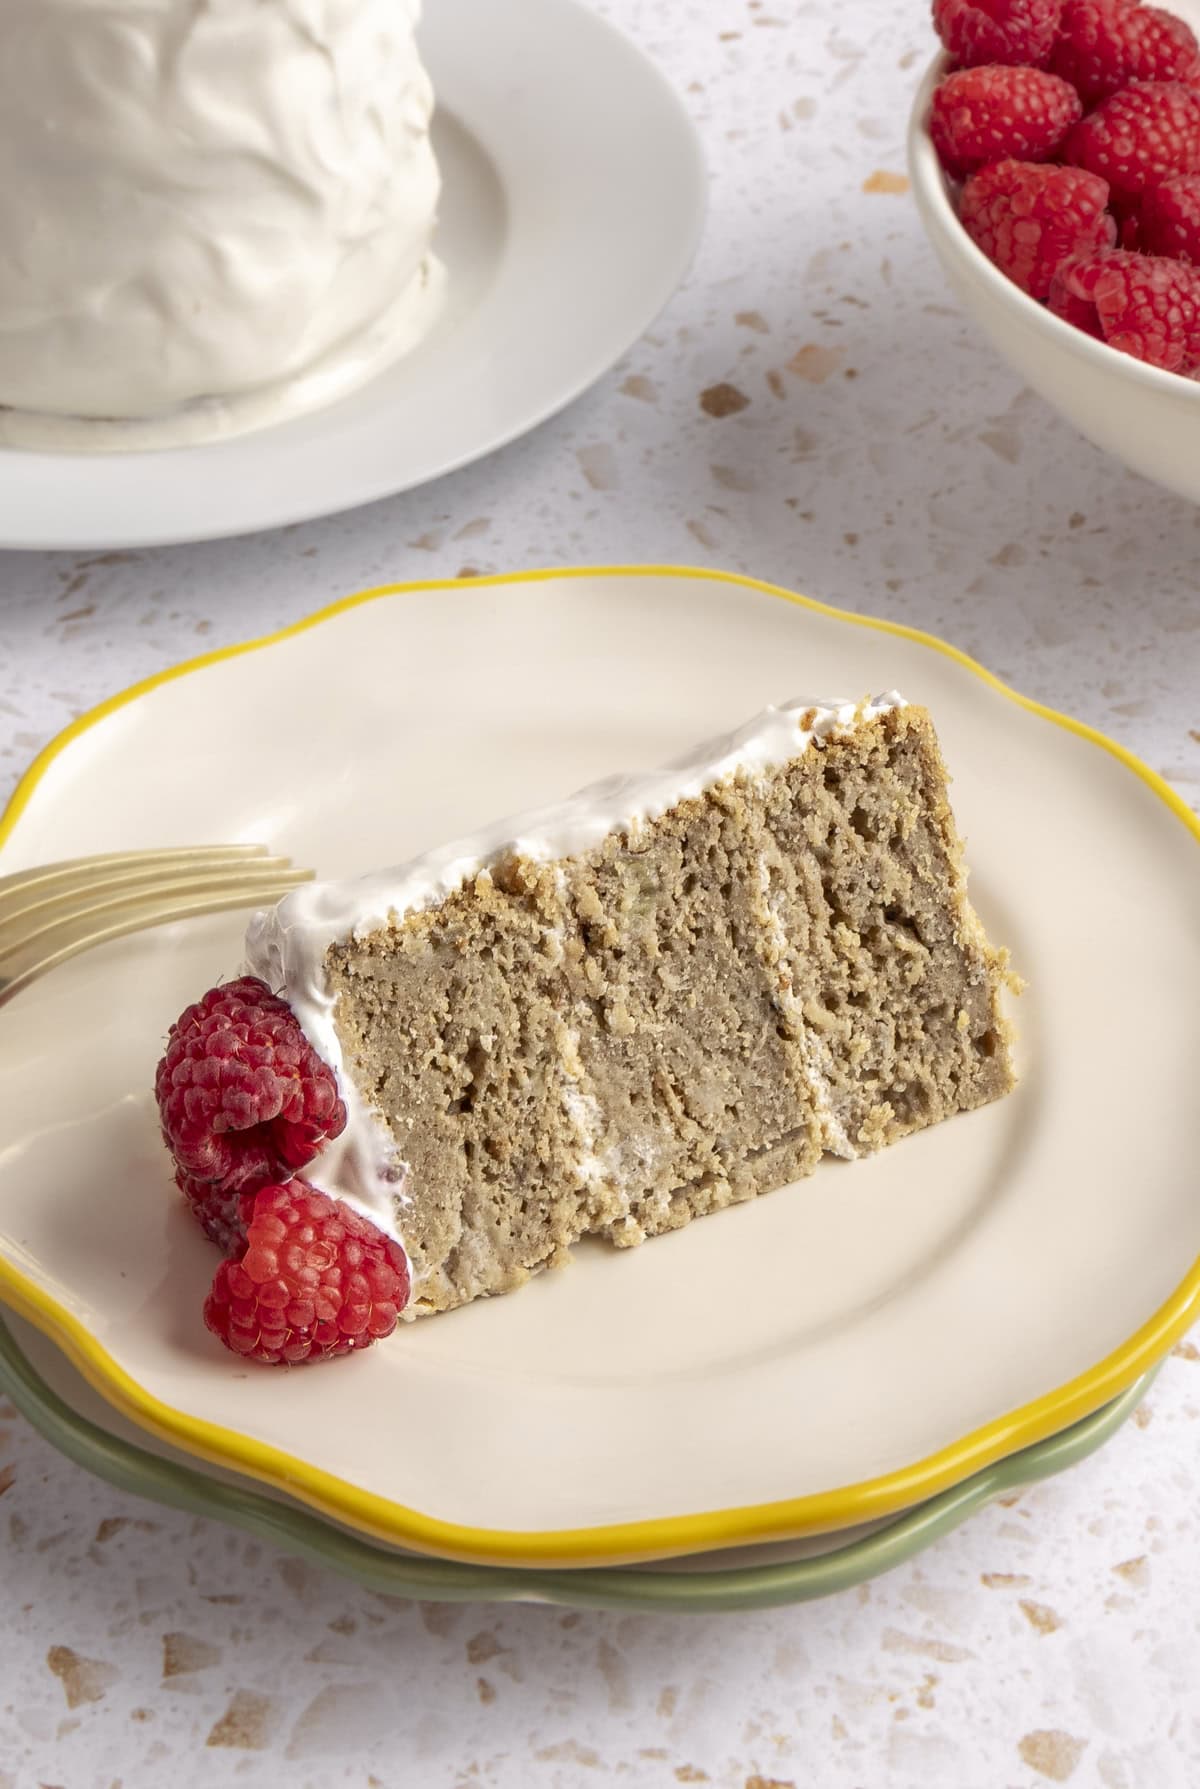
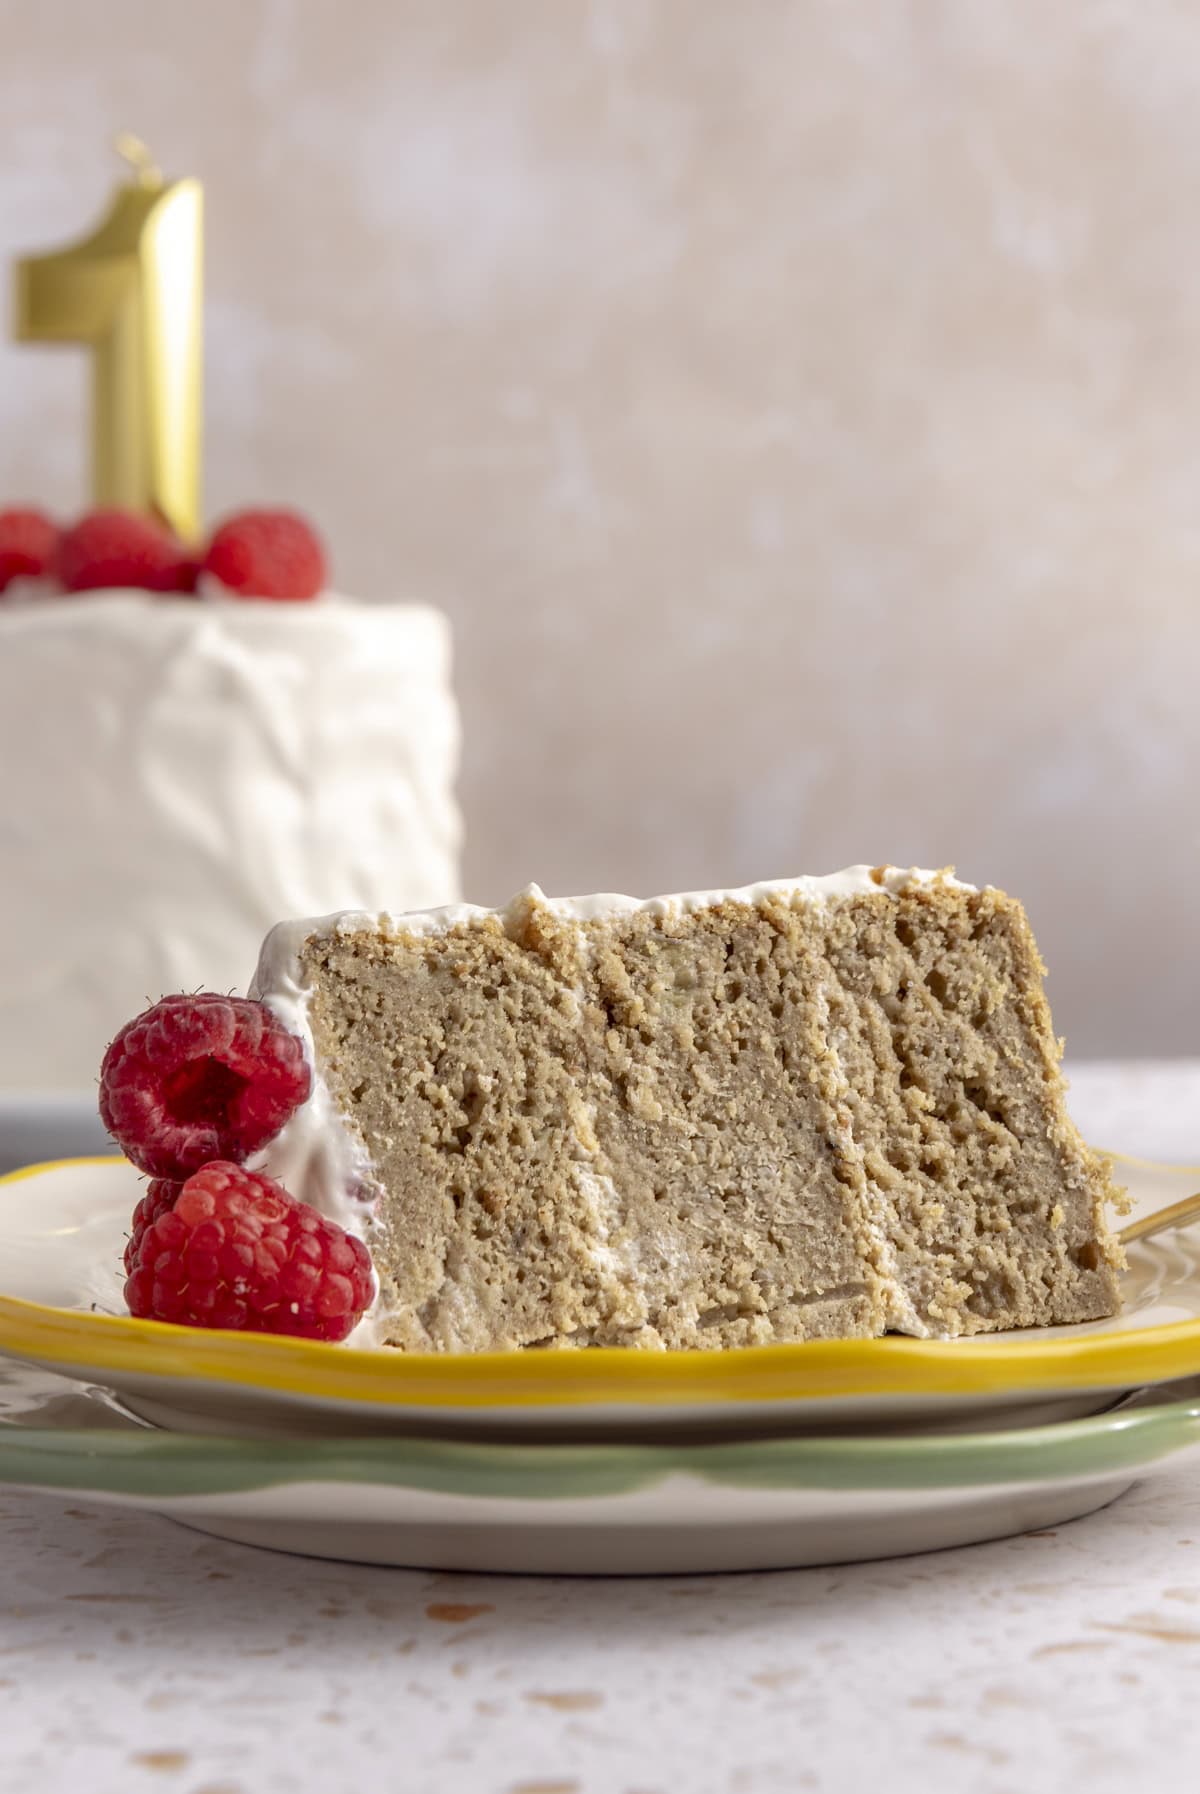
It’s naturally sweet, and you’ll still get that soft, fluffy texture thanks to the mashed banana, applesauce and egg combo. With the option to use almond flour and coconut flour if you prefer a grain-free version (which I tested and was good, but not as fluffy as the oat flour), and coconut yogurt and milk options to keep it creamy but dairy-free, you can’t go wrong.
Whether you’re baking this for a party, a first birthday cake photoshoot, or just to mark the big day at home, it’s a recipe that’s as nutritious as it is fun to smash — and honestly, just as cute. A cake that babies, and parents, will love. Don’t forget to tag me on IG when you make it!
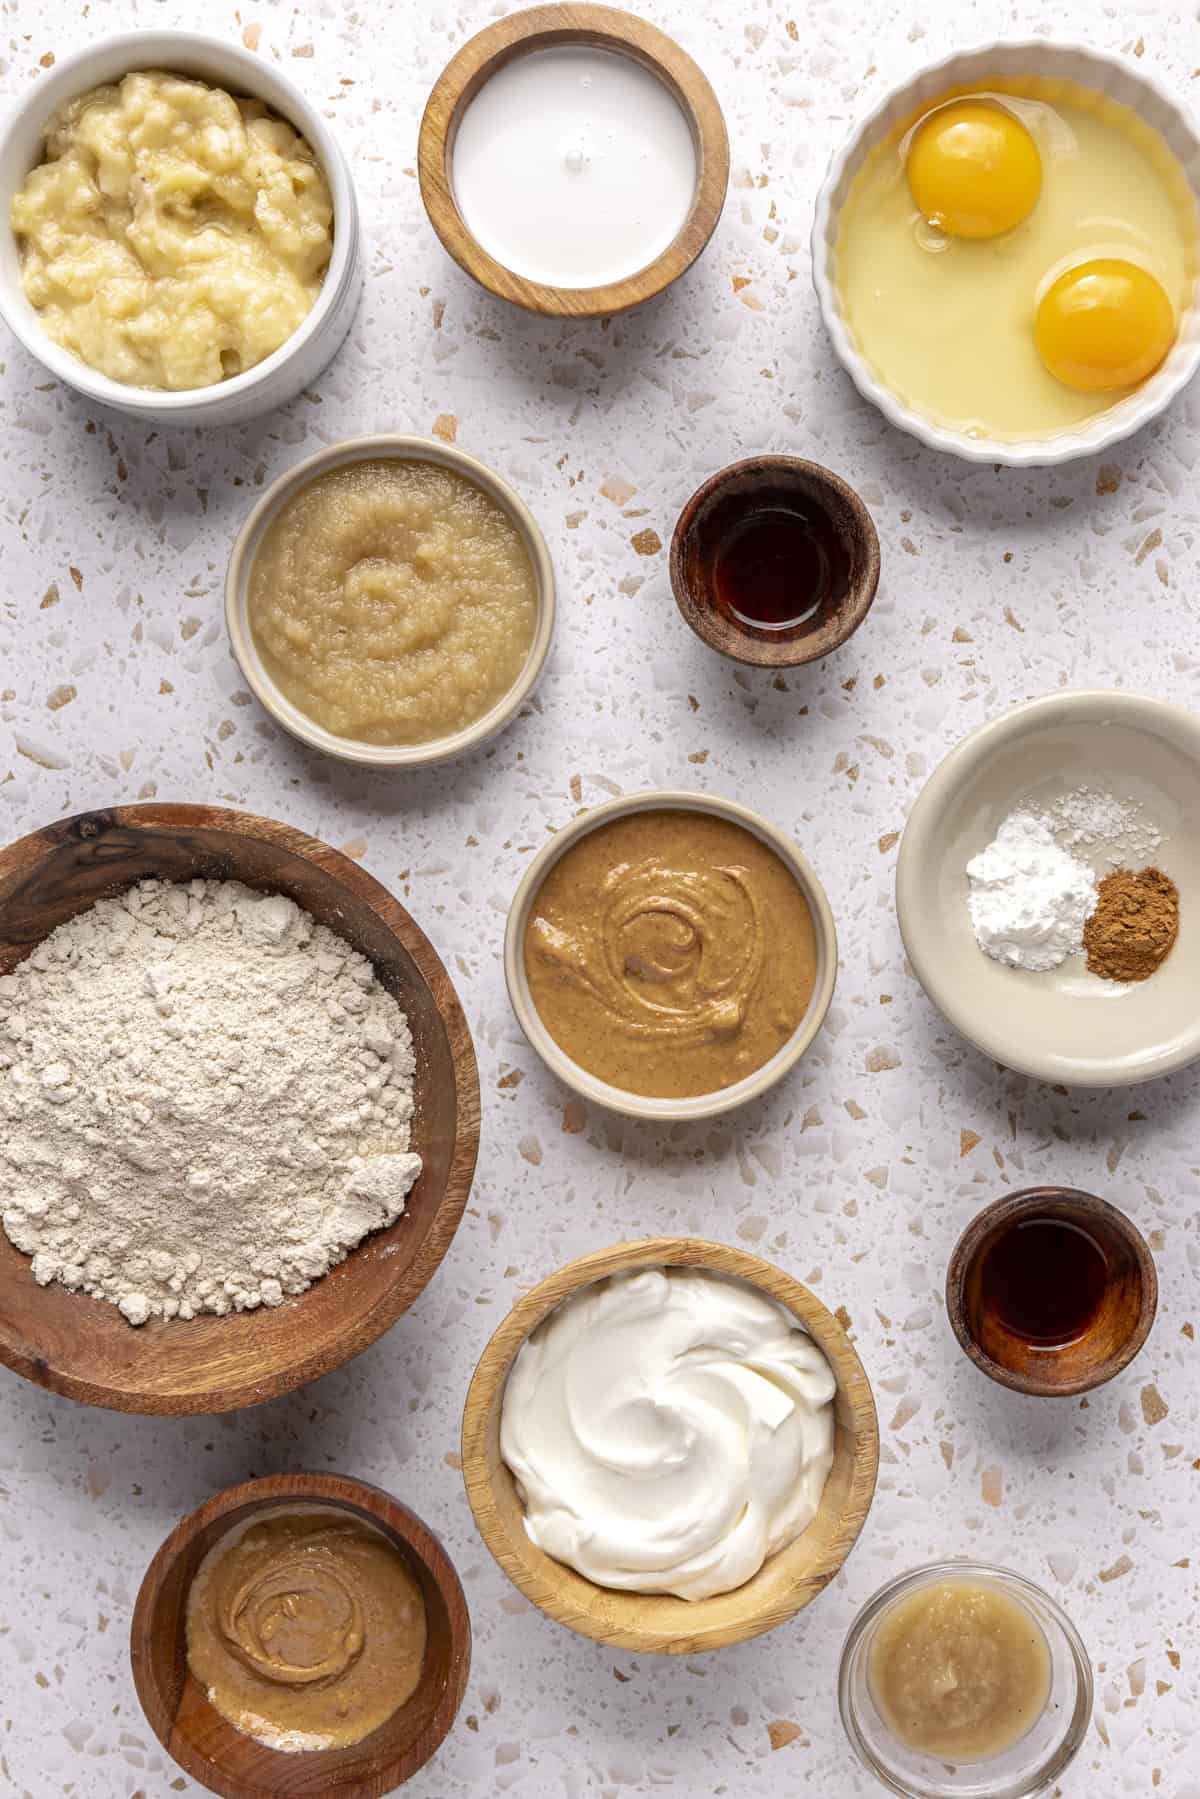
INGREDIENTS YOU’LL NEED:
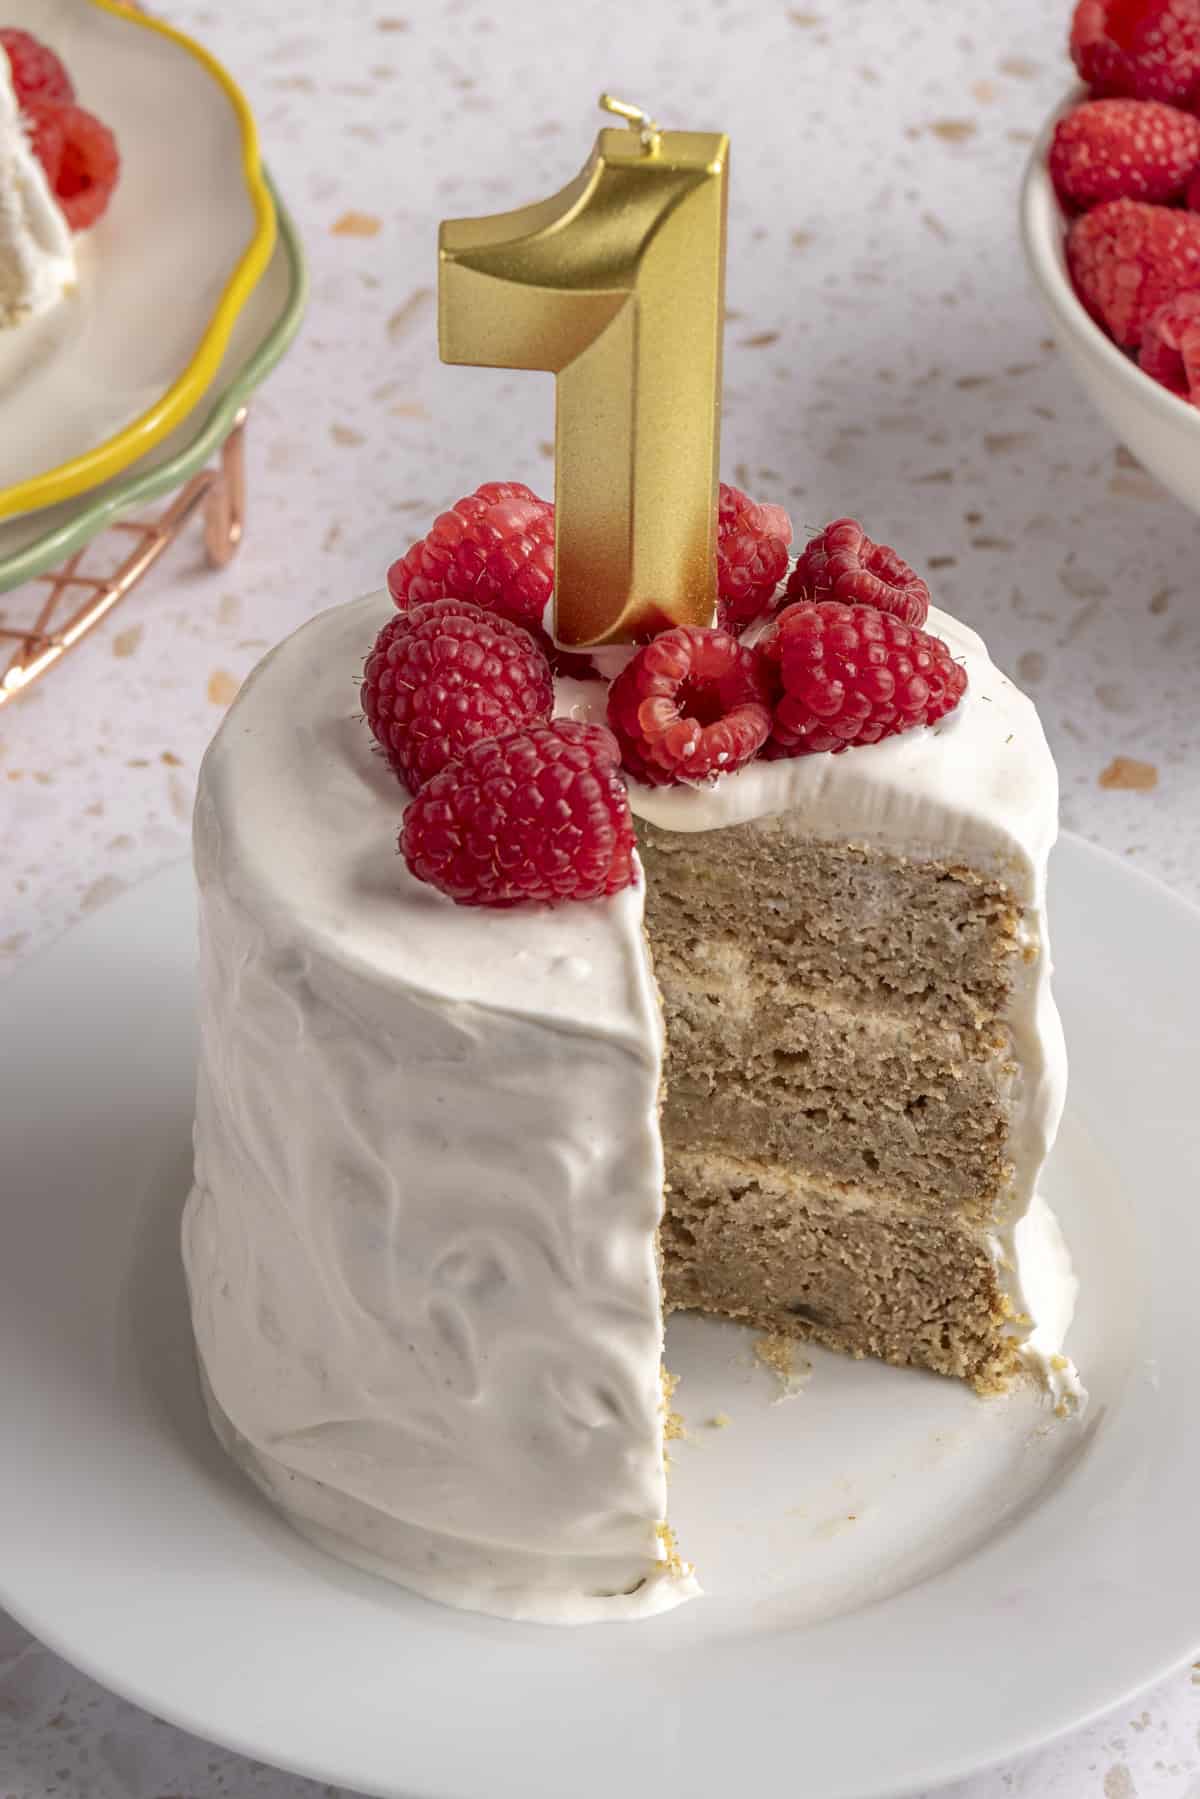
*Note: this makes a three-layer, 4-inch cake
For the cake:
- Ripe bananas
- Unsweetened applesauce
- Peanut butter (ingredients should be just peanuts + salt), or substitute sunflower seed butter
- Eggs
- Full-fat coconut milk (or whole milk)
- Vanilla extract
- Oat flour (I like Bob’s Red Mill GF Oat Flour, or use almond flour + coconut flour)
- Baking powder
- Cinnamon
- Sea salt
For the frosting:
- Full-fat Greek yogurt (or coconut yogurt for dairy-free)
- Peanut butter (ingredients should be just peanuts + salt)
- Unsweetened applesauce (optional for sweetness)
- Vanilla extract
Toppings:
- Fresh raspberries (or favorite fruit), to line the outside
HOW TO MAKE THIS FIRST BIRTHDAY SMASH CAKE
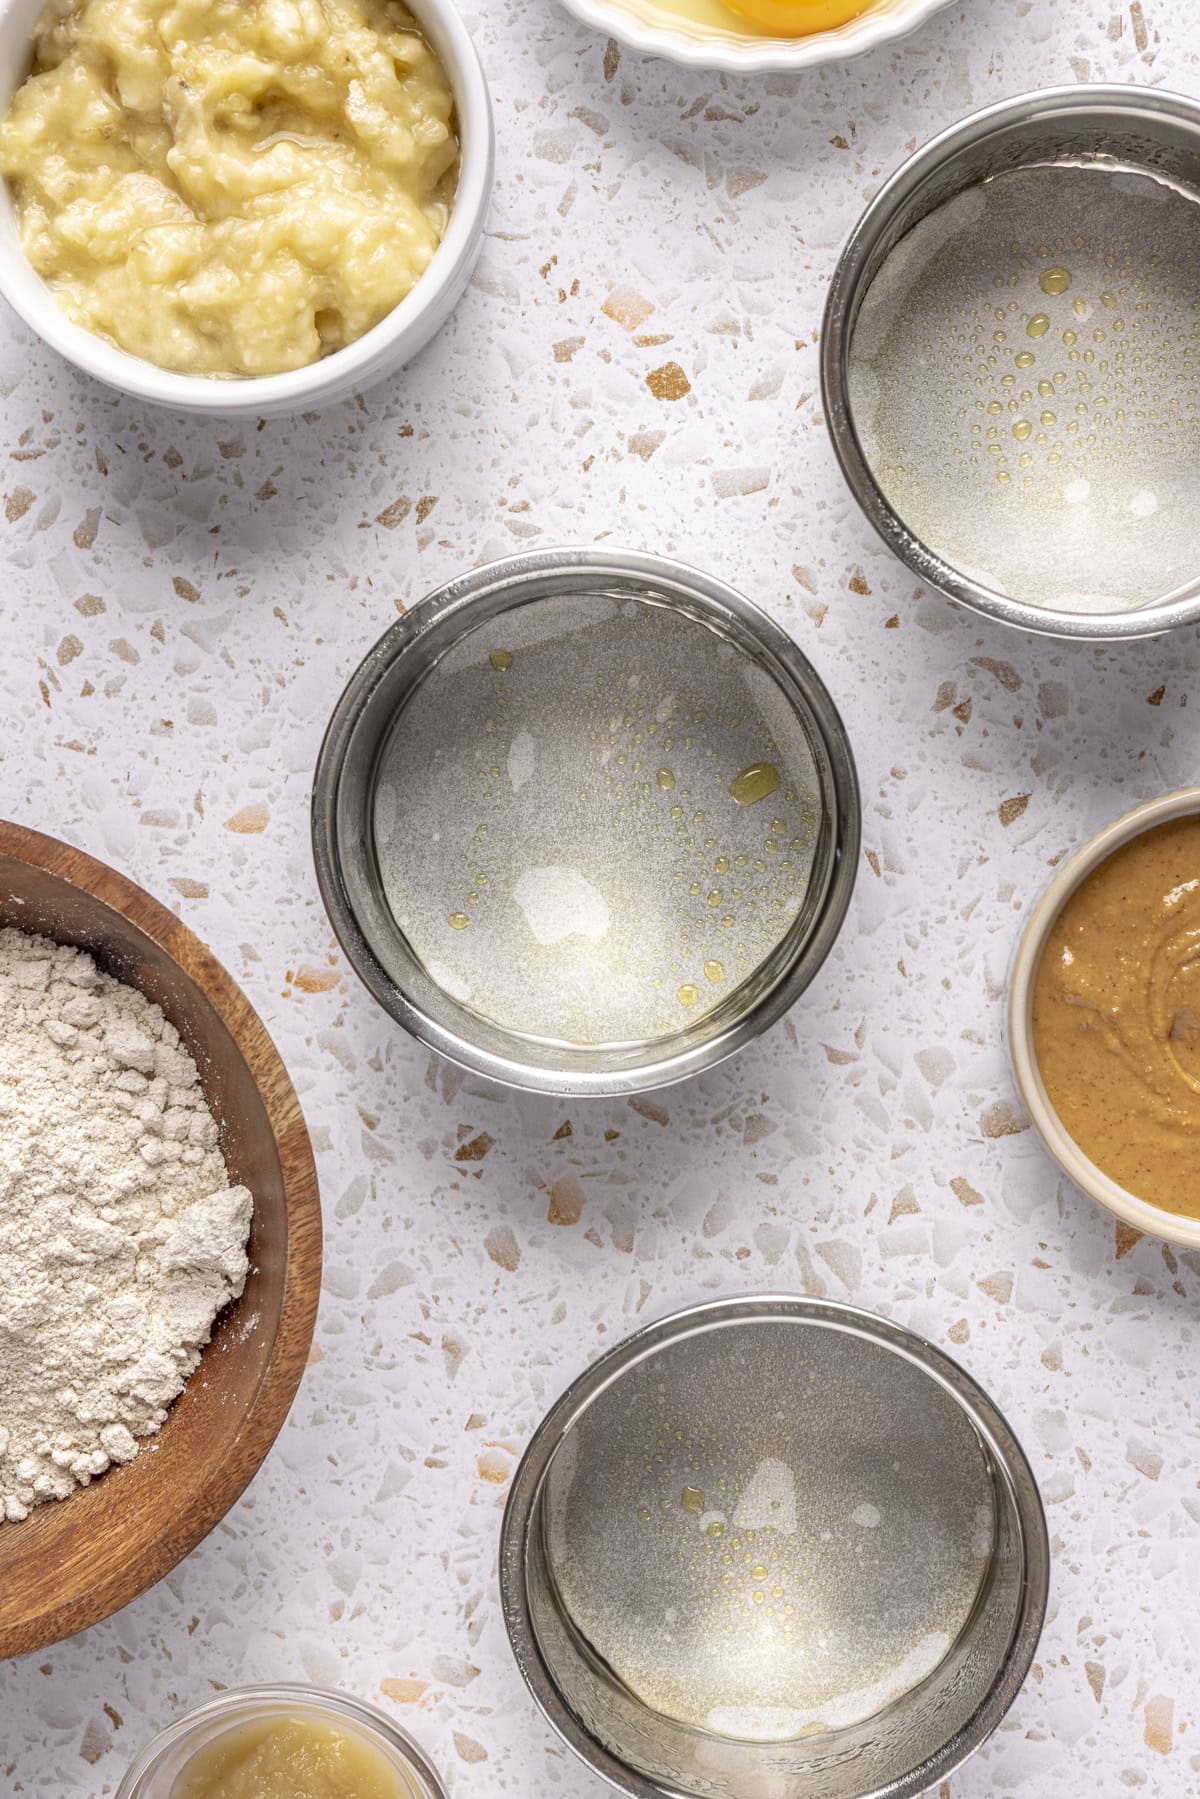
Preheat the oven to 325°F. Grease and line three 4-inch cake pans (buy on Amazon HERE!) with parchment rounds. To make parchment rounds, simply trace the bottom of your cake pans onto a sheet of parchment paper, then cut along the lines with scissors. Place each round into the bottom of the greased pans to prevent sticking and make for easy release once baked.
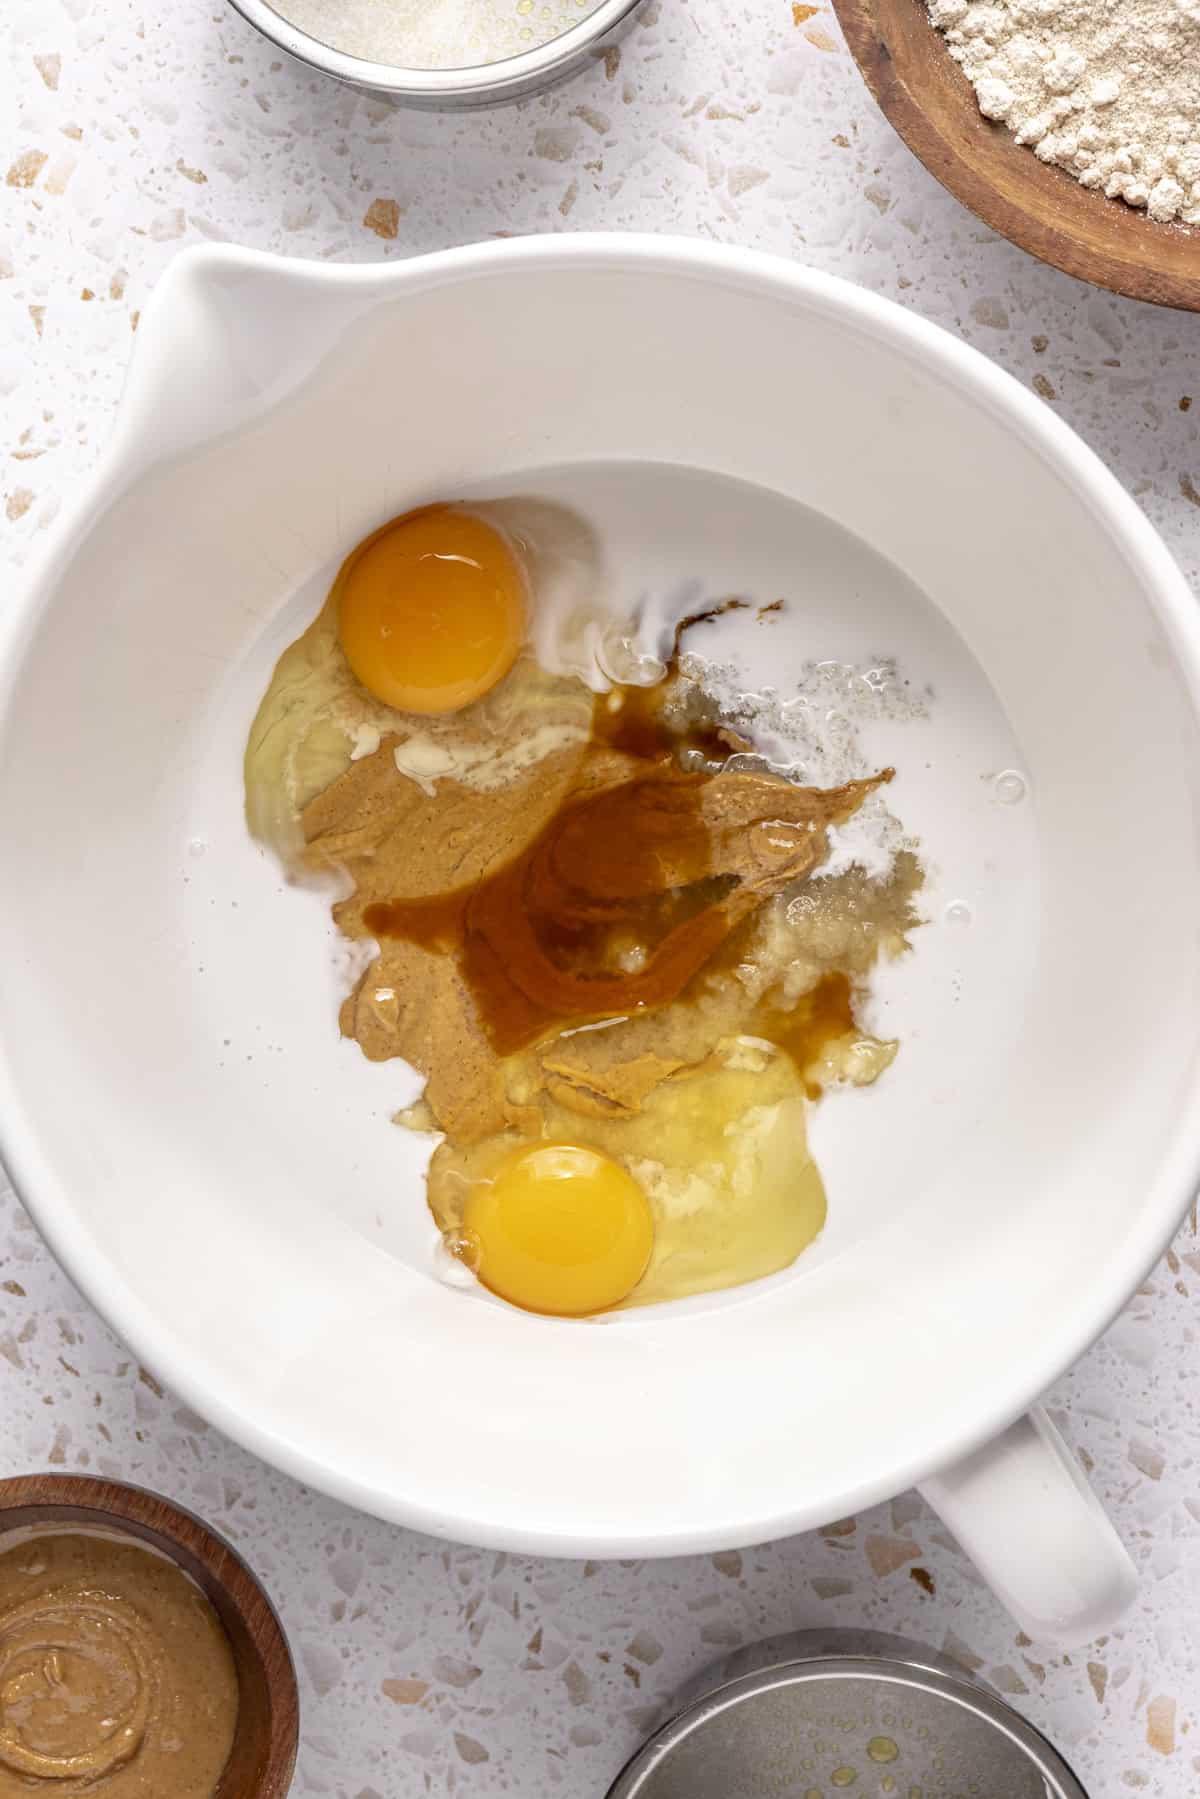
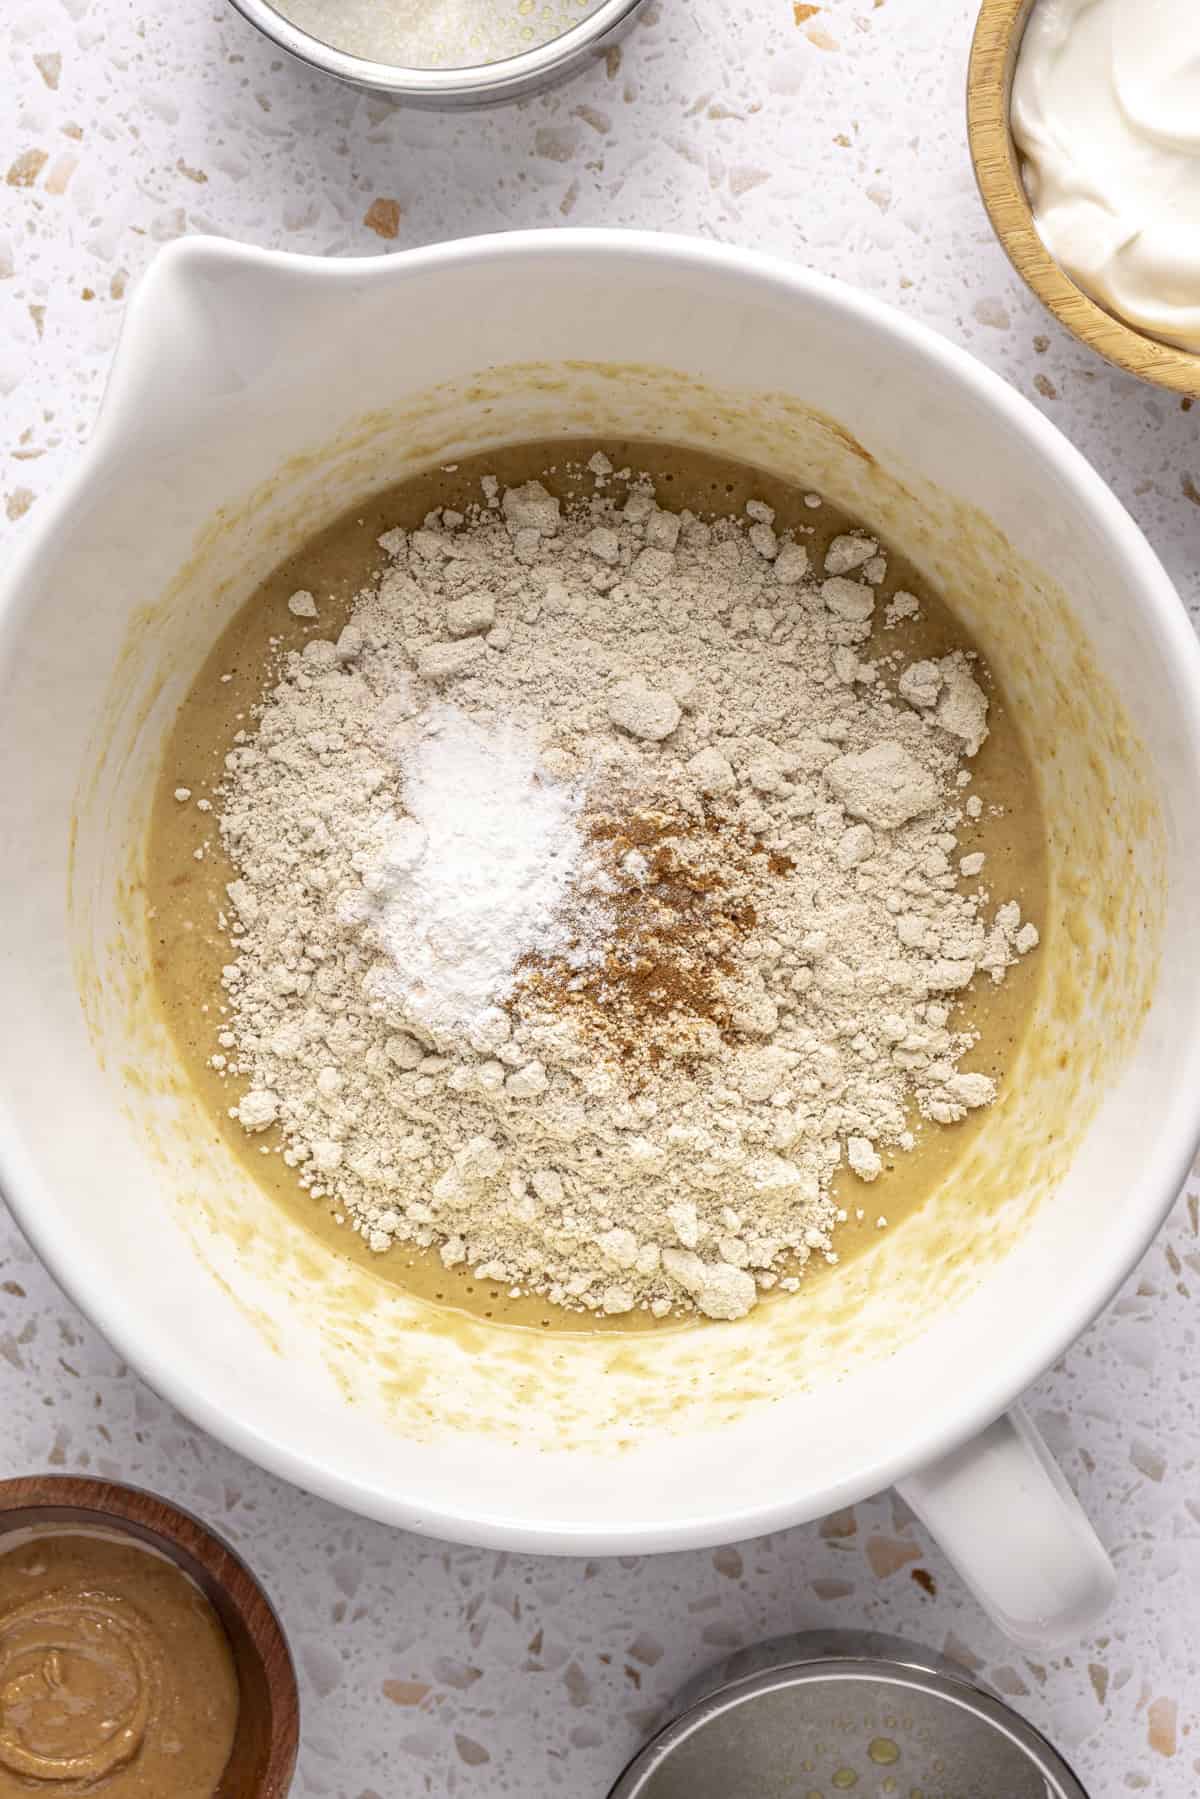
Mash the bananas in a mixing bowl. Stir in applesauce, peanut butter, eggs, milk, and vanilla.
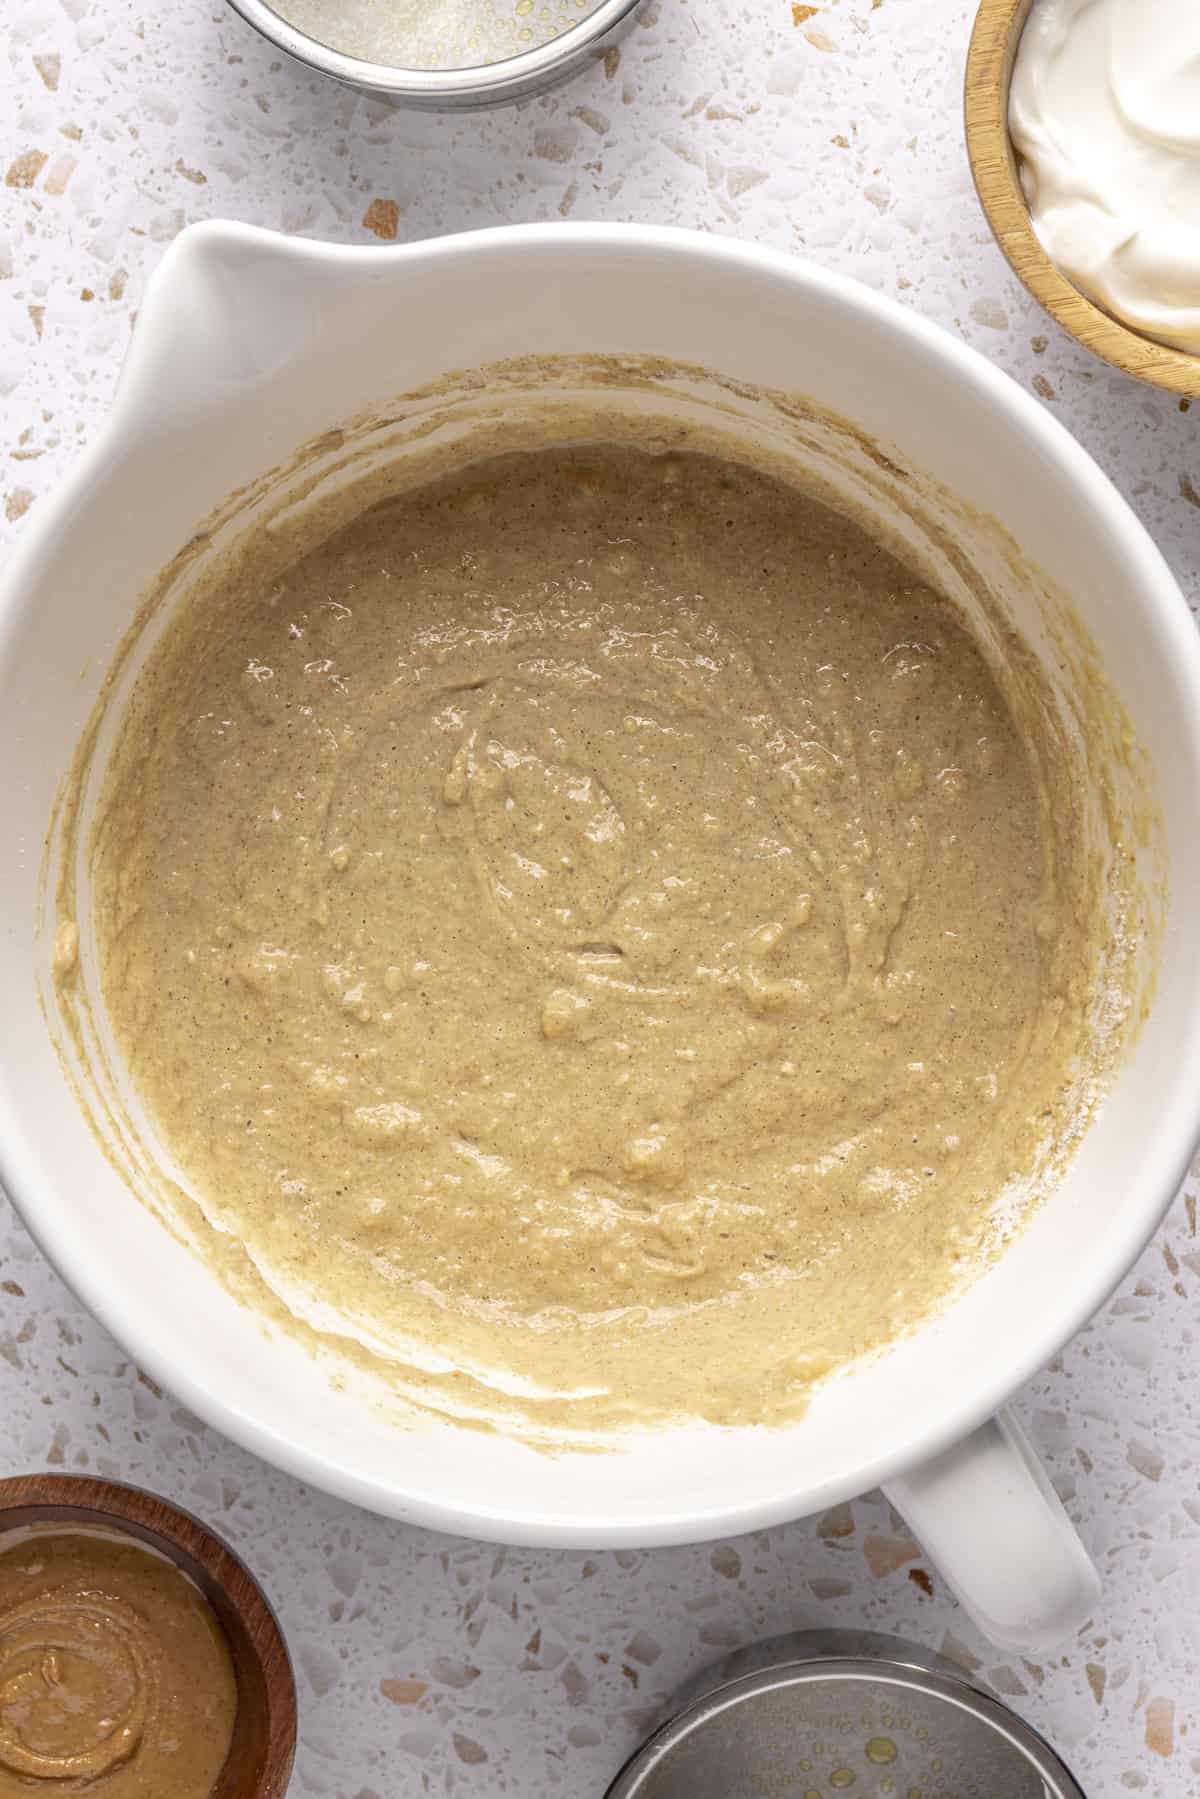
Add oat flour, baking powder, cinnamon, and salt. Mix just until combined.
Let the batter rest for 5–10 minutes so the oat flour can absorb moisture.
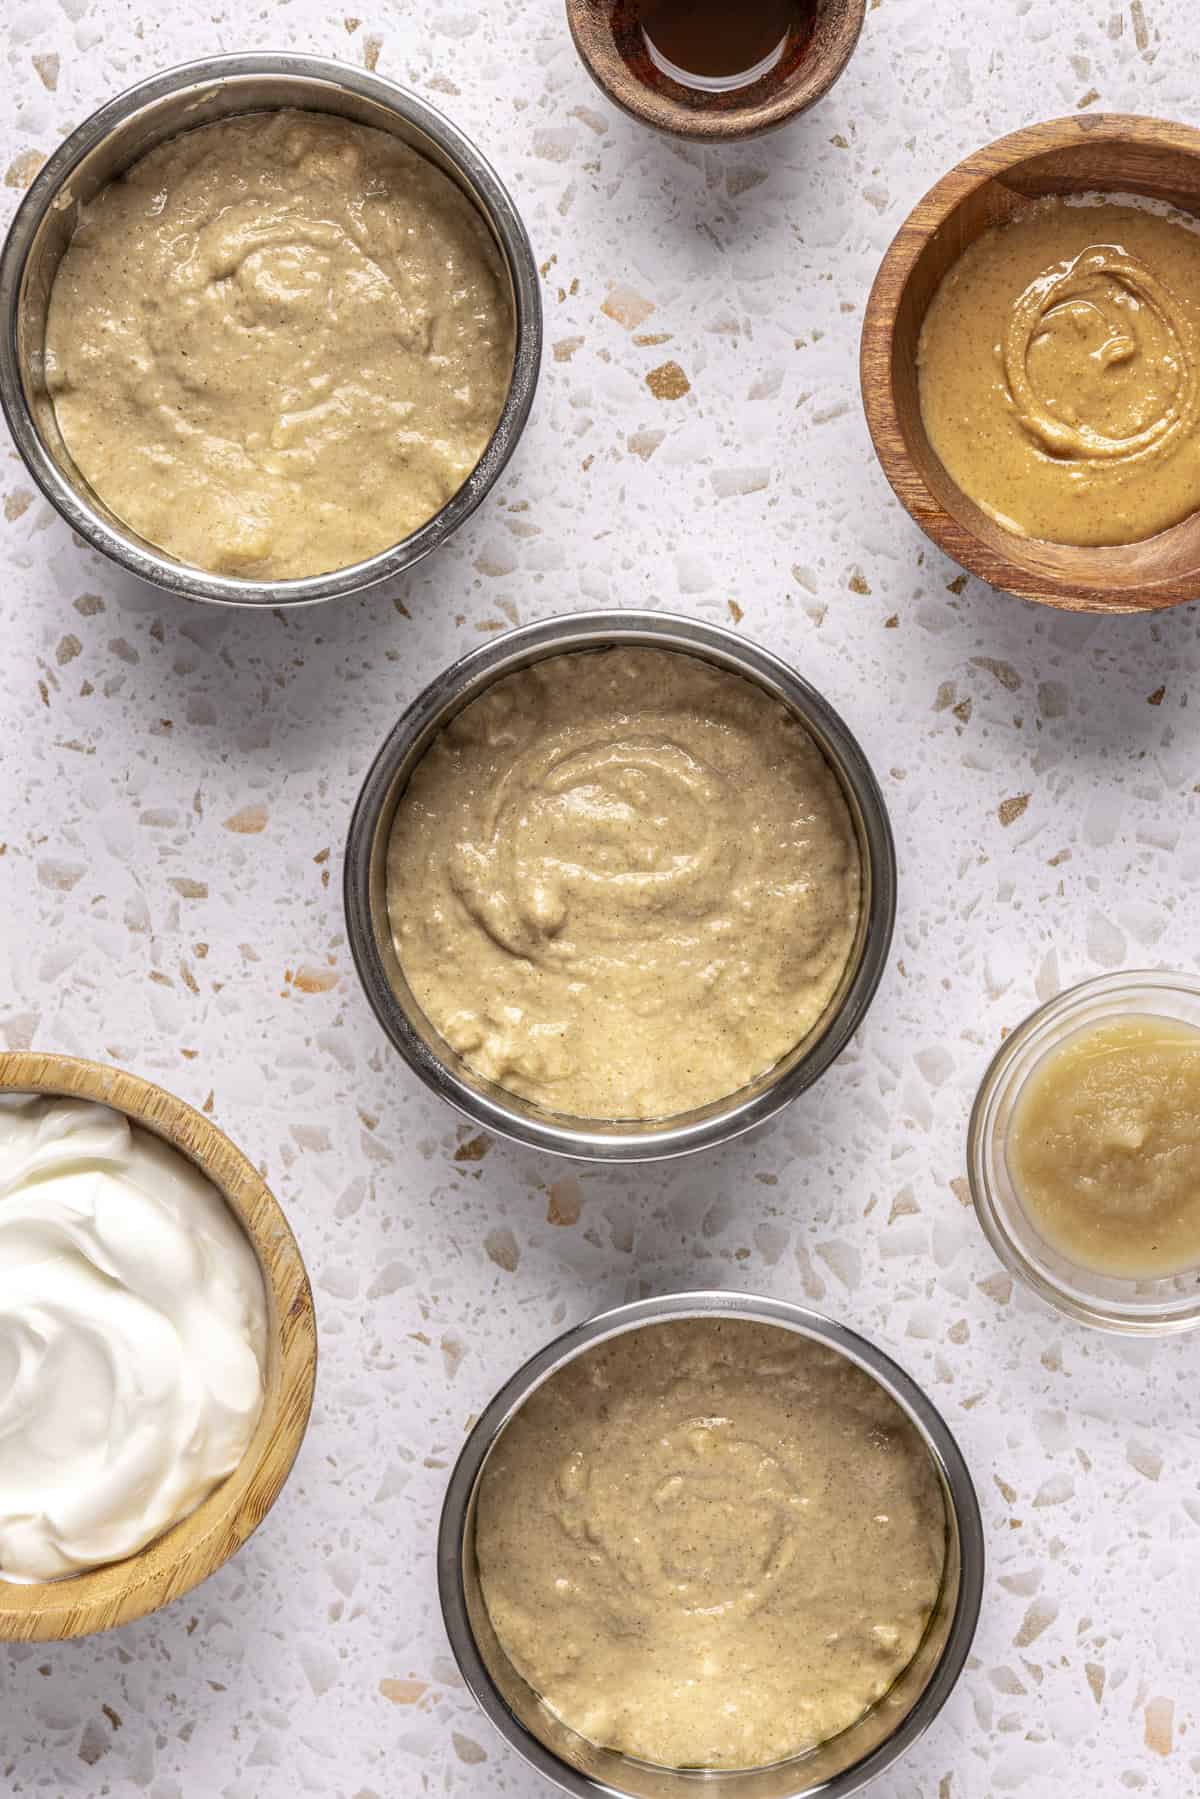
Divide batter evenly among your pans, aiming for just under halfway full.
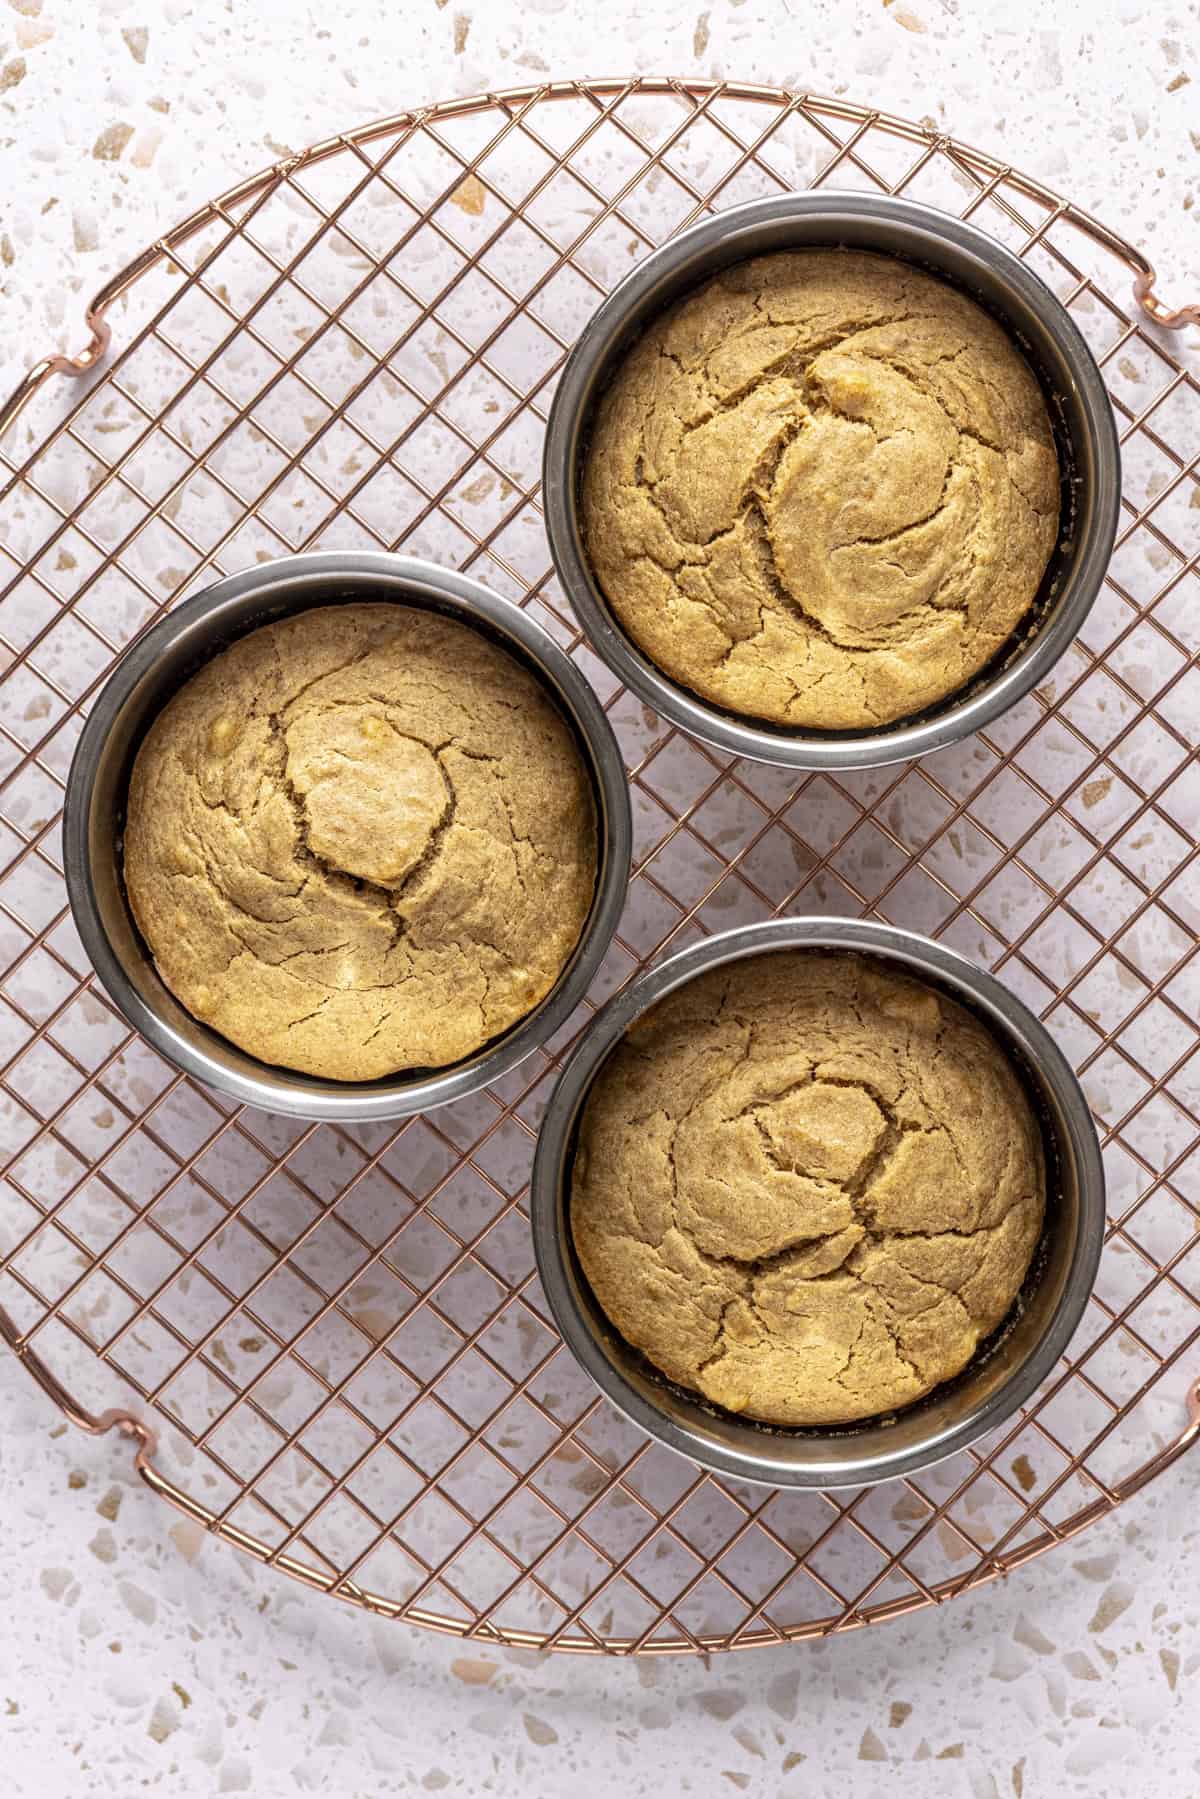
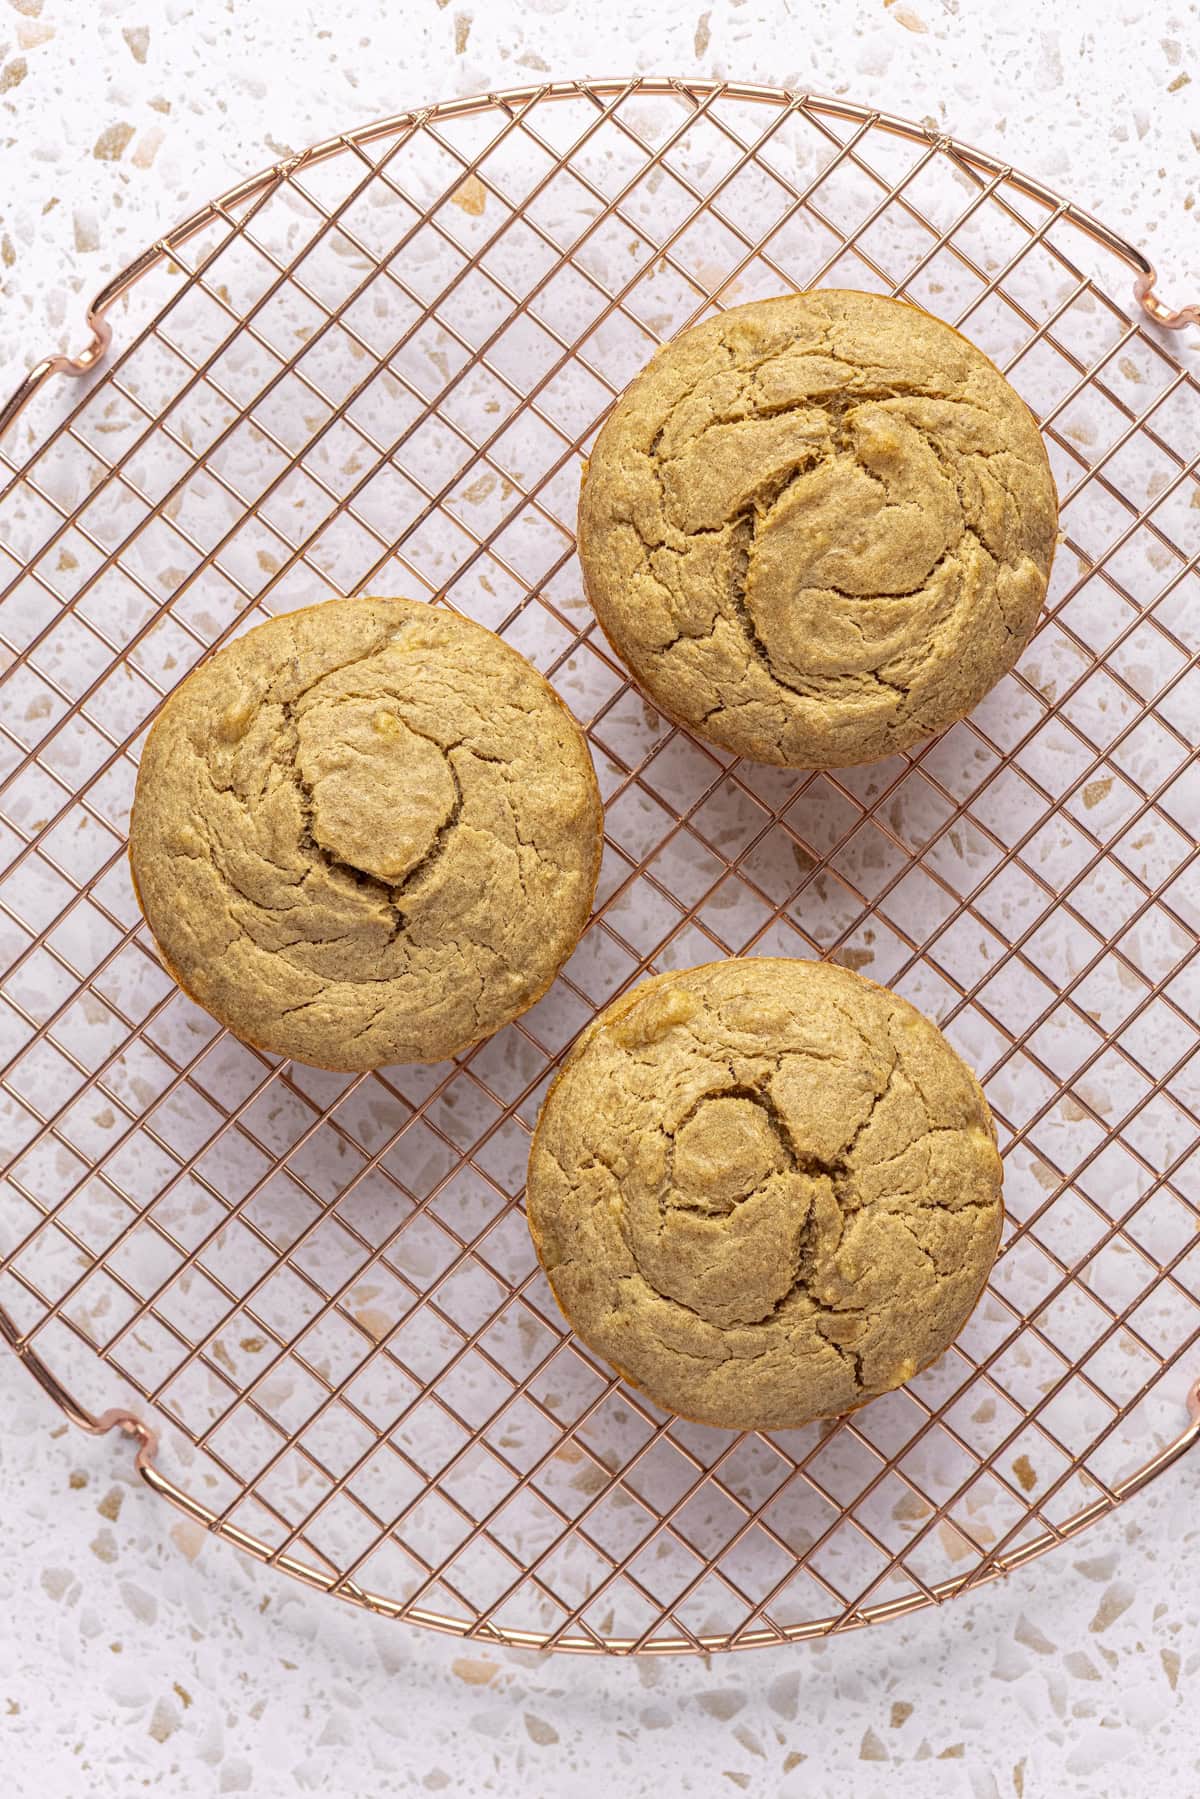
Bake (at 325°F) for 30–35 minutes, or until a toothpick comes out with a few moist crumbs.
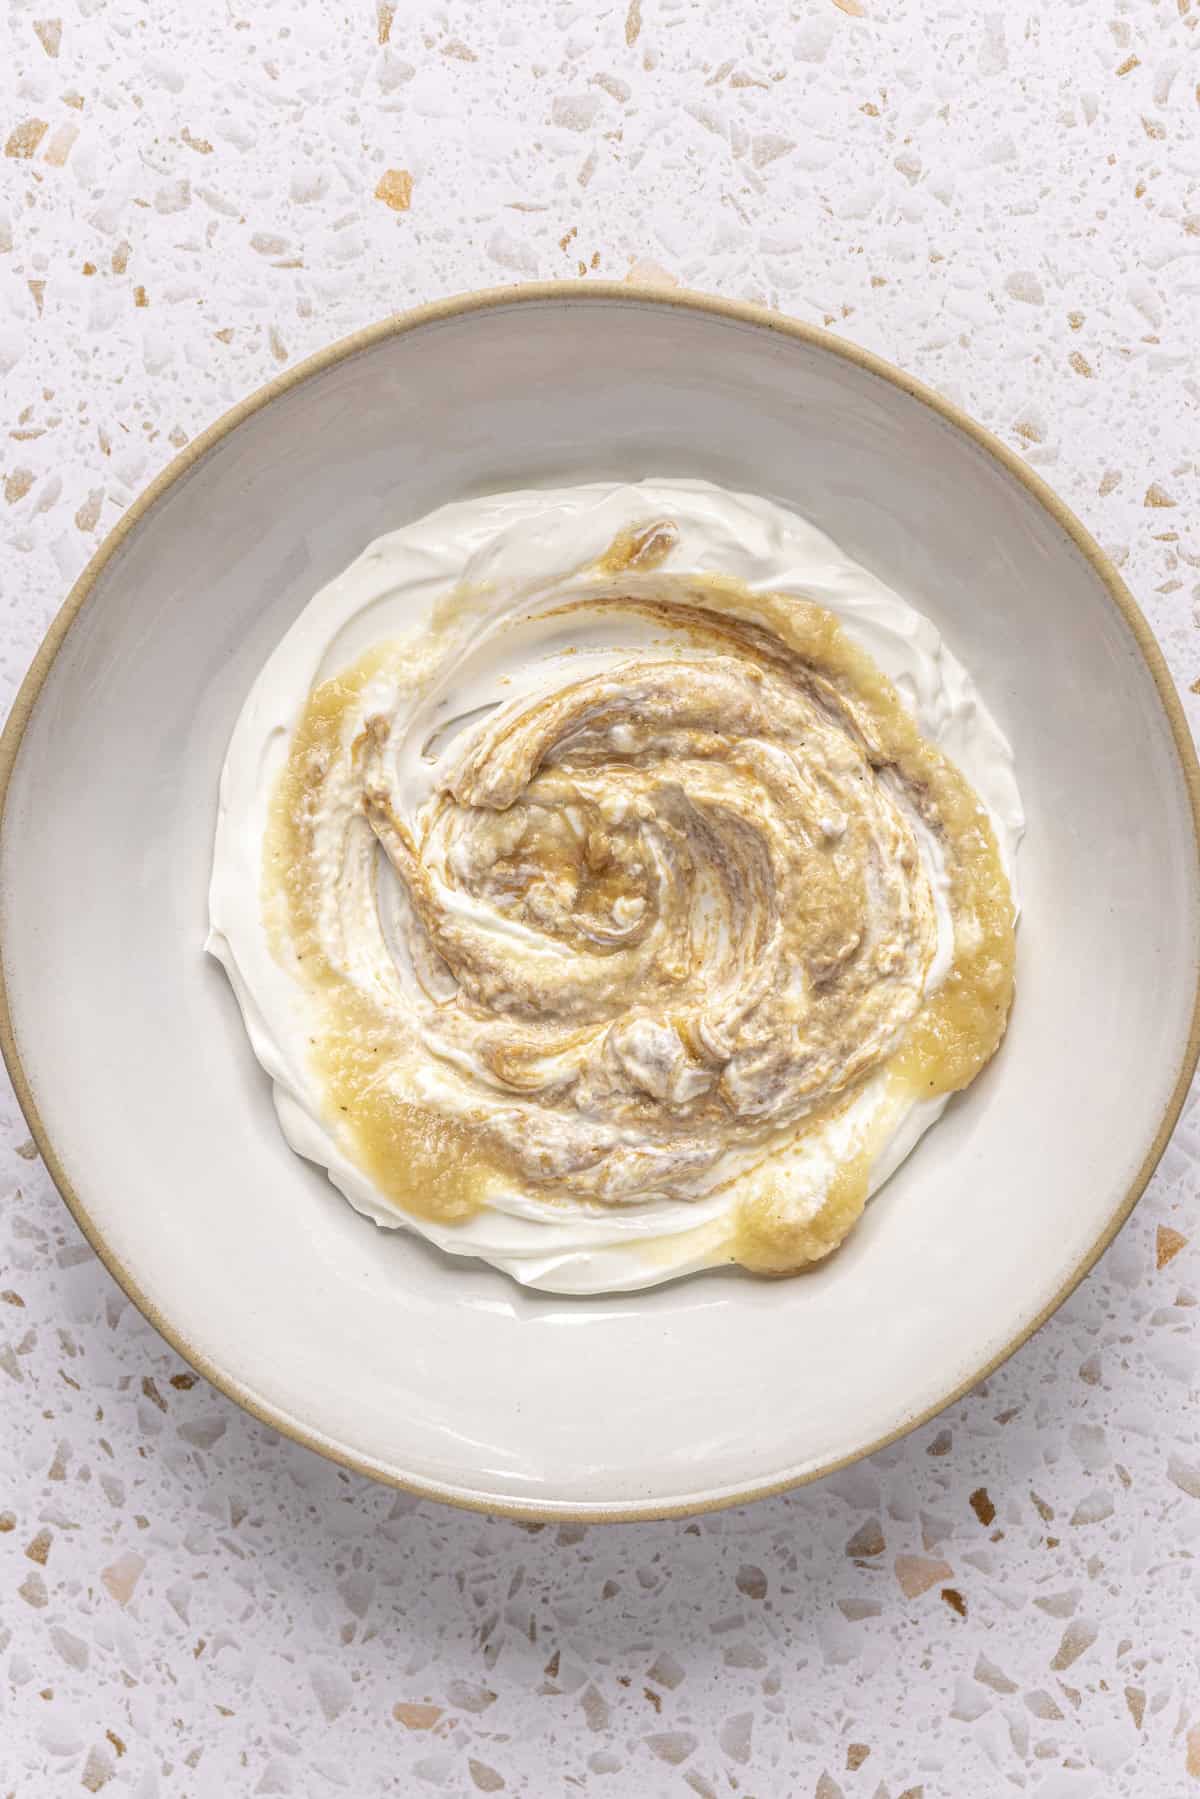

While the cake is in the oven, prepare the frosting: in a mixing bowl, stir together the Greek yogurt, peanut butter, applesauce (if using), and vanilla extract until smooth and creamy. Place the frosting in the refrigerator to chill and thicken while the cake cools.
To Assemble:
Once the cakes are done baking, remove from the oven and allow them to cool in the pans for 15 minutes.
After cooling, gently remove each layer from its tin and transfer to a plate or wire rack. Chill the layers in the fridge for at least 30 minutes, or until completely cooled.
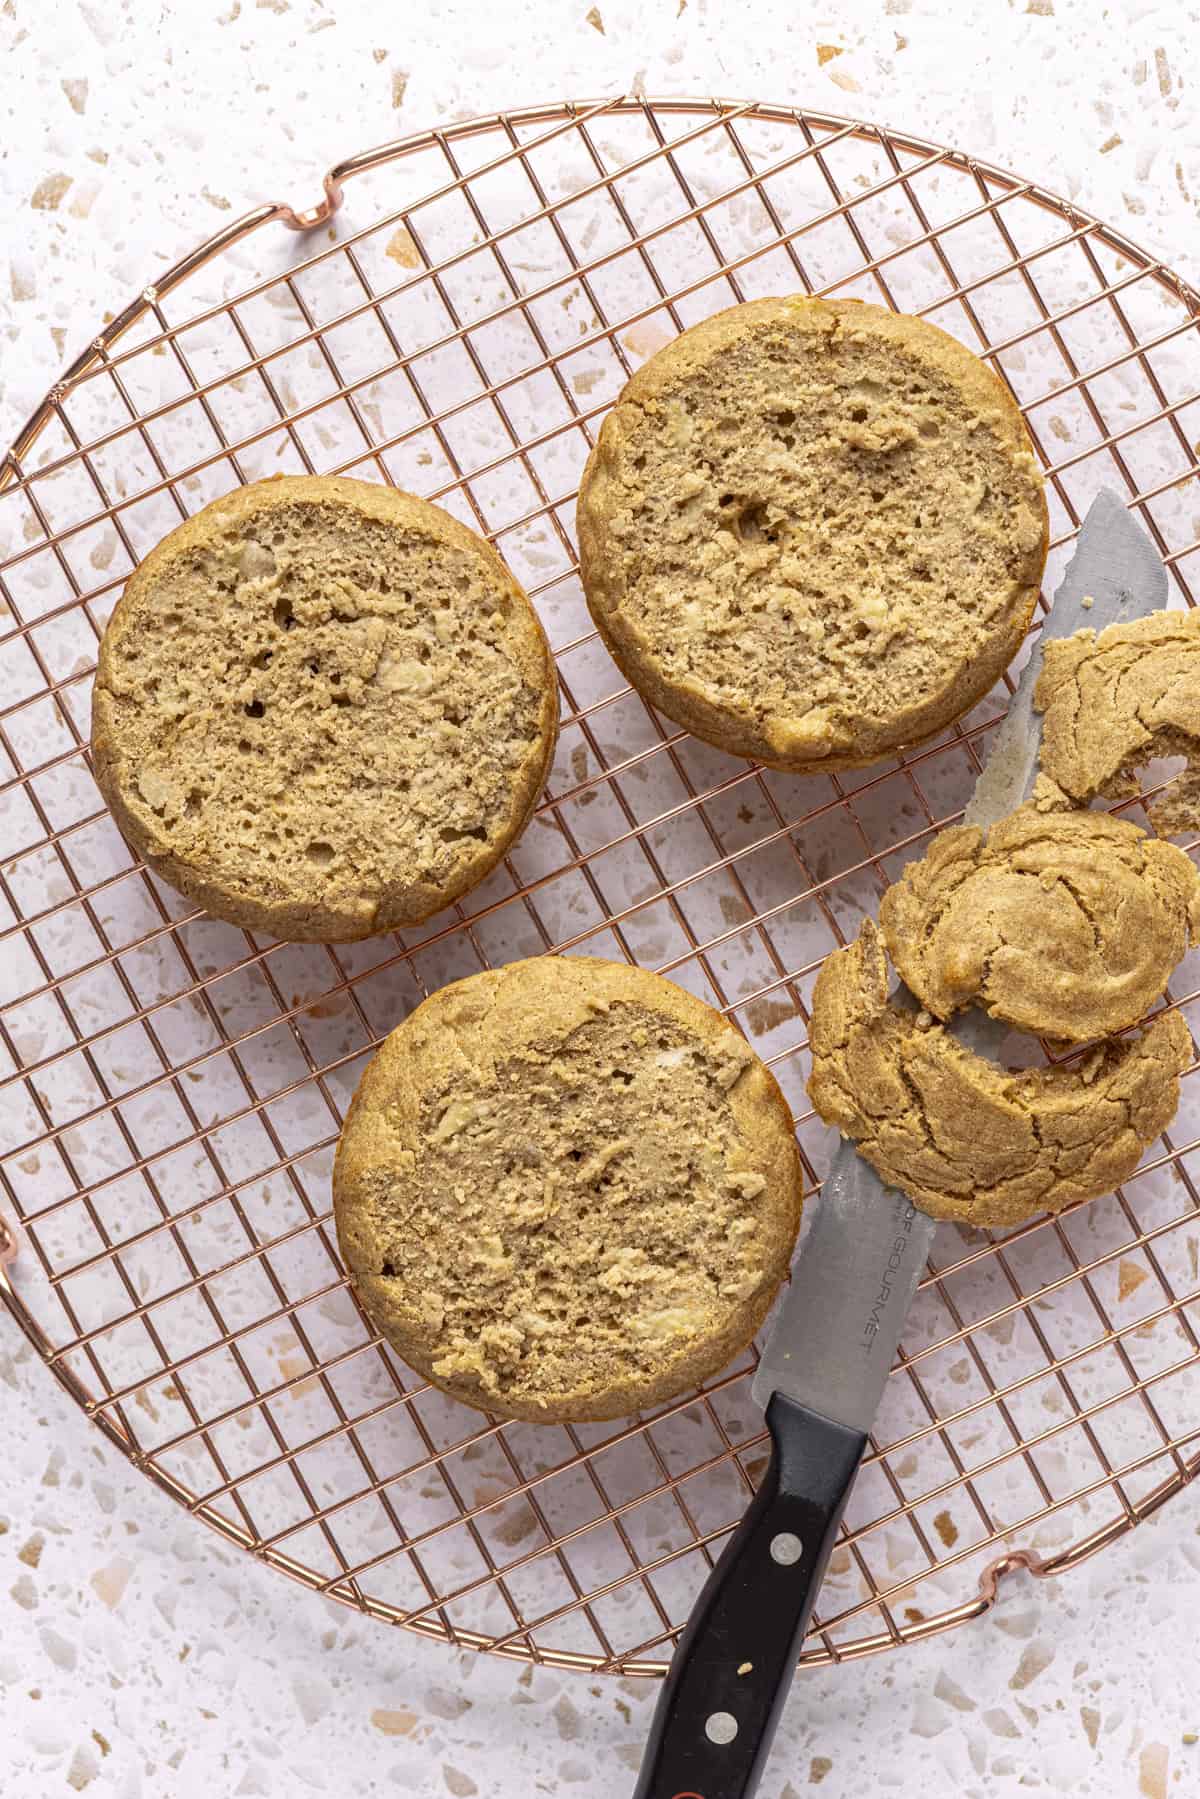
Once chilled, use a serrated knife to carefully trim the domed tops off each cake layer. This will help your cake stack evenly and stay stable.
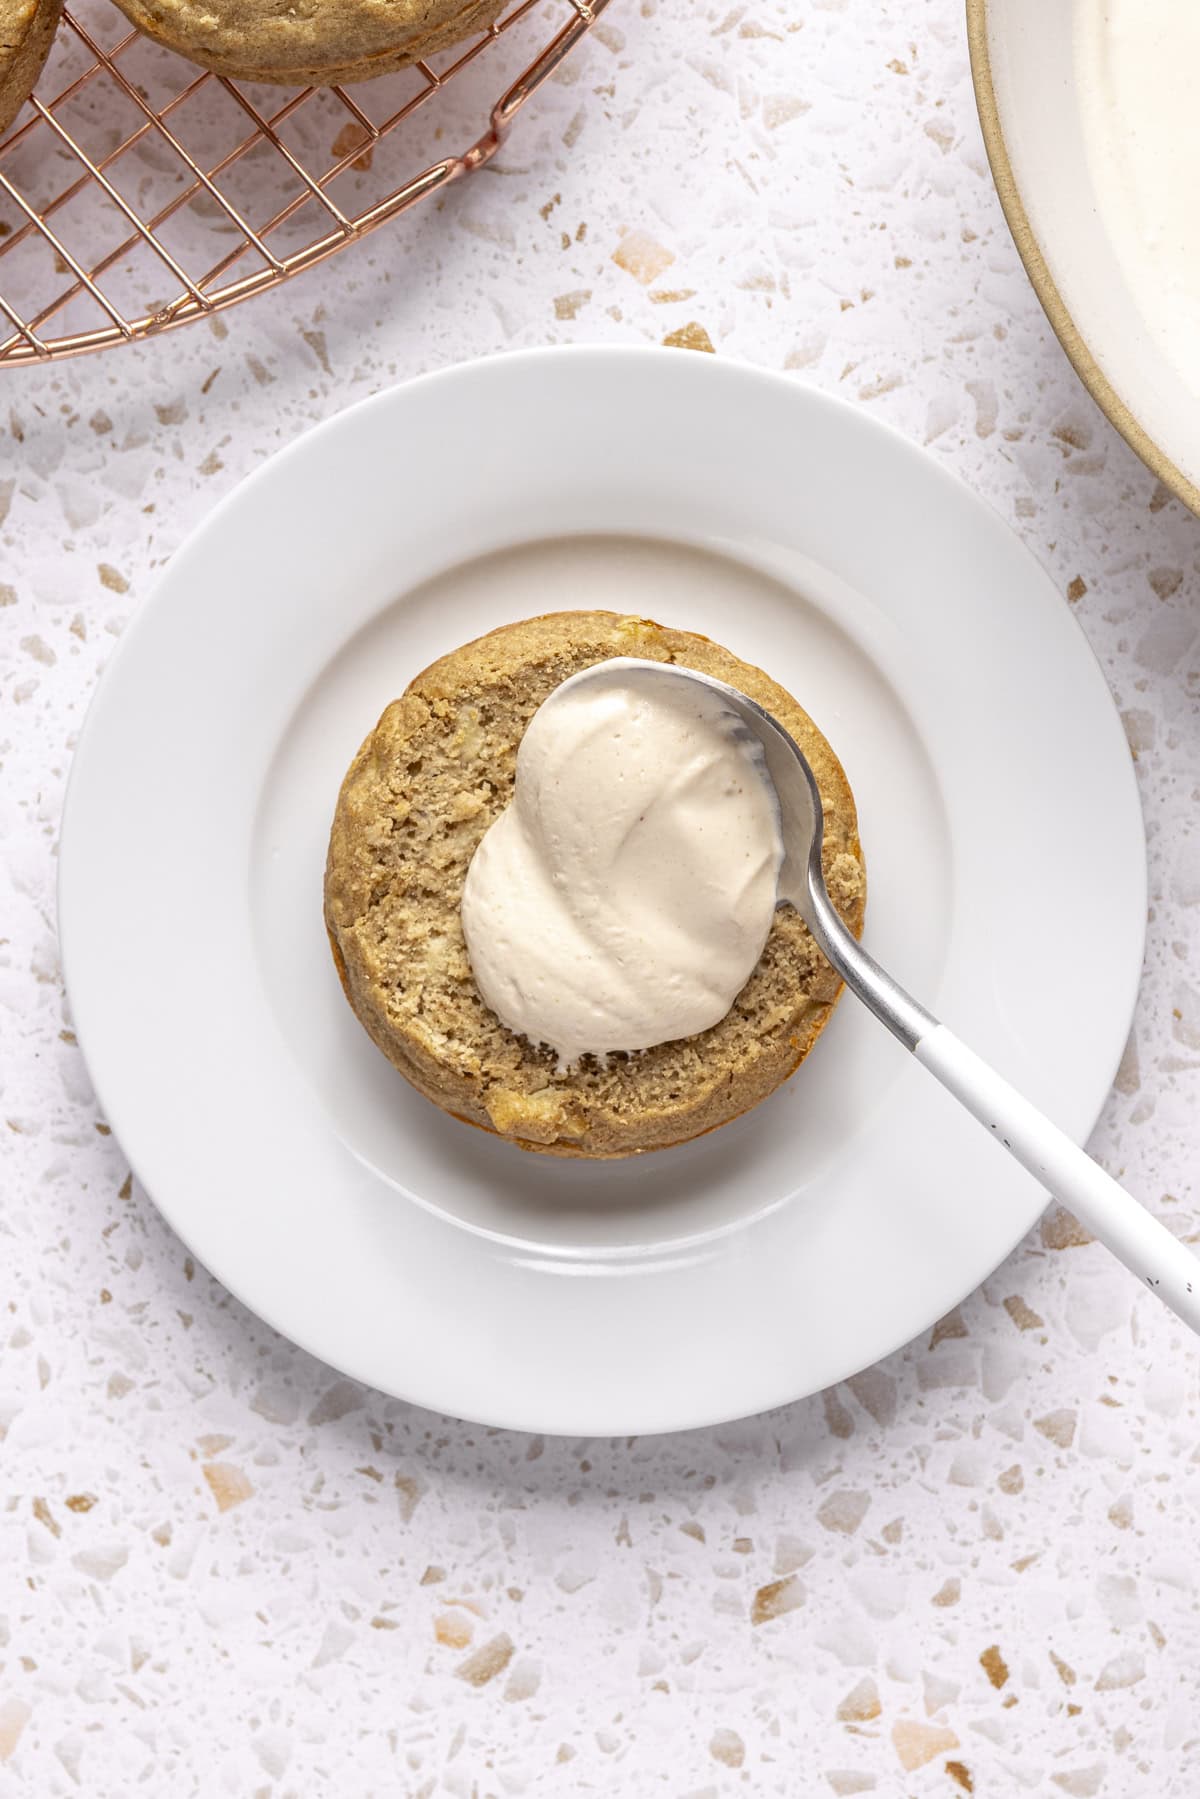
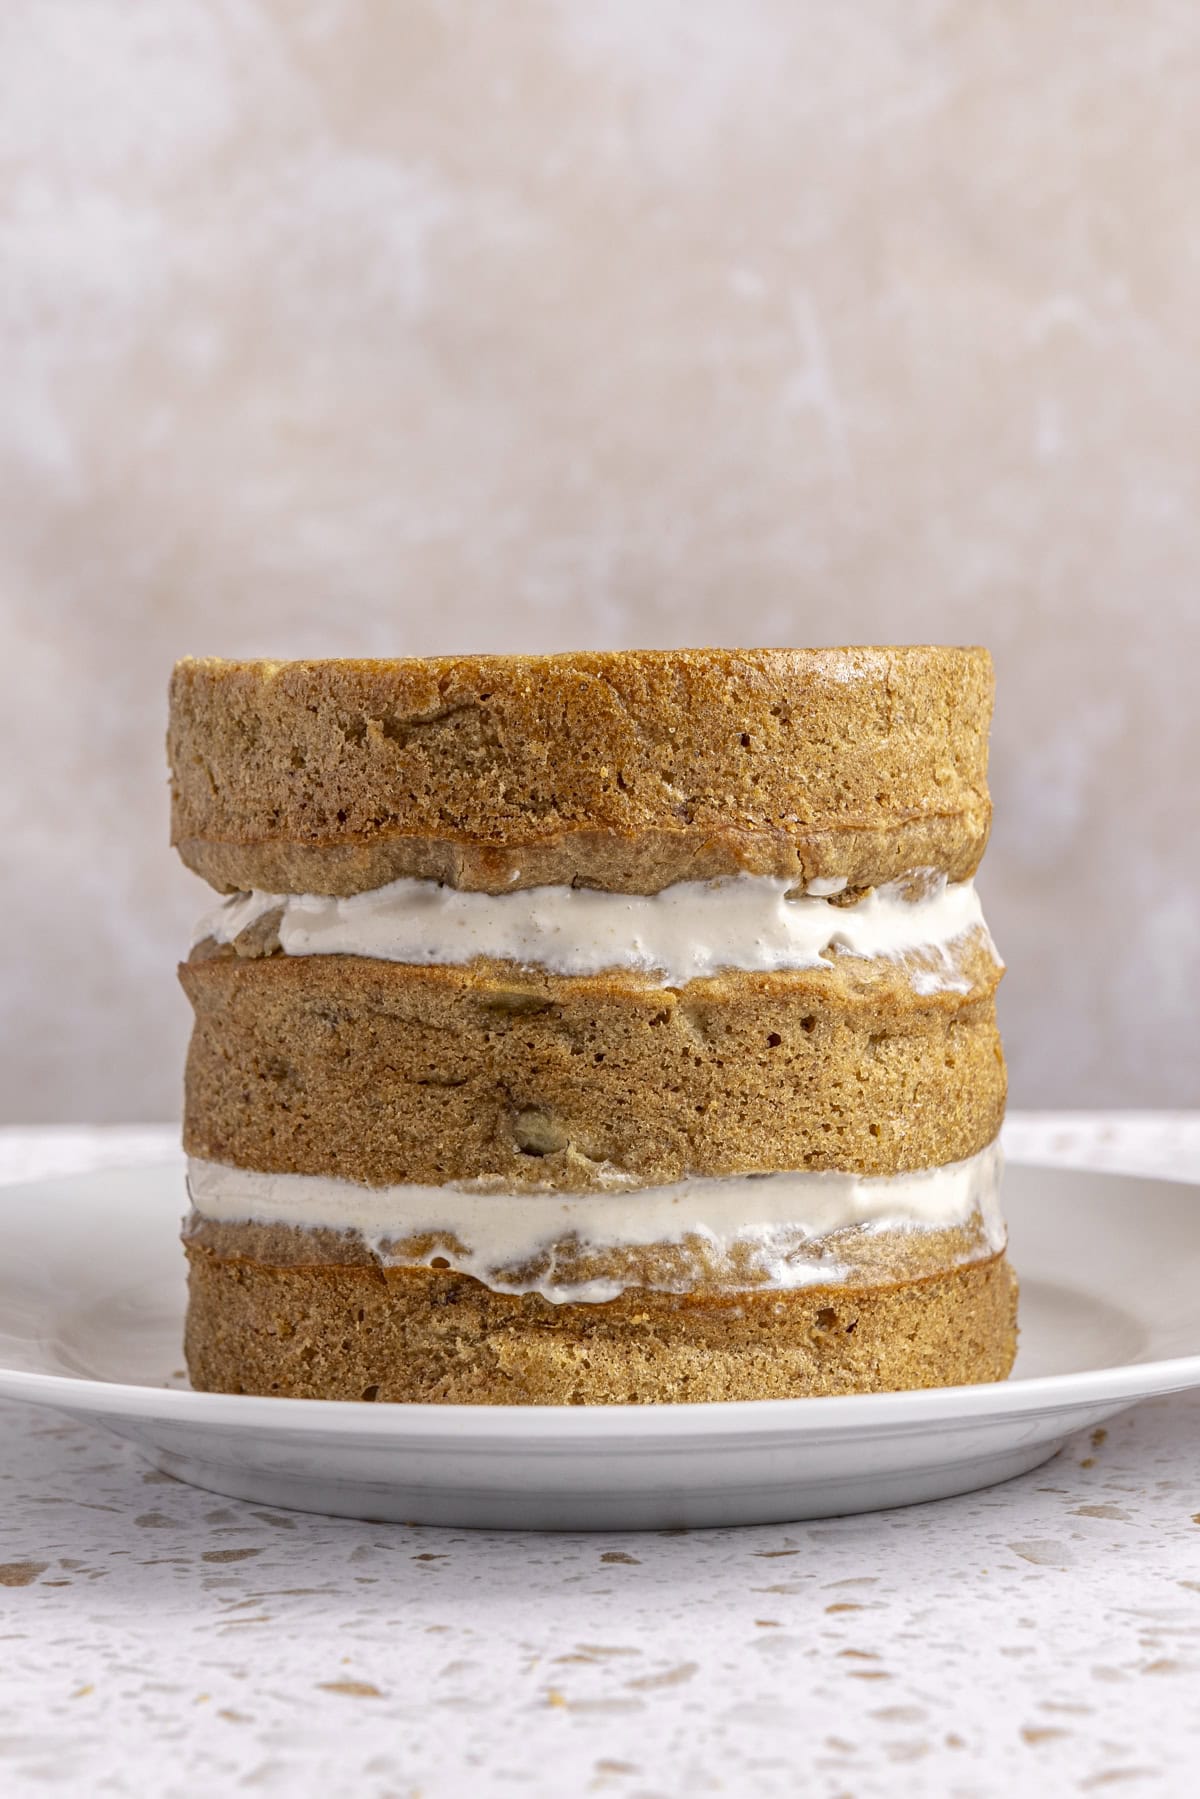
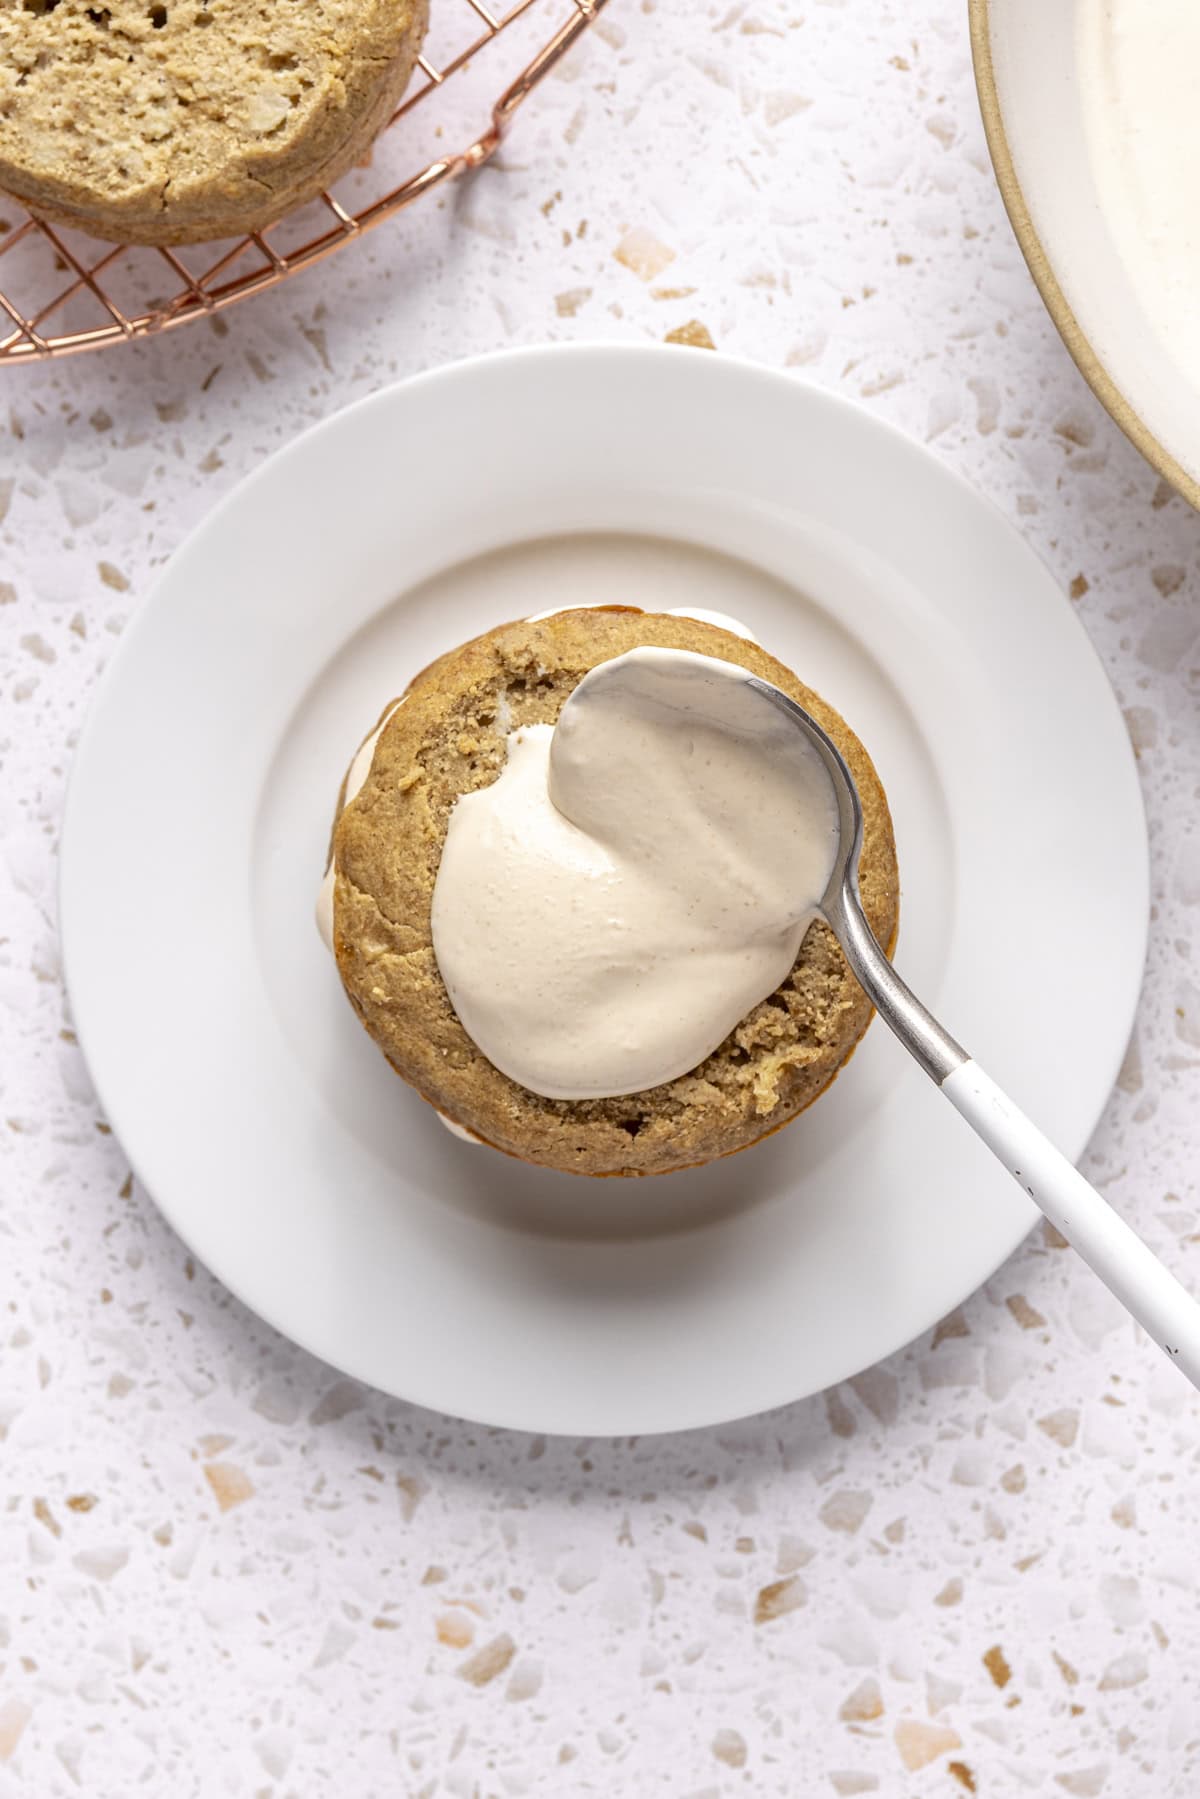
Place one cake layer on a small serving plate or cake board. Add a spoonful of frosting on top and spread it evenly with an offset spatula or the back of a spoon. Repeat with the second and third layers.
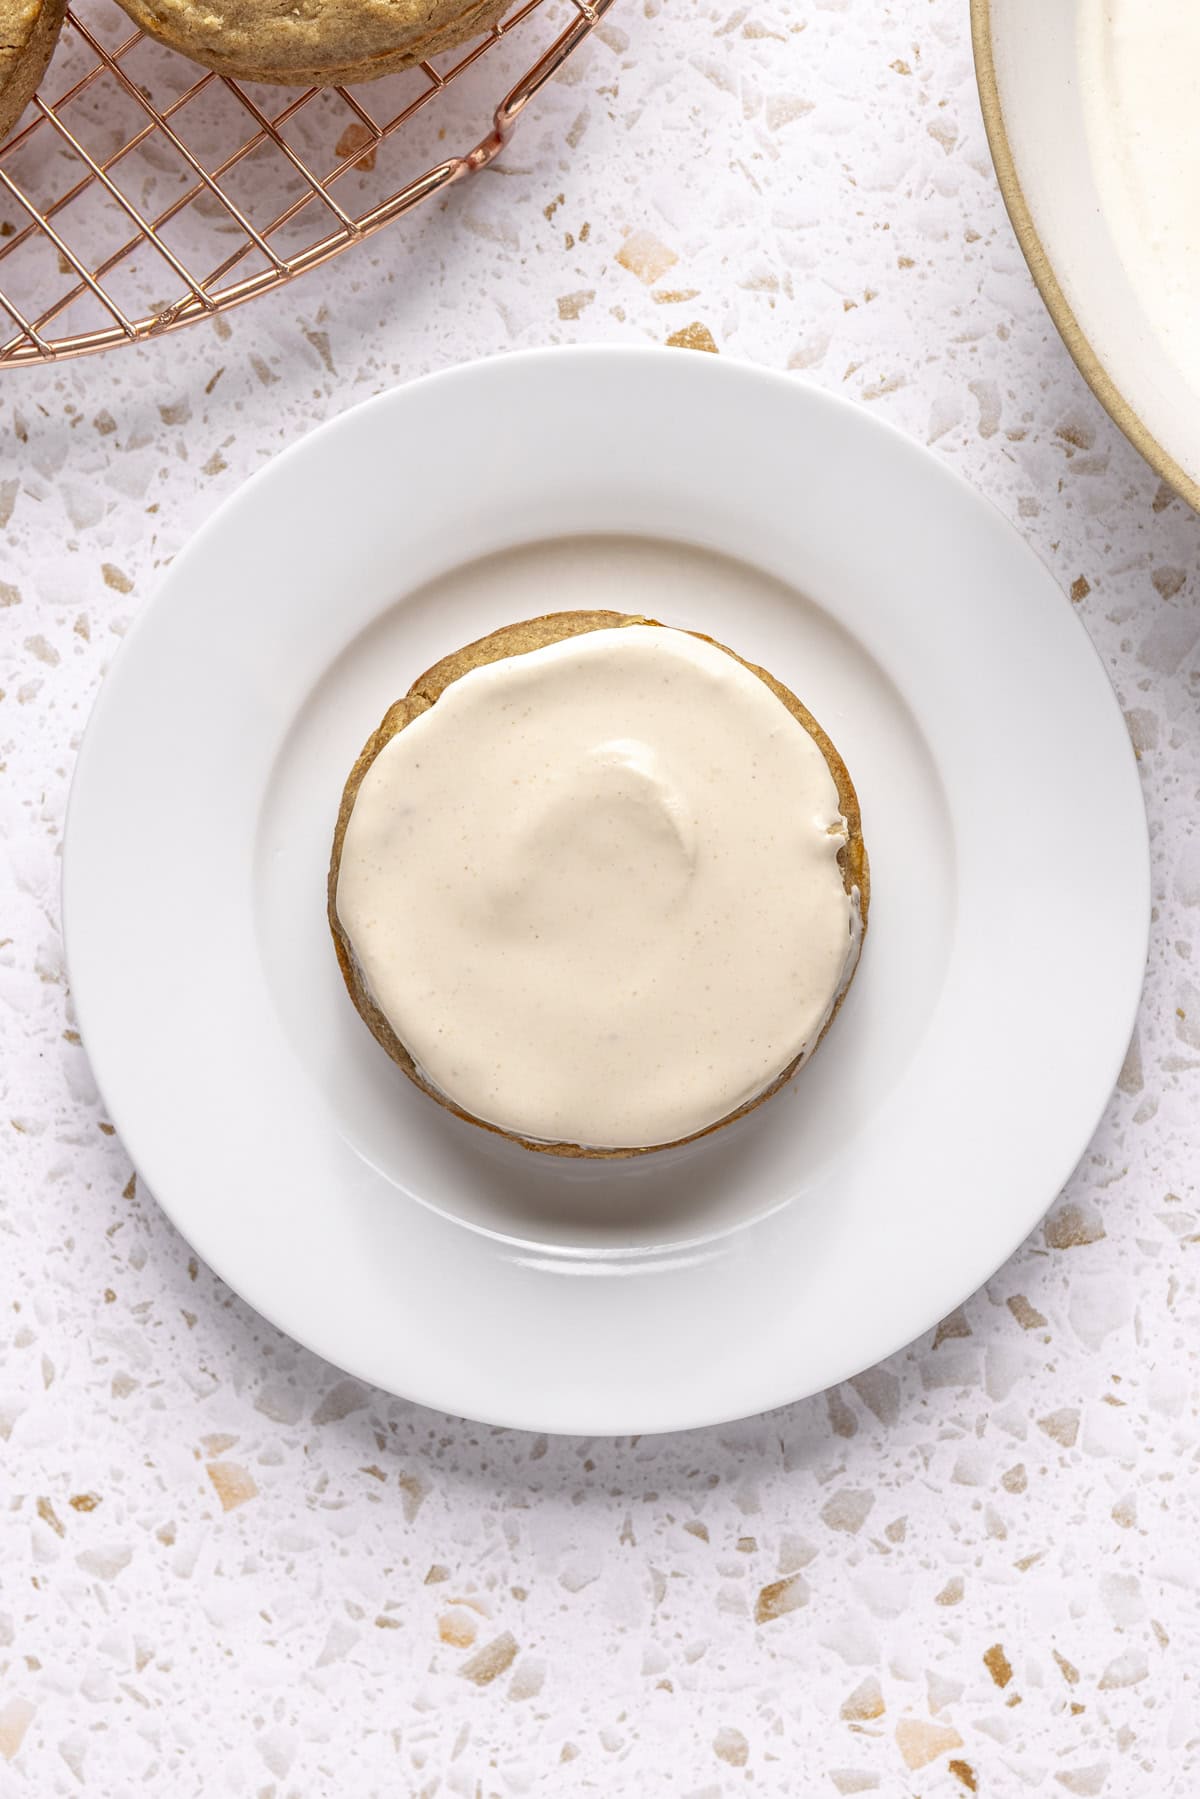
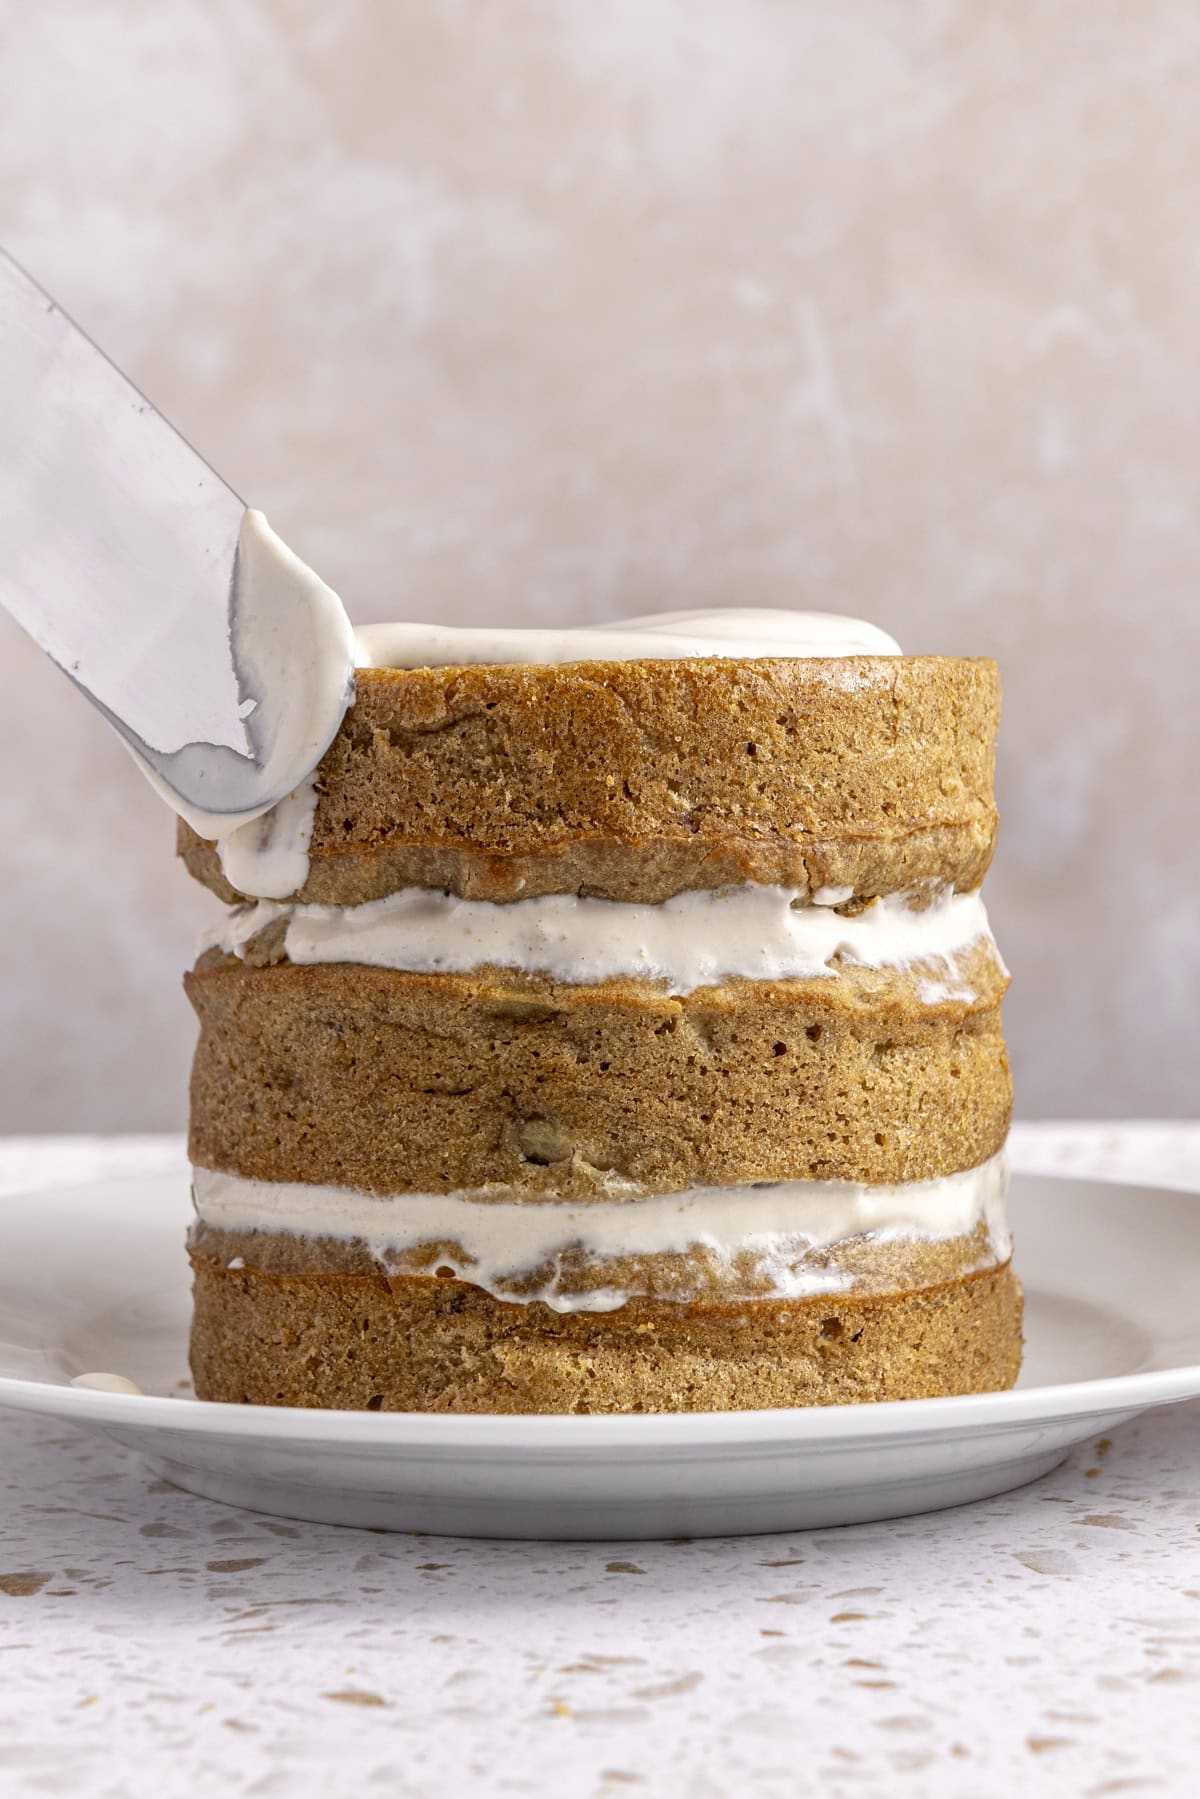
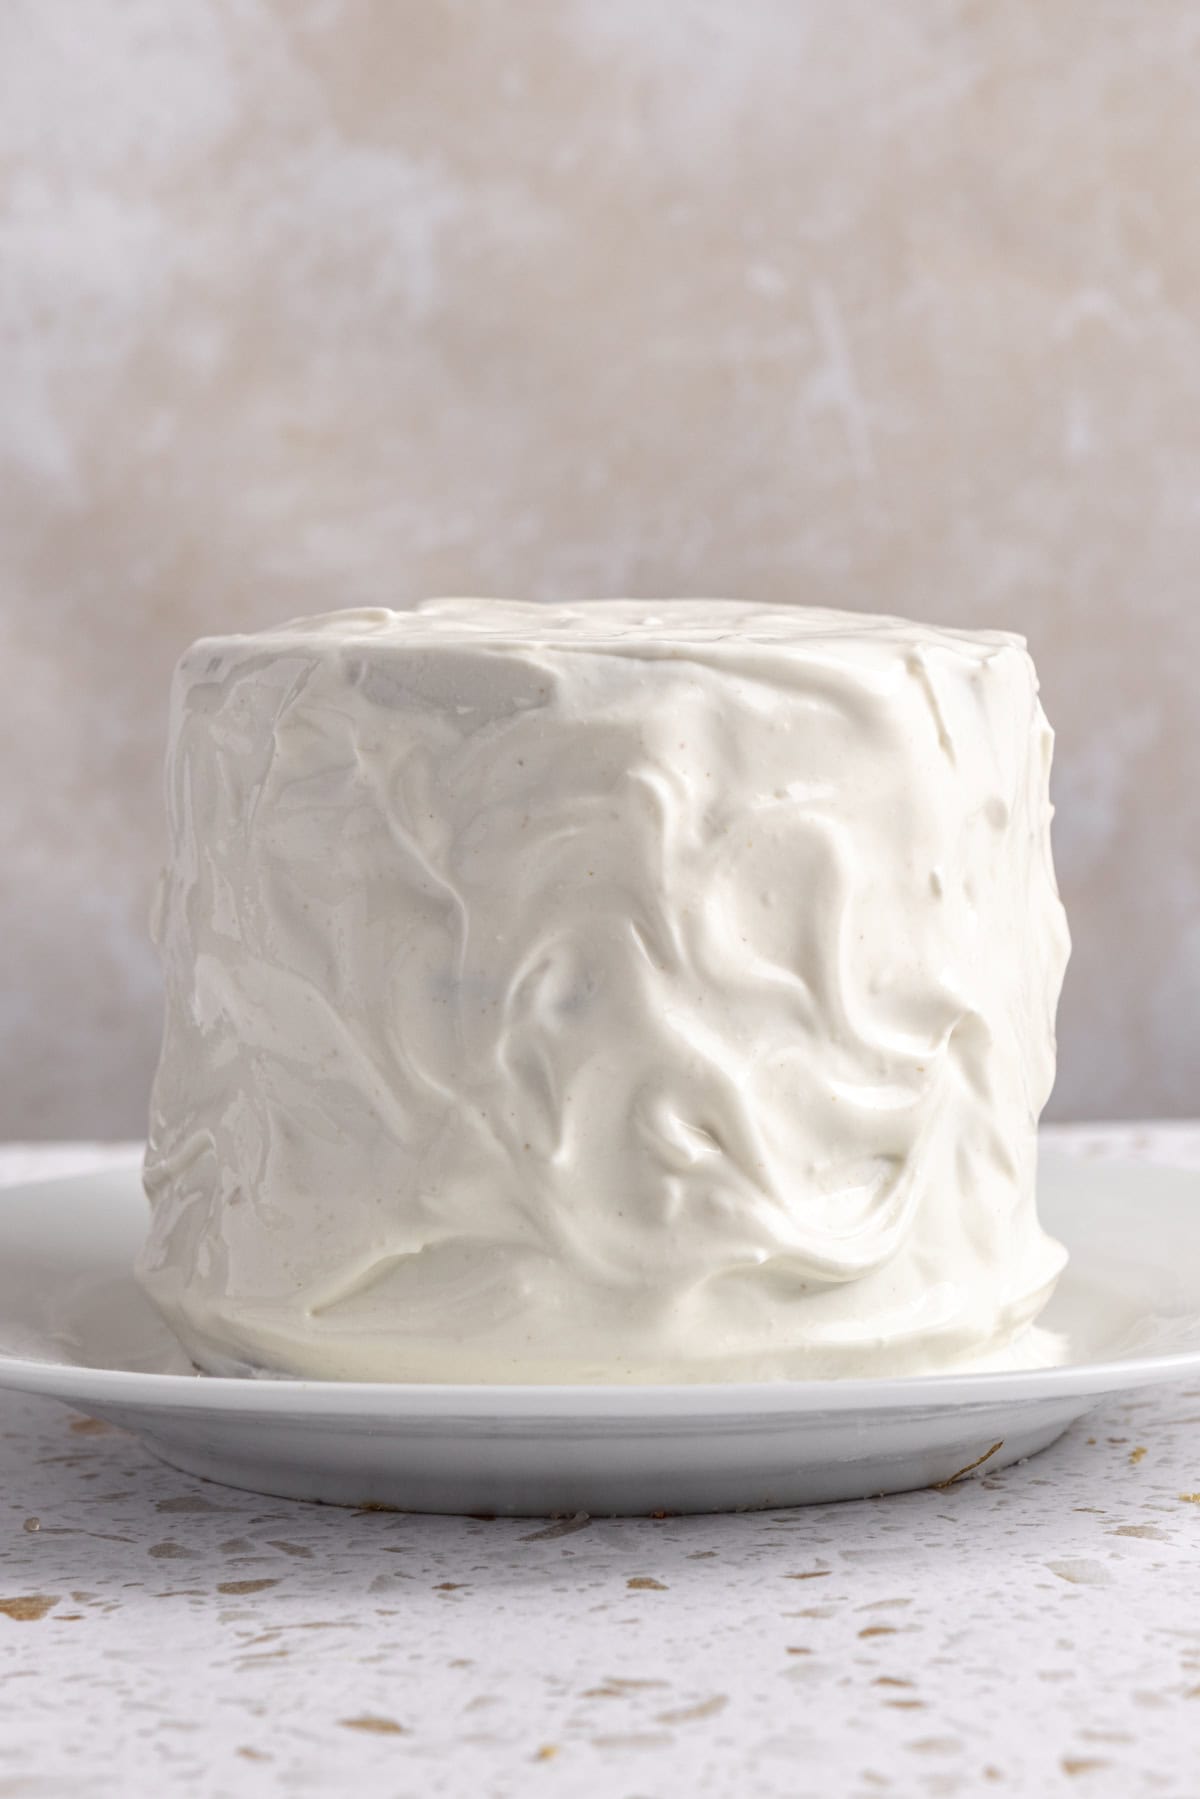
Time to frost: use the remaining frosting to cover the top and sides of the cake. A light “naked cake” style works beautifully here, but you can go fully frosted for a smoother finish. Chill again briefly to help it set, if needed.
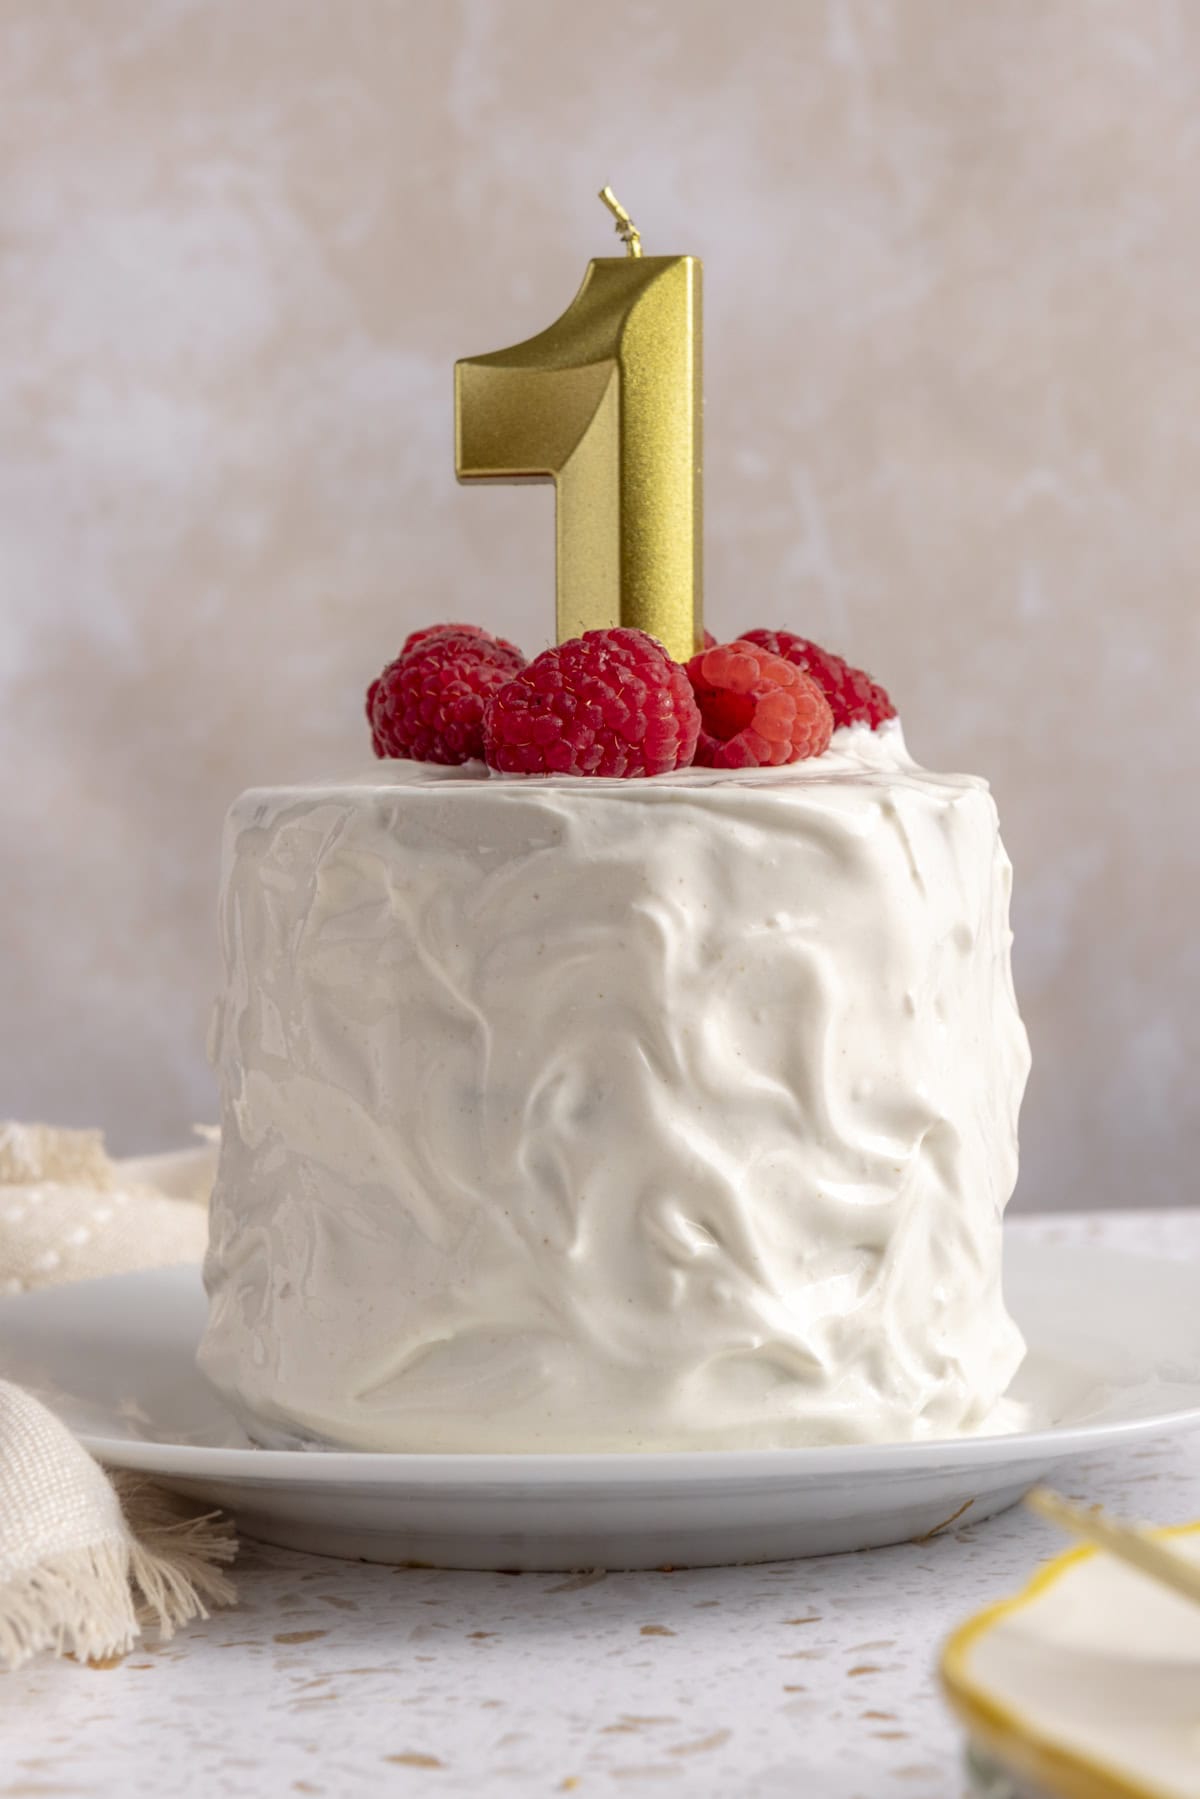
Option to add toppings: decorate with baby-safe favorites like fresh raspberries, banana slices, or a soft birthday candle. Enjoy!
Storage Tips:
- Leftovers: store in an airtight container in the fridge for up to 3 days.
- Make-Ahead: bake the cake layers 1–2 days in advance. Wrap each cooled layer tightly in plastic wrap or glass Tupperware and store in the fridge. Frost the cake the day of serving for best texture and appearance.
- Freezer option: unfrosted cake layers can be frozen for up to 1 month. Thaw overnight in the fridge before assembling.
RECIPE SUBSTITUTIONS & QUESTIONS
What’s great about this recipe is how flexible it is. You’ve got easy options to keep it nut-free, dairy-free, and gluten-free if needed. I listed substitutions next to each ingredient in the recipe card, but I’m also including here for quick reference:
- Peanut butter → Sunflower seed butter (look for one with just seeds + salt) works for a nut-free option. Keep in mind the cake will come out with a green tint, totally safe and normal! That’s just a natural reaction between the chlorogenic acid in sunflower seeds and baking soda. It might look a little wild, but it doesn’t affect the taste or safety at all.
- Milk → Use full-fat coconut milk to keep it dairy-free, or whole milk if no dairy sensitivities or allergies
- Oat flour → For a grain-free version, swap 1 cup almond flour + ¼ cup coconut flour for the oat flour (note: this swap still tastes great, but will be less fluffy than the oat flour)
- Greek yogurt (for frosting) → I used full-fat Greek yogurt, but coconut yogurt is great for a dairy-free option
- Applesauce → make sure you use an unsweetened one. For the frosting, it’s optional, but adds extra natural sweetness if desired.
- Egg → 1 flax egg = 1 tbsp ground flaxseed + 3 tbsp water (let sit 5–10 minutes to gel).
To keep it simple, option to frost with just yogurt without the applesauce and vanilla extract. That’s what I did, and Hayes loved it!
The cake tins I used can be found HERE, and for all my other go-to kitchen and cooking essentials (& more!), shop my Amazon Storefront here.
What is a smash cake?
A smash cake is a small, baby-sized cake made for a baby’s first birthday — usually meant to be smashed, squished, and enjoyed with messy hands. It’s a fun and popular way to celebrate the milestone and capture adorable photos. Most smash cakes are made with simple ingredients and less sugar to be safe for little ones, like my version here.
Is this smash cake safe for babies under 1 year old?
Yes — this recipe is made with simple, whole-food ingredients and is refined sugar-free, making it ideal for babies under 1. Always consult your pediatrician if your baby has allergies or dietary concerns, especially with common allergens like eggs, dairy, or peanuts.
More Baby Tips and Resources:
Introducing Solids to Your Baby
My Favorite Baby Bath & Beach Finds
What I’m Feeding My 10-Month-Old as a Registered Dietitian
9 Lessons I Learned from My 9-Month Breastfeeding Journey
Click here to watch the reel I made of this recipe 🙂
First Birthday Smash Cake
Equipment
- (3) 4-inch cake pans (buy on Amazon HERE)
- Mixing bowls
Ingredients
For the cake:
- 2 ripe bananas, mashed (~1 cup)
- ¼ cup unsweetened applesauce
- ¼ cup peanut butter (ingredients should be just peanuts + salt), or substitute sunflower seed butter
- 2 eggs, or flax eggs, see below in the notes
- ¼ cup full-fat coconut milk, or whole milk
- 1 teaspoon vanilla extract
- 1¼ cups oat flour (I like Bob’s Red Mill GF Oat Flour), or 1 cup almond flour and ¼ cup coconut flour
- 1 teaspoon baking powder
- ½ teaspoon cinnamon
- Pinch of sea salt
For the frosting:
- ¾ cup plain full-fat Greek yogurt, or coconut yogurt for dairy-free
- 2 tablespoons peanut butter (ingredients should be just peanuts + salt)
- 1 –2 tablespoons unsweetened applesauce, optional for sweetness
- ½ teaspoon vanilla extract
Toppings:
- Fresh raspberries (or favorite fruit), to line the outside
Instructions
- Preheat the oven to 325°F. Grease and line three 4-inch cake pans (buy on Amazon HERE!) with parchment rounds. To make parchment rounds, simply trace the bottom of your cake pans onto a sheet of parchment paper, then cut along the lines with scissors. Place each round into the bottom of the greased pans to prevent sticking and make for easy release once baked.
- Mash the bananas in a mixing bowl. Stir in applesauce, peanut butter, eggs, milk, and vanilla.
- Add oat flour, baking powder, cinnamon, and salt. Mix just until combined.
- Let the batter rest for 5–10 minutes so the oat flour can absorb moisture.
- Divide batter evenly among your pans, aiming for just under halfway full.
- Bake (at 325°F) for 30–35 minutes, or until a toothpick comes out with a few moist crumbs.
- While the cake is in the oven, prepare the frosting: in a mixing bowl, stir together the Greek yogurt, peanut butter, applesauce (if using), and vanilla extract until smooth and creamy. Place the frosting in the refrigerator to chill and thicken while the cake cools.
- Once the cakes are done baking, remove from the oven and allow them to cool in the pans for 15 minutes.
- After cooling, gently remove each layer from its tin and transfer to a plate or wire rack. Chill the layers in the fridge for at least 30 minutes, or until completely cooled.
- Once chilled, use a serrated knife to carefully trim the domed tops off each cake layer. This will help your cake stack evenly and stay stable.
- Place one cake layer on a small serving plate or cake board. Add a spoonful of frosting on top and spread it evenly with an offset spatula or the back of a spoon. Repeat with the second and third layers.
- Time to frost: use the remaining frosting to cover the top and sides of the cake. A light "naked cake" style works beautifully here, but you can go fully frosted for a smoother finish. Chill again briefly to help it set, if needed.
- Option to add toppings: decorate with baby-safe favorites like fresh raspberries, banana slices, or a soft birthday candle. Enjoy!
Storage Tips:
- Leftovers: store in an airtight container in the fridge for up to 3 days.
- Make-Ahead: bake the cake layers 1–2 days in advance. Wrap each cooled layer tightly in plastic wrap or glass Tupperware and store in the fridge. Frost the cake the day of serving for best texture and appearance.
- Freezer option: unfrosted cake layers can be frozen for up to 1 month. Thaw overnight in the fridge before assembling.
Notes
- Peanut butter → Sunflower seed butter (look for one with just seeds + salt) works for a nut-free option
- Milk → Use full-fat coconut milk to keep it dairy-free, or whole milk if no dairy sensitivities or allergies
- Oat flour → For a grain-free version, swap 1 cup almond flour + ¼ cup coconut flour for the oat flour (note: this swap still tastes great, but will be less fluffy than the oat flour)
- Greek yogurt (for frosting) → I used full-fat Greek yogurt, but coconut yogurt is great for a dairy-free option
- Applesauce → make sure you use an unsweetened one. For the frosting, it’s optional, but adds extra natural sweetness if desired.
- Eggs → 1 flax egg = 1 tbsp ground flaxseed + 3 tbsp water (let sit 5–10 minutes to gel).


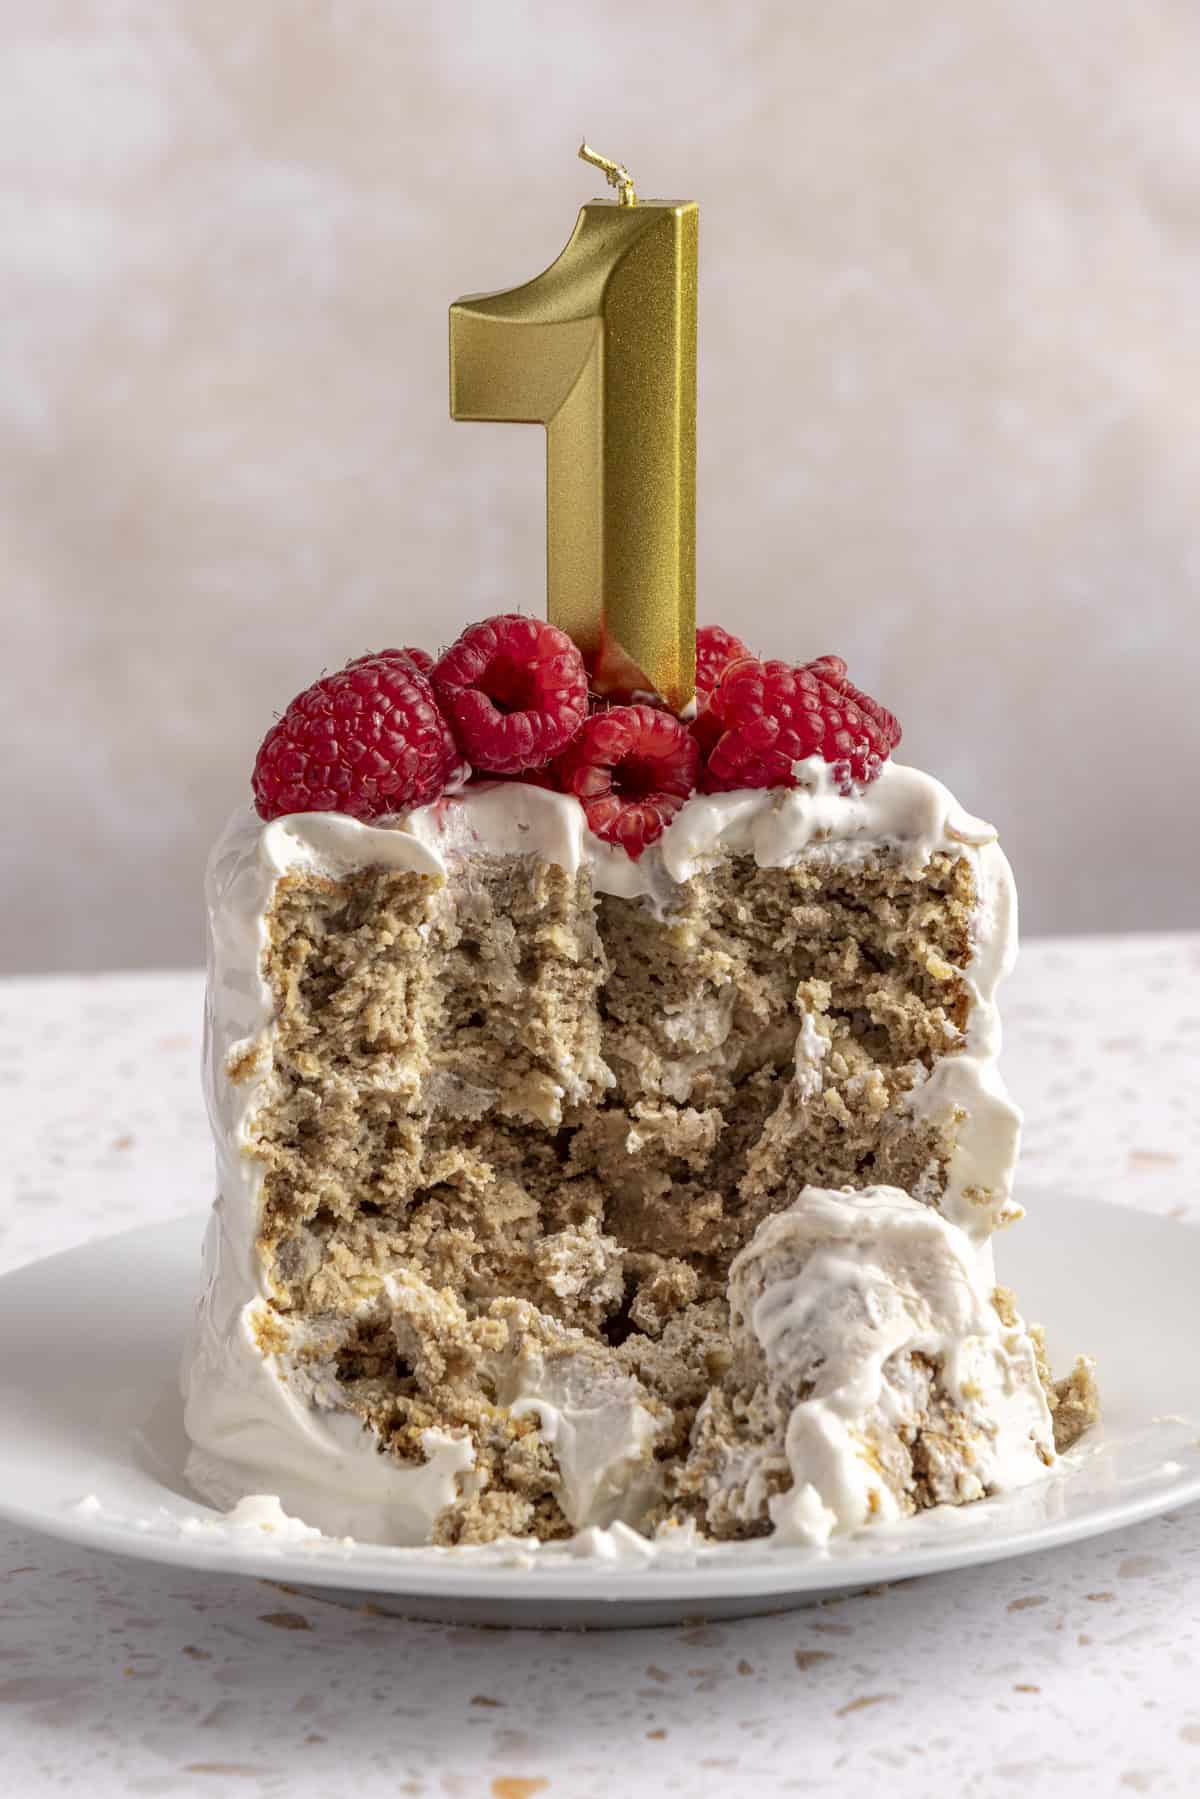
This was really dense and hard for my baby to grab / eat without grabbing a whole layer
Do you have a recommendation on cooking time, if I wanted to make these into cupcakes?
Hi! Love this idea – I followed the directions and recipe and it came out super dense, heavy and undercooked. Any advice for what I may have done wrong?
Hi Megan! This cake isn’t meant to be light and fluffy. It’s definitely on the dense side — I recommend cooking a bit longer to firm up and then let cool for at least 30 minutes. Hope this helps! xx Rachael
Hi! Can you substitute whole milk yogurt for the Greek?
Looking forward to making this for my son’s first birthday! I was curious if the baking time would be the same if I made a single layer cake using a 9 inch round springform cake pan? Thanks!
Any recommendations for adjusting this for a baby with an egg allergy? I’d love to use this recipe for my twin’s first birthday cake but one of my babies has an egg allergy. Thank you!!
I was just gonna ask the same thing! I would so appreciate an egg-free version of this recipe please!
Hey Chey! I just updated the recipe to include a flax egg as a substitute 🙂 Hope that helps! xx Rachael
Hey Rachel I was curious on what your thoughts are on dairy free muffins? Do you have a recipe for that
I just updated the recipe to include a flax egg as a substitute 🙂 Hope that helps! xx Rachael