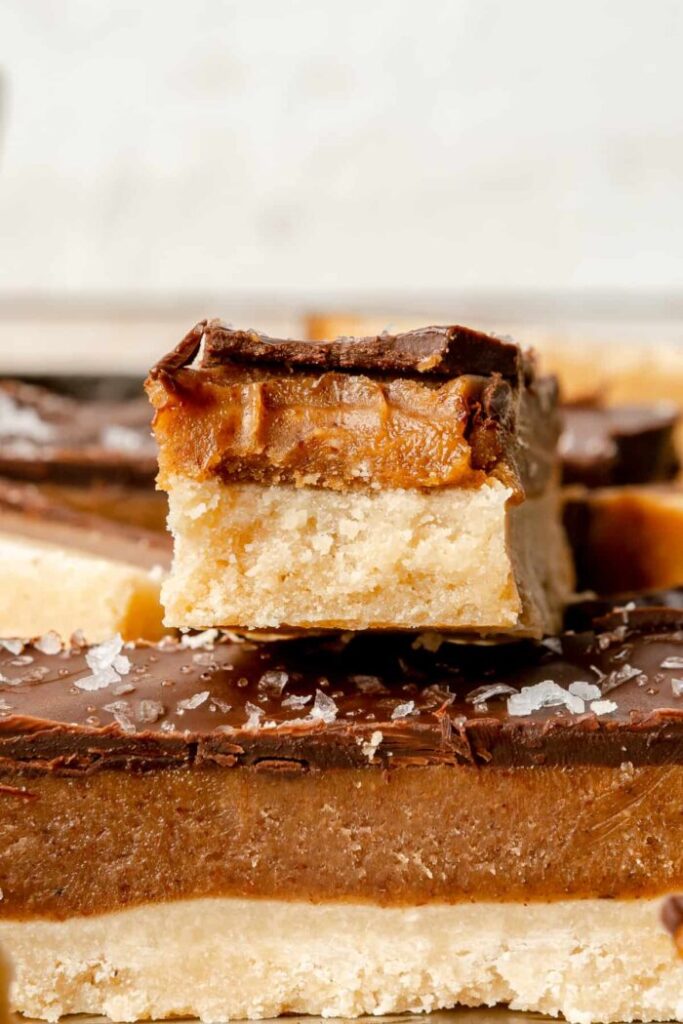
If you know me, you know I love my sweet treats. And you know there’s nothing I love more than re-creating decadent desserts, one childhood favorite at a time, with better-for-you ingredients. Over the years of recipe testing & creating, my classic Healthy Paleo Twix Bars have consistently remained one of my most popular – truly an OG RGE recipe. The way the smooth caramel, crunchy shortbread and velvety chocolate layers come together with a sprinkling of sea salt on top… I mean, you just can’t beat it! I always say this is the dessert you have to bring to any family or friend gathering because you’ll win over everyone.
There wasn’t a doubt in my mind that these tried & true tasty treats had to have their own moment in my cookbook, Rachael’s Good Eats. (In case you’re wondering, the “Sweets” section is one of the longest chapters in there, but you knew that was going to happen).
Why These Healthy Twix Bars Are Better Than Store-Bought
It always makes me so happy to see you guys making and enjoying my recipes as much as I love sharing them with you all. Honestly, sometimes when I see you making and tagging me in your pics of my homemade Twix Bar recipe, I get FOMO and immediately get the urge to make another batch. And did I mention that they’re gluten-free, dairy-free and refined sugar-free??? I swear, knowing that they’re made with wholesome ingredients makes them taste that much better too (we love a guilt-free indulgence!).
The 3-stage process might seem like a lot, but don’t be overwhelmed! I promise it’s much easier to make than it looks and is totally worth it. If you’re like me, you’re going to want to keep a stash in your fridge (or freezer) at all times!

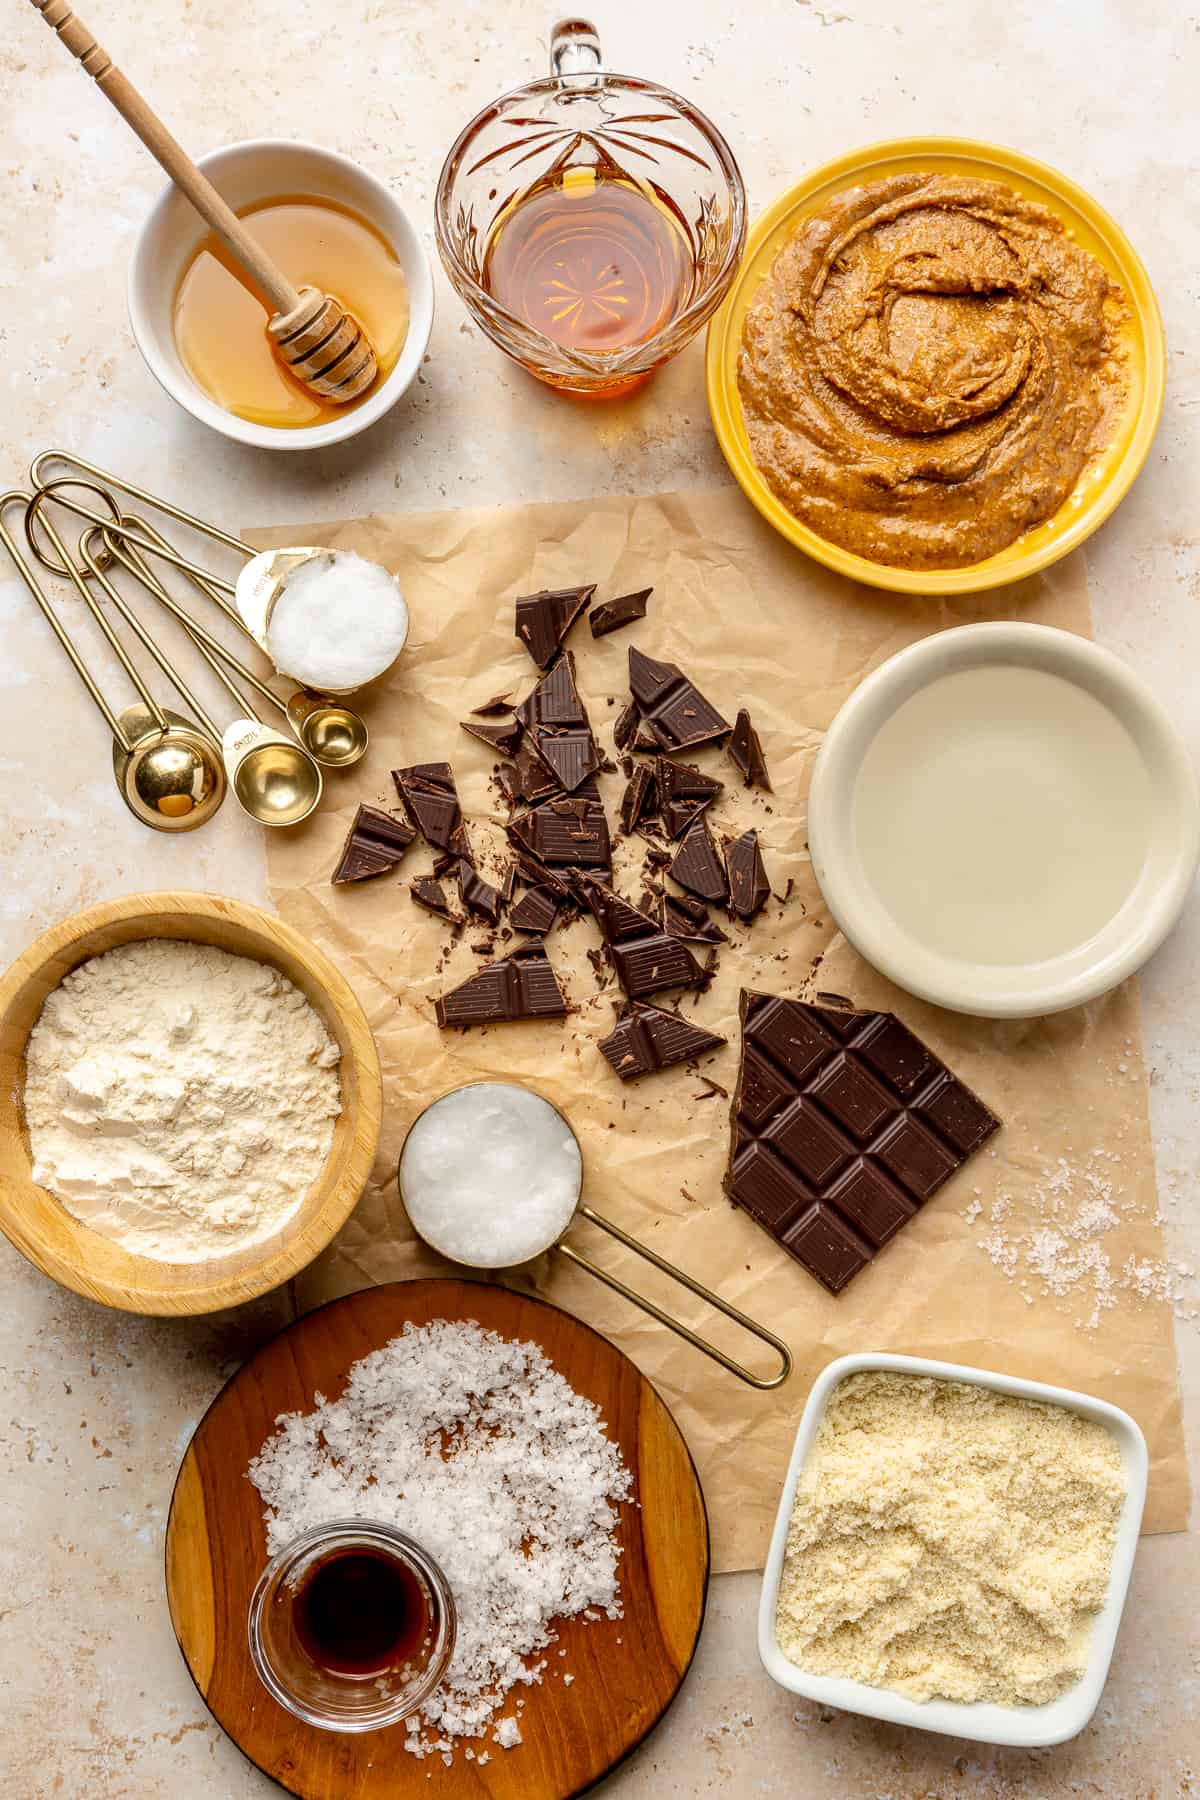
Healthy Twix Bar Ingredients:
Shortbread Layer
- coconut flour
- almond flour
- coconut oil, melted
- honey, warmed (feel free to sub maple syrup)
Caramel Layer
- almond butter, creamy or crunchy (swap for your fave nut or seed butter)
- coconut oil
- vanilla extract
- maple syrup
- pinch sea salt
Chocolate Layer
- dark chocolate bar or chocolate chips
- coconut oil
- flakey sea salt
How to Make Homemade Twix Bars (Step-by-Step)
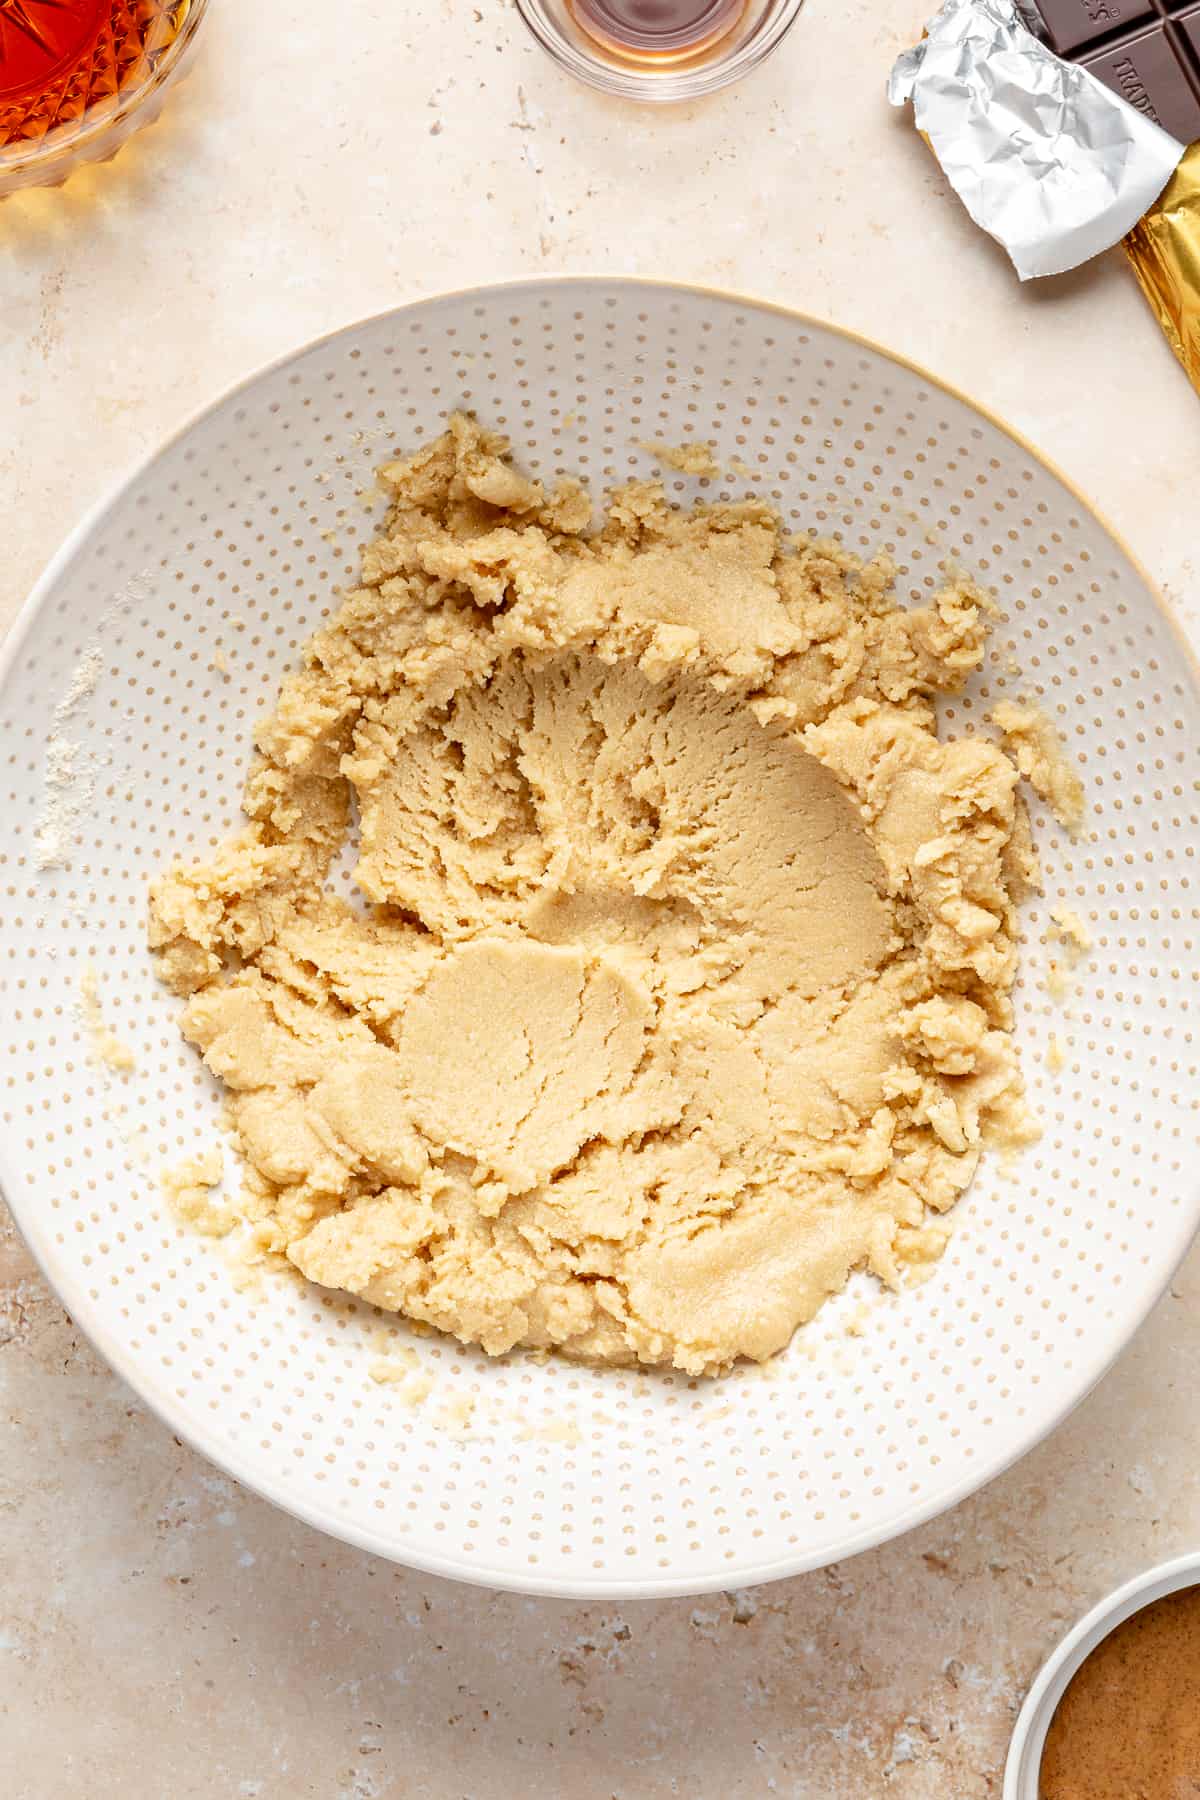
Shortbread Layer
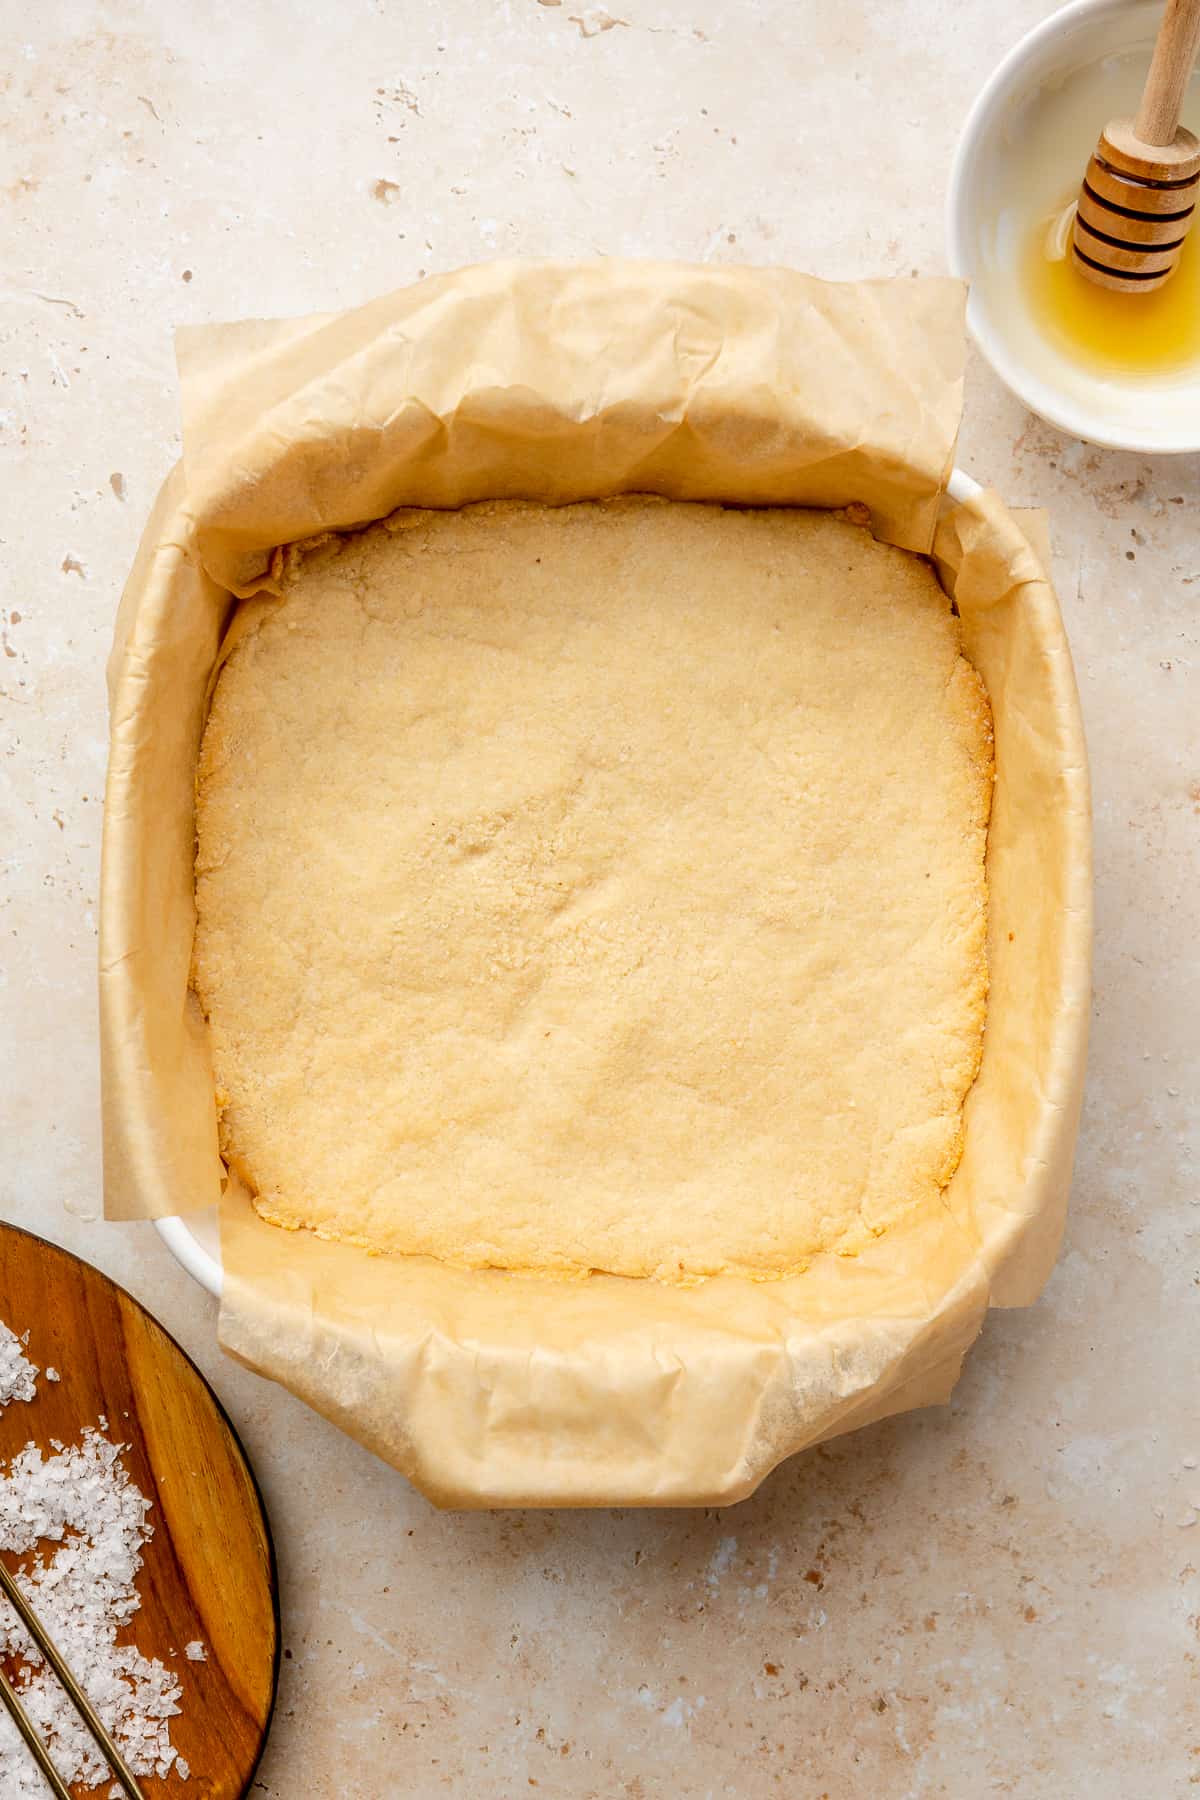
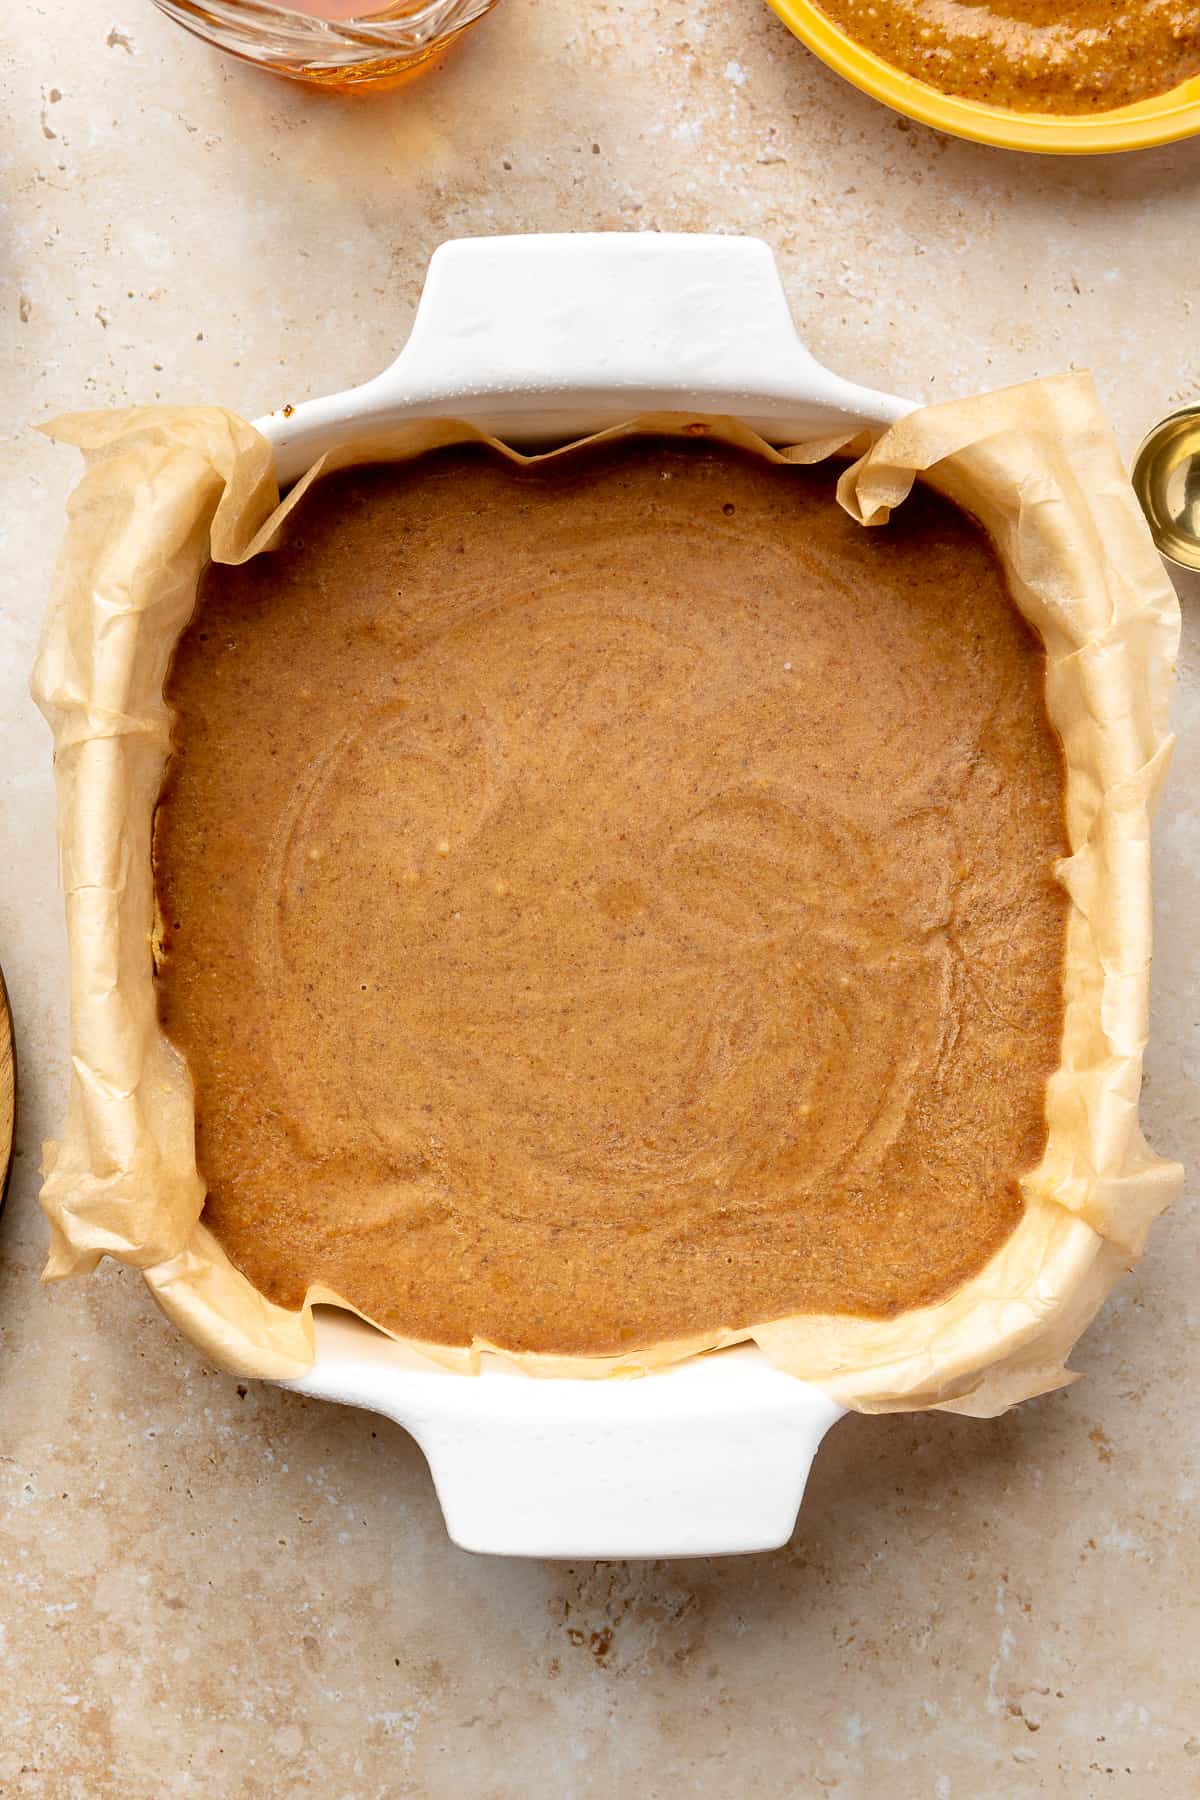
First, you’ll make the shortbread layer. Preheat the oven to 350 degrees Fahrenheit. In a large bowl, combine the coconut + almond flours with melted coconut oil and warmed honey. Use a silicone spatula to mix all of the shortbread ingredients together, making sure to stir out all of the crumbles of flours until thoroughly combined.
Line a smaller baking dish (I prefer 6×6 inch) with parchment paper, letting the excess paper hang over the sides. Pack down the shortbread mixture into your baking dish using a silicone spatula. If you find the shortbread mix starts to stick to the spatula, simply dip the spatula into melted coconut oil and continue to gently press down evenly into entire base of the baking dish.
Bake for about 10-12 minutes, or until the shortbread starts to turn golden brown. Remove once done, and set aside to cool completely.


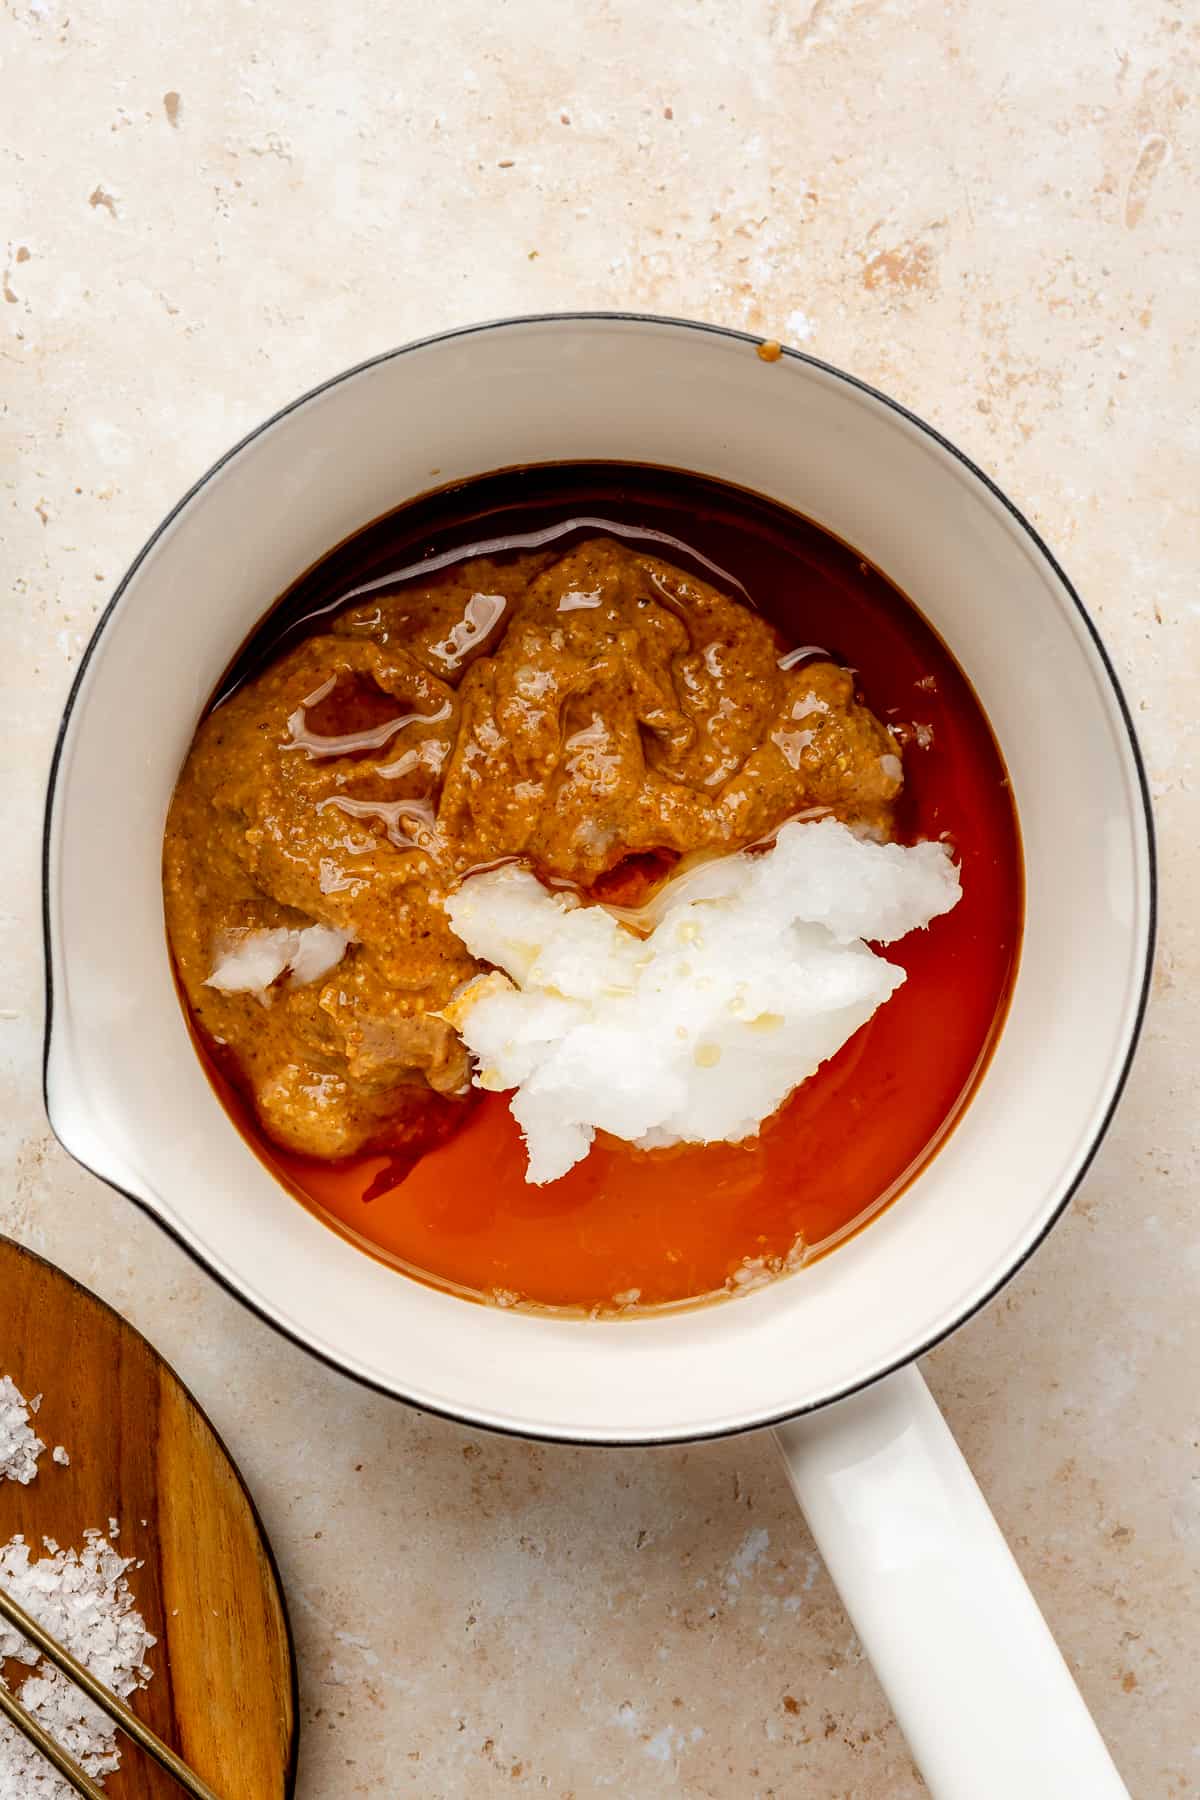
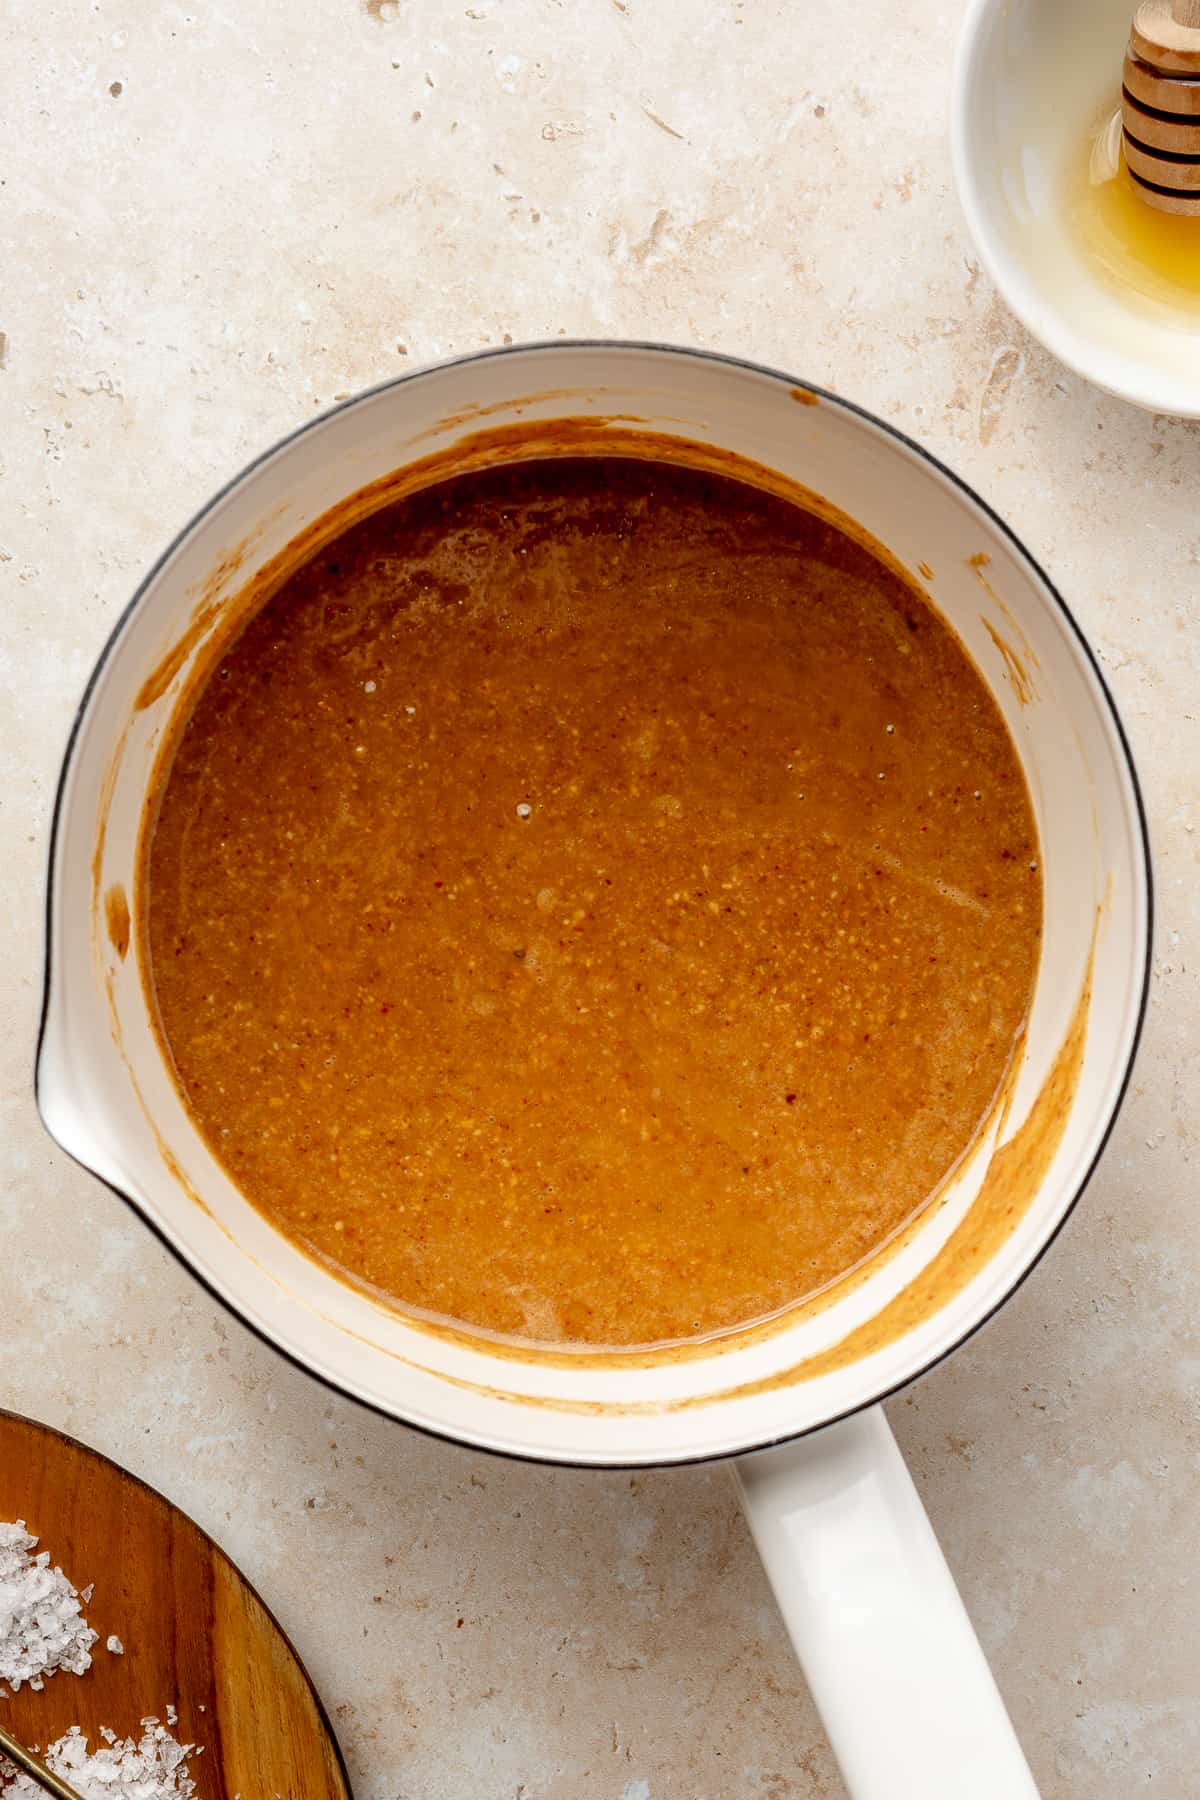
Caramel Layer
In a medium-sized saucepan, combine the almond butter, coconut oil, vanilla, maple syrup and sea salt over medium-low heat. Heat until completely liquified, whisking together, for about 2-3 minutes. Remove from the burner and let the mixture cool completely.

Chocolate Layer
Break up your chocolate bar of choice into a small bowl and add coconut oil. Warm in the microwave for 30 second intervals, stirring in between, until completely liquified. You could also heat the chocolate & coconut oil over the stove, if preferred.


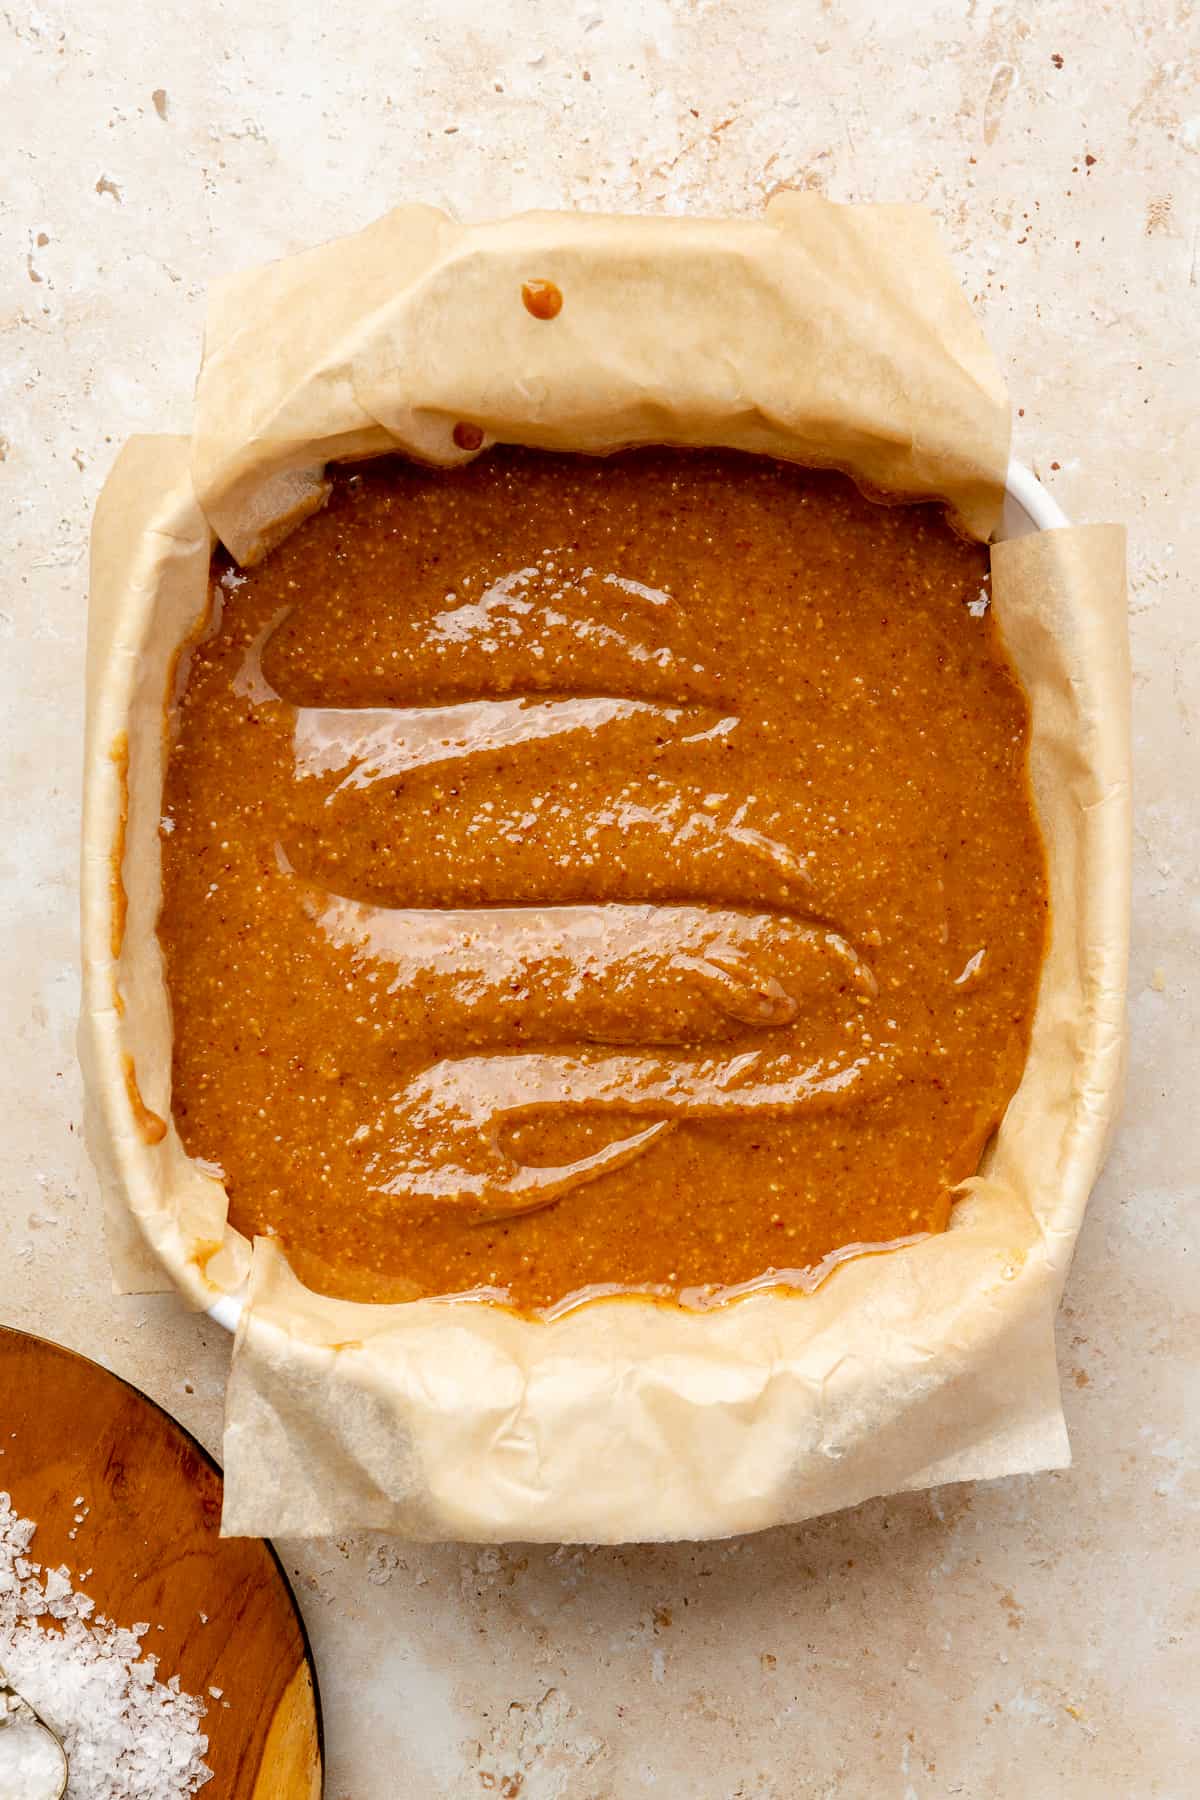
Twix Bars
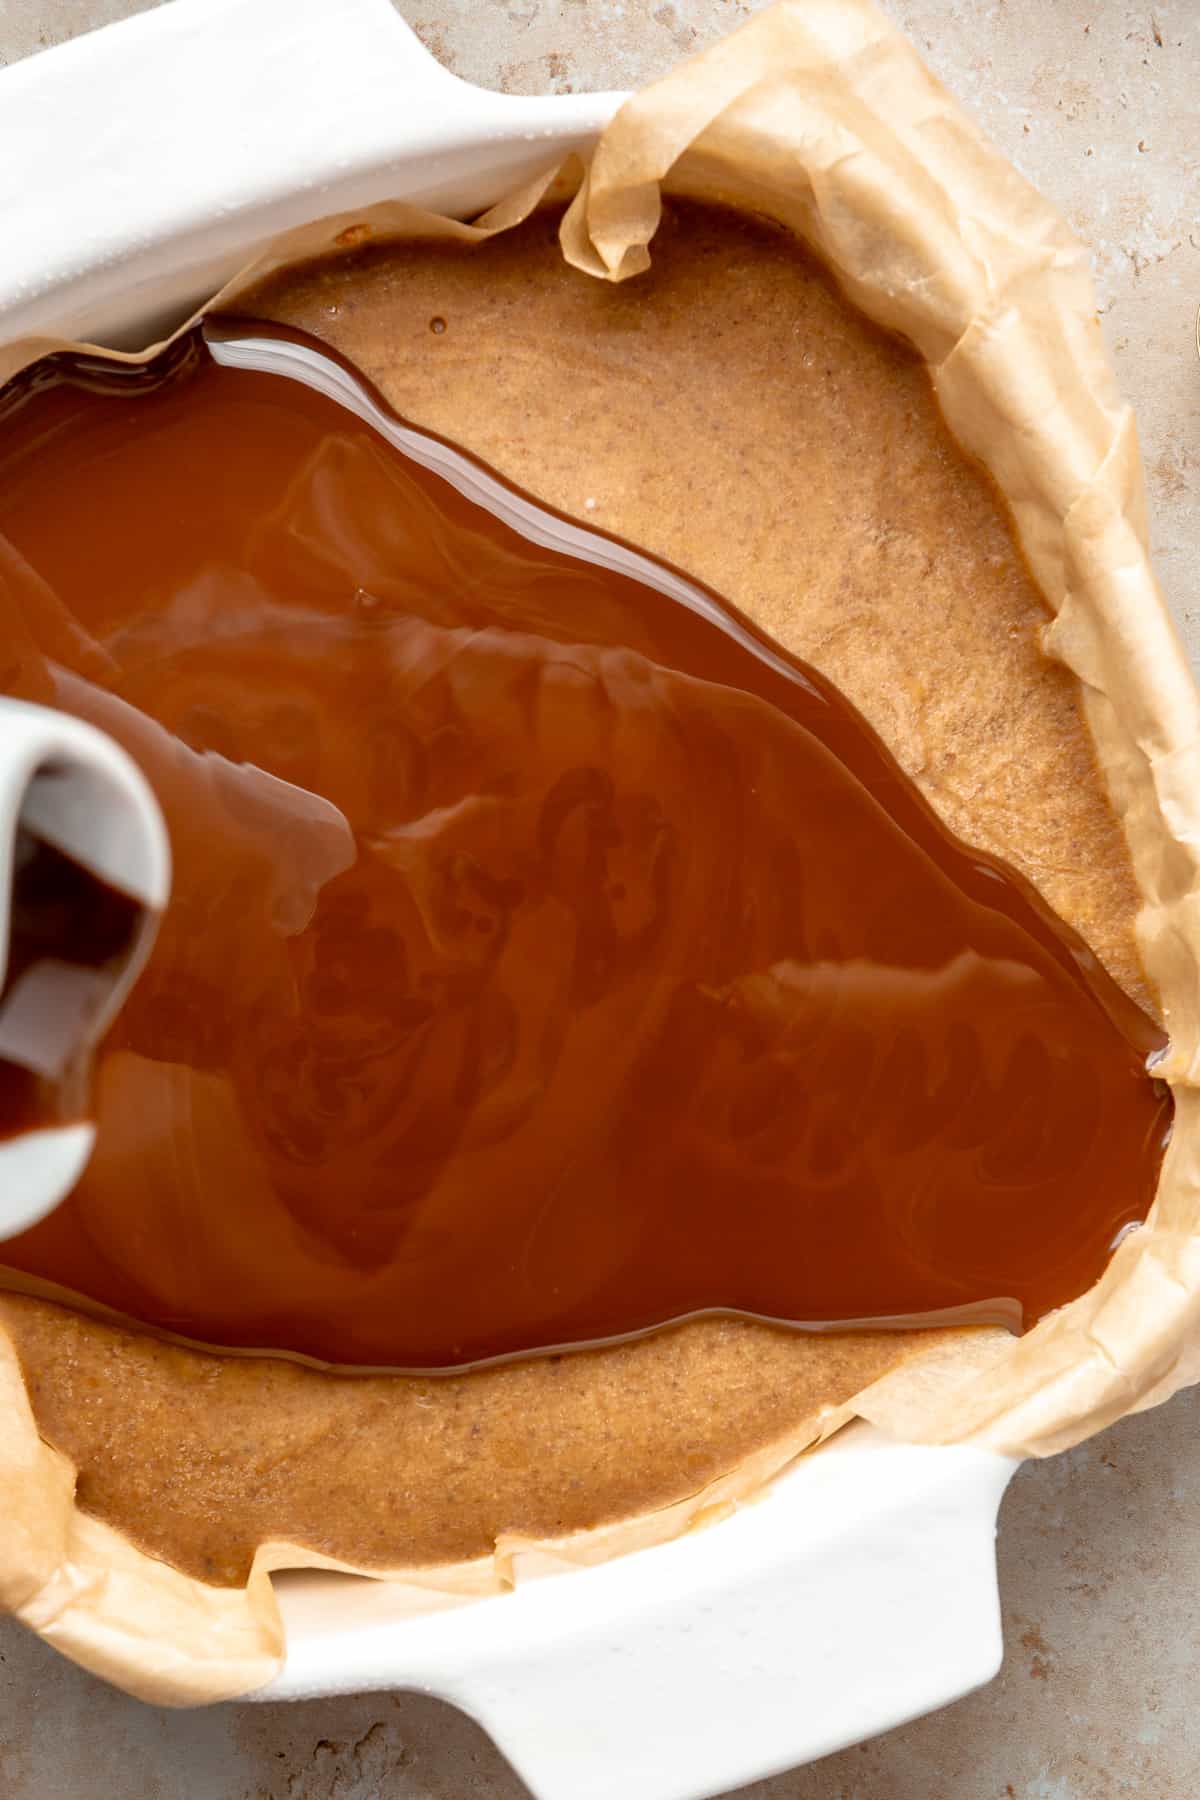
Now, let’s put it all together for a little taste of heaven! Once the shortbread & caramel layers have completely cooled, pour the caramel sauce over the shortbread base layer, spreading it out evenly – corner to corner! Set in the freezer until these two combined layers completely harden (about 1-2 hours).
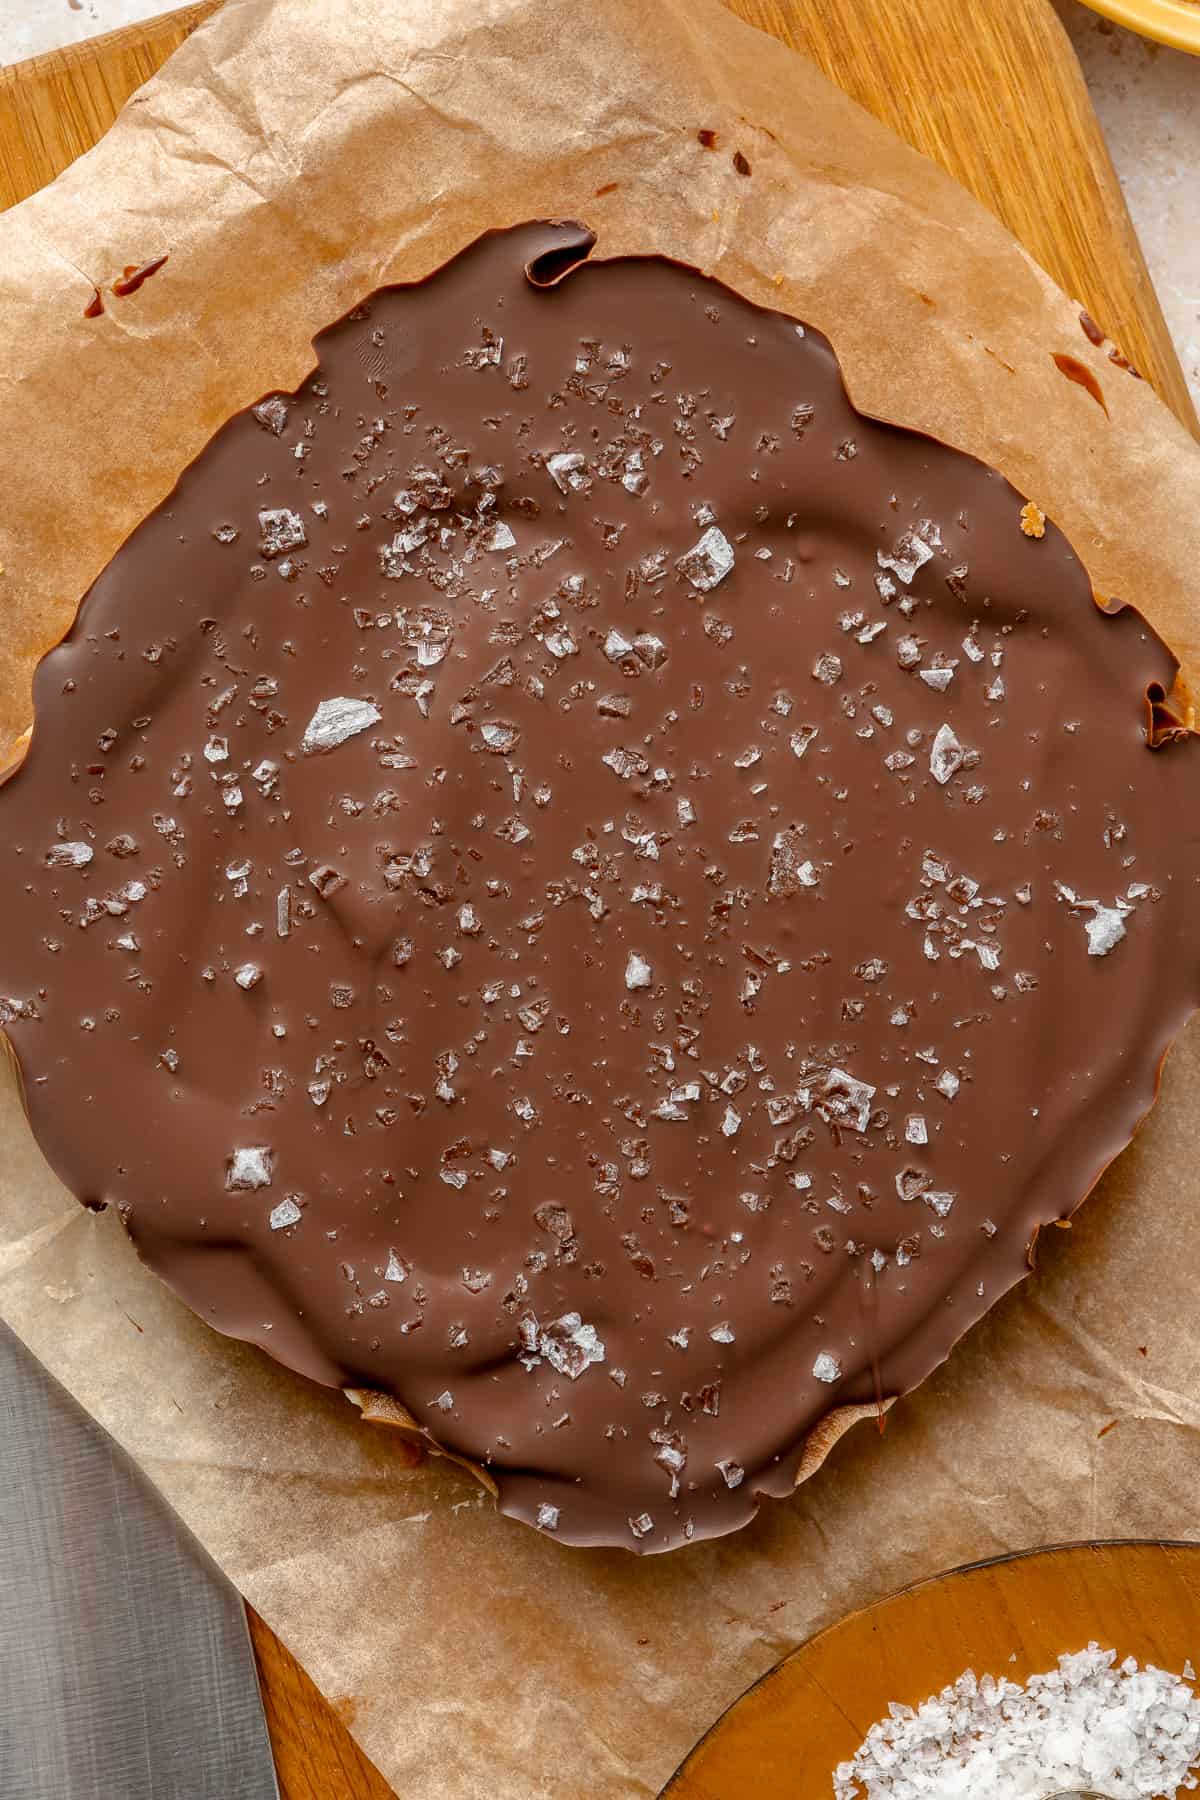
Once frozen, remove from the freezer (be sure to put back into the freezer to finish hardening if you find it’s still soft), and pour the melted chocolate over top – again, spreading out evenly. Sprinkle flakey sea salt as the final touch and set in the fridge for 5-10 minutes to harden.
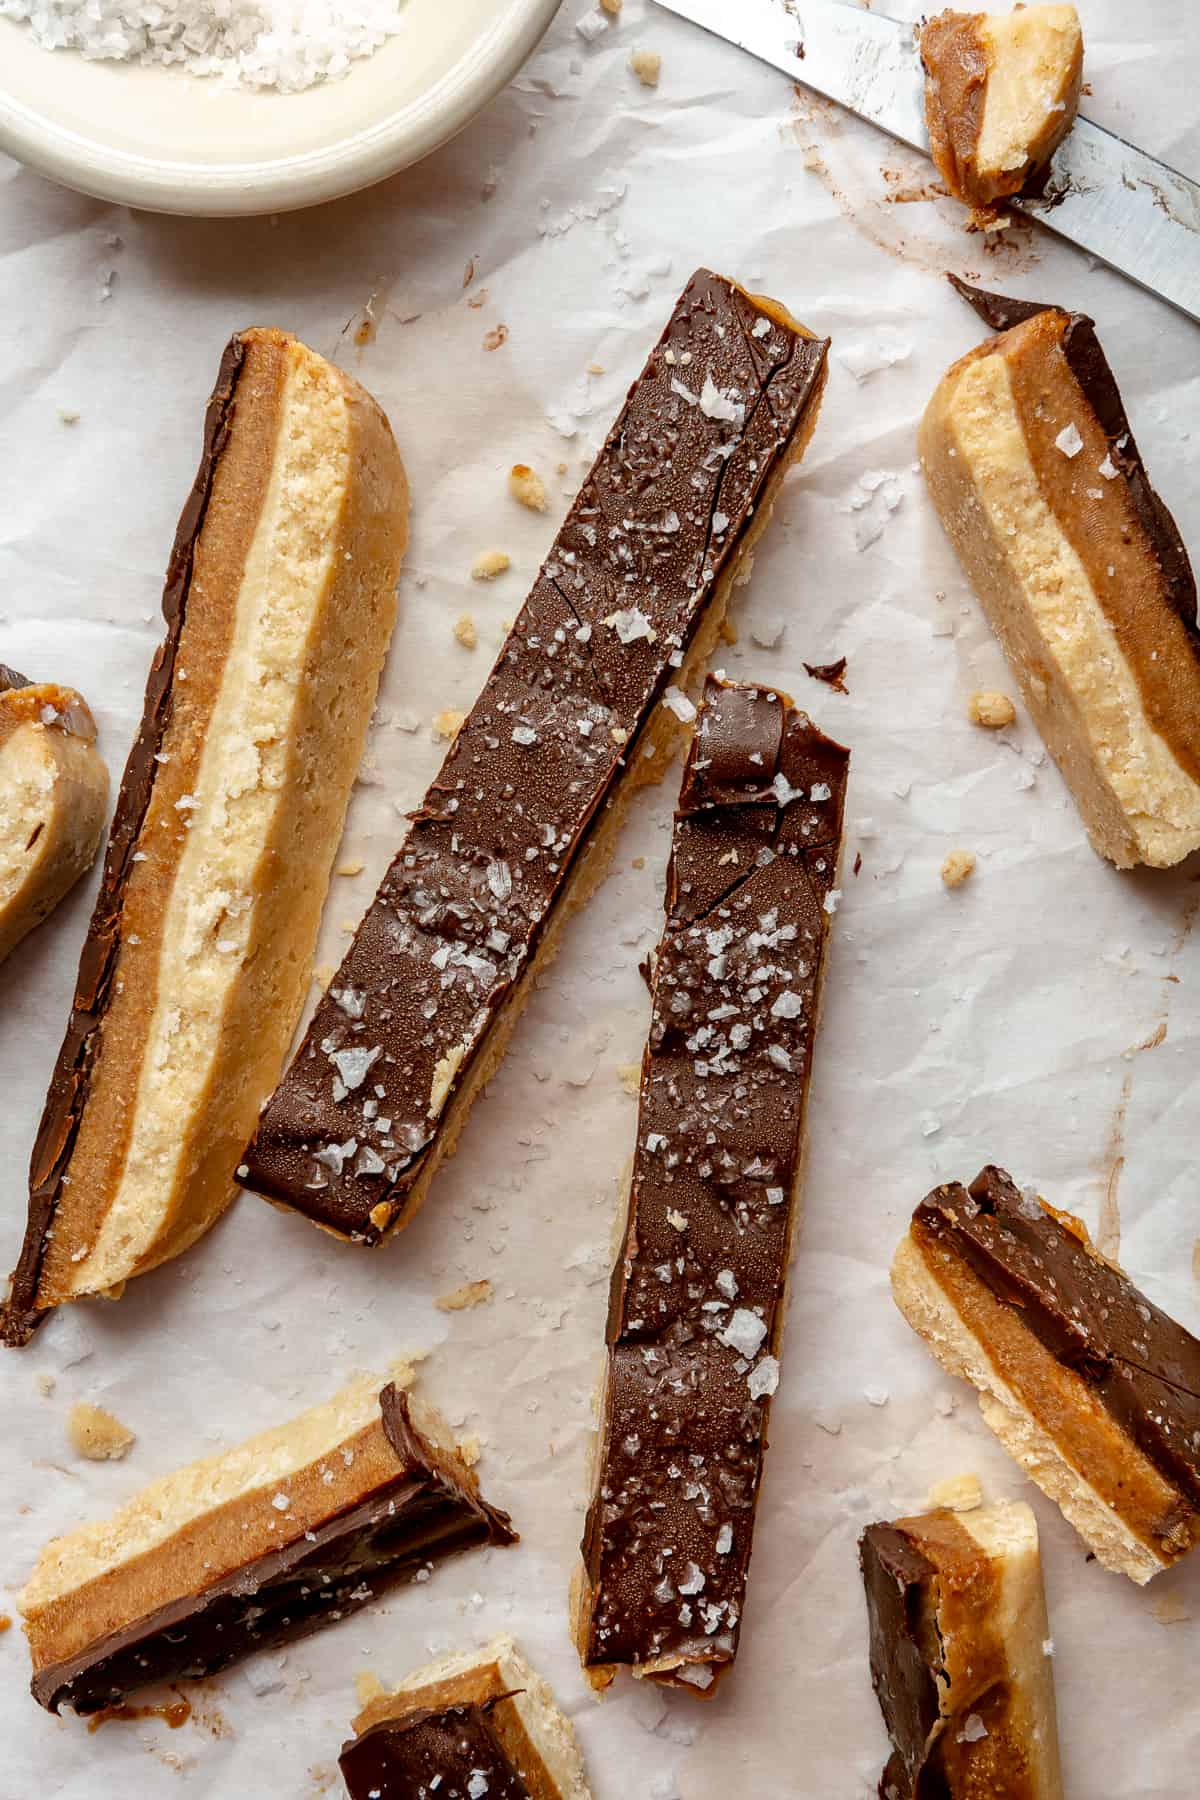
After everything has chilled, remove the hardened mold from the baking dish by pulling on the sides of the parchment paper. Lay on a cutting board and using a chef’s knife, slice into 1/2-inch strips, and from there, slice into thirds. Feel free to cut them into smaller, more bite-sized pieces if that’s more your style!
*Important note: if you leave the chocolate layer in the freezer for too long, it may crack when you cut into slices.
Now, these deliciously decadent bars are ready to serve. Whether you whip these up for a solo indulgence or to enjoy with friends & family, I hope you enjoy every last bite!
Are Paleo Desserts Better For You?
OK, so, any dessert or treat is still just that. No matter what it is, anything sweet is best enjoyed in moderation, but there are definitely ways to make healthy swaps for the processed, packaged & sugar-filled desserts we all know & love. Using paleo ingredients when baking is a great alternative as anything paleo is free from refined sugar and inflammatory ingredients like dairy and gluten. Baking with paleo ingredients is a great way to satisfy your sweet tooth if you’re trying to maintain a healthy lifestyle!
Do You Need To Add Coconut Oil When Melting Chocolate?
While it’s not a total necessity, I prefer to and typically recommend adding coconut oil to chocolate whether melting over the stove or microwaving. The coconut oil gives the chocolate a nice, glossy sheen and helps it to melt more smoothly (which makes it a perfect consistency for dipping, drizzling & coating!).
Healthy TWIX Bars (GF, DF, Refined Sugar-free)
Ingredients
Shortbread Layer
- 1/2 cup coconut flour
- 1/2 cup almond flour
- 1/3 cup coconut oil, melted
- 3 tbsp honey, warmed, (feel free to sub maple syrup)
Caramel Layer
- 1/2 cup almond butter, creamy or crunchy, (swap for your fave nut or seed butter)
- 1/4 cup coconut oil
- 1 tsp vanilla extract
- 1/4 cup maple syrup
- pinch sea salt
Chocolate Layer
- One 2.5 oz dark chocolate bar (I use Evolved Eating Signature Dark), Or sub 1/2 cup chocolate chips
- 1 tbsp coconut oil
- 1/4 tsp flakey sea salt
Instructions
Shortbread Layer
- Preheat oven to 350 degrees F.
- Combine coconut + almond flours with melted coconut oil and warmed honey in a large bowl. Stir out all the crumbles of flour until thoroughly combined.
- Line a smaller baking dish (I prefer a 6×6 baking dish) with parchment paper and pack down shortbread mixture into the base using a silicone spatula. If shortbread mix starts to stick to spatula, dip in melted coconut oil and continue to gently press down evenly into entire base of dish.
- Bake for 10-12 minutes, or until starting to turn golden brown. Remove once done and let cool completely.
Caramel Layer
- Combine almond butter, coconut oil, vanilla, maple syrup and sea salt in a saucepan over the stove on medium-low heat and heat until completely liquified, whisking together, about 2-3 minutes.
- Remove from burner and let cool completely.
Chocolate Layer
- Break up chocolate bar into small bowl and add coconut oil. Warm in microwave for 30 sec intervals, stirring in between, until completely liquified. Or, heat over the stove.
TWIX BARS
- Once shortbread & caramel have completely cooled, pour caramel sauce over the base layer, spreading out evenly. Set in freezer until it hardens *completely,* about 1-2 hours.
- Remove from freezer once frozen (if still soft, keep in freezer until fully hardened) and pour chocolate over the top, spreading out evenly. Sprinkle flakey sea salt as the last touch and set back in fridge for 5-10 minutes to harden.
- Once chilled, remove the hardened mold from pan by pulling on the sides of the parchment paper. Lay on cutting board and using a large chef's knife, slice into 1/2-inch strips, and from there, slice each strip into thirds. *if you leave the chocolate layer in the freezer for too long, it may crack when you cut into slices.
- Ready to serve!! Enjoy! Store in airtight container in the freezer or fridge 🙂


So good! I’ve used this recipe multiple times. Always a hit at holidays. Even picky eater approved.