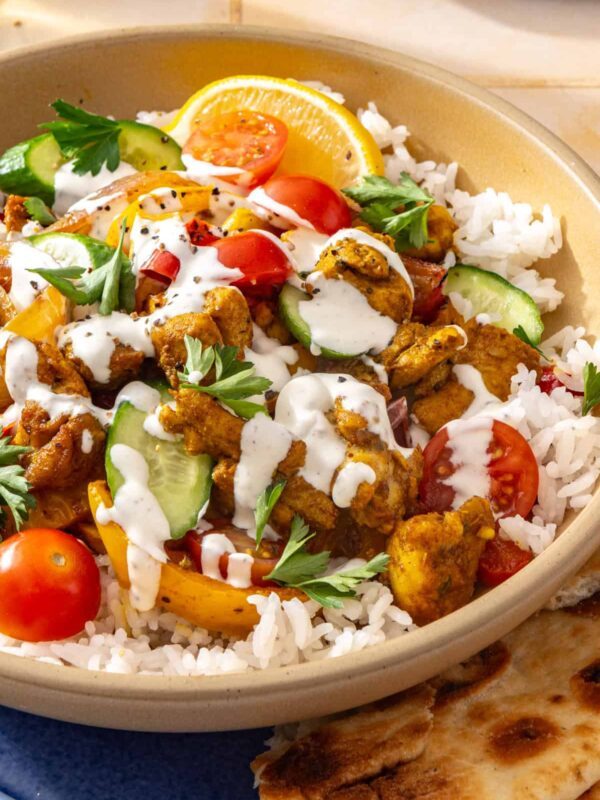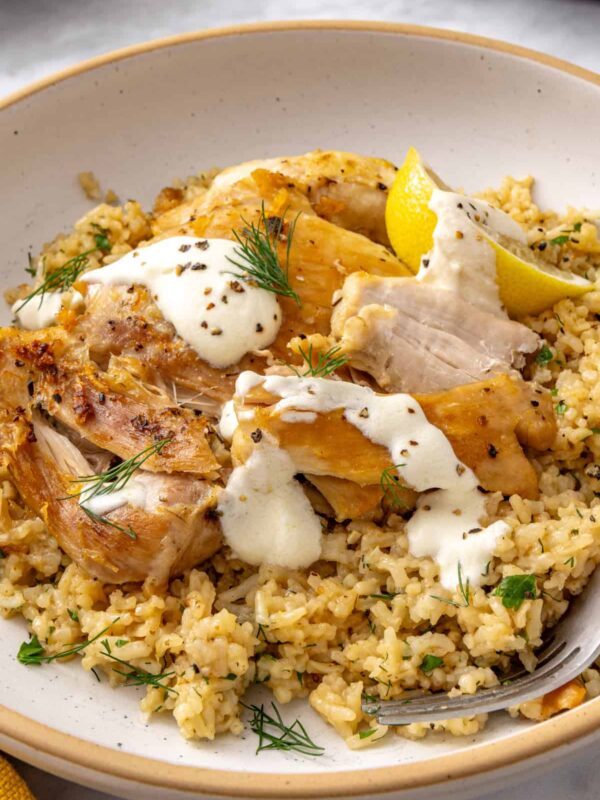

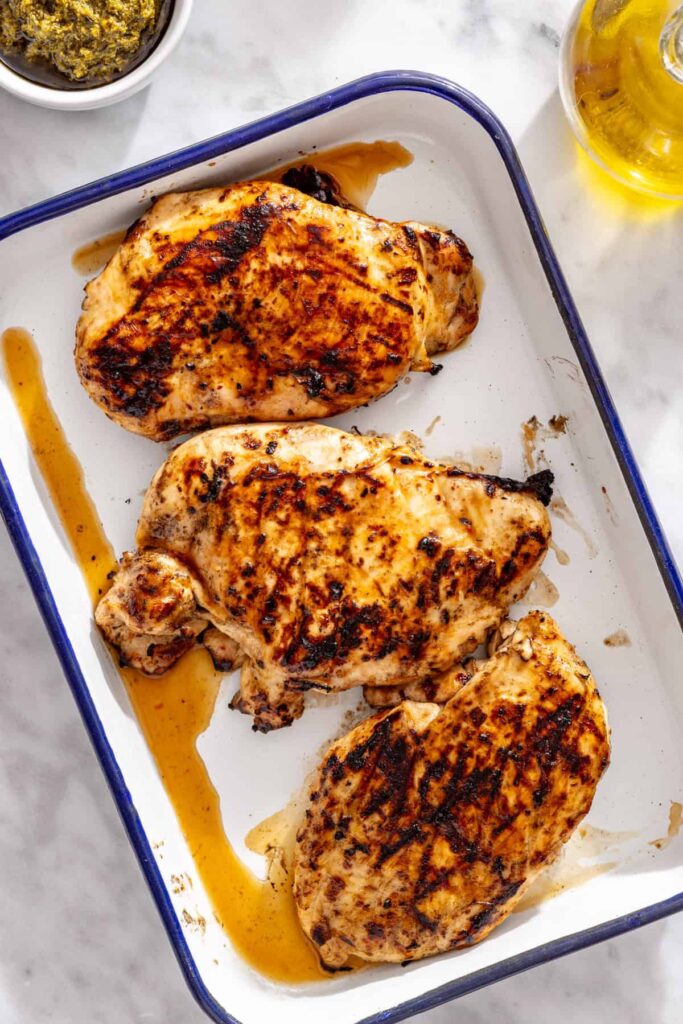
Is everyone’s greatest fear in the kitchen drying out chicken?? Because once upon a time I had to check the temp of my chicken every few seconds because I had no idea what was going on. Now that I have 10 years of recipe development under my belt (plus 2 NYT bestselling cookbooks!), I never have to second guess how my chicken is going to turn out. And trust me – cooking juicy, tender chicken breast at home is easier than you think. With a few simple tips, including how to season it, how long to cook it, and when to let it rest, you can make perfectly cooked chicken breast every time.
I’m sharing two of my favorite methods below: cooking chicken breast in a skillet on the stovetop and baking it in the oven. Both are easy, require minimal ingredients, and are perfect for everything from weeknight dinners to meal prep. Here is a blog post I wrote with some of my favorite chicken breast recipes: 10 Healthy Chicken Breast Recipes You’ll Make Again and Again
How to Cook Chicken Breast Without Drying It Out
Here are a few simple tips that make a big difference when it comes to keeping chicken breast juicy and tender.
1. Start with evenly sized chicken breasts. Chicken breasts can vary quite a bit in thickness, which means the thinner end can dry out before the thicker part finishes cooking. If your chicken breast is especially thick, use a meat mallet to pound it to an even thickness. This helps it cook more evenly from end to end.
2. Season generously. Chicken breast has a mild flavor, so don’t skip the seasoning. Salt, pepper, garlic powder, and onion powder are some of my go-to options. You can also season the chicken ahead of time and let it sit in the refrigerator for 30 minutes or so to give the salt time to work its way into the meat.
3. Use a little oil. Brushing or coating the chicken with olive oil or avocado oil helps the seasoning stick and promotes browning, especially when cooking in a skillet.
4. Use a meat thermometer. This is probably the most important tip. Chicken breast is lean, so it can go from perfectly cooked to dry in a short amount of time. The safest way to know when it’s done is to check the internal temperature with a meat thermometer. Chicken should reach 165°F in the thickest part.
5. Let it rest before slicing. Once the chicken is cooked, transfer it to a cutting board and let it rest for about 5 minutes before slicing. This gives the juices time to redistribute throughout the meat. (Don’t skip this!!)
How to Cook Chicken Breast in a Pan
Cooking chicken breast in a skillet is one of my favorite methods when I want a quick, flavorful protein for dinner. You get a golden-brown exterior while keeping the inside tender and juicy, and the whole process takes about 15–20 minutes, depending on the thickness of the chicken.
What You’ll Need
- Boneless, skinless chicken breasts
- Olive oil or avocado oil
- Salt and black pepper
- Garlic powder and onion powder
- You can use any seasonings you love, but this combination is a great starting point for chicken that works in salads, bowls, wraps, and just about any weeknight dinner.
Step-by-Step Instructions
Step 1: Prep the chicken.
Pat the chicken breasts dry with a paper towel. If they’re very thick or uneven, pound them to an even thickness of about ¾ inch. This helps the chicken cook evenly without the thinner portions drying out.
Step 2: Season both sides.
Drizzle the chicken with a little olive oil or avocado oil, then season both sides generously with salt, pepper, garlic powder, and onion powder if using.
Step 3: Heat your skillet.
Place a large skillet over medium-high heat. Add a little oil and allow it to heat until shimmering. You want the pan hot enough to brown the chicken, but not so hot that the outside burns before the inside cooks.
Step 4: Cook the first side.
Add the chicken breasts to the skillet in a single layer. Let them cook undisturbed for about 5–7 minutes, depending on thickness. You want a golden-brown crust to develop before flipping.
Step 5: Flip and finish cooking.
Flip the chicken and cook for another 5–7 minutes, adjusting the heat as needed to prevent the outside from browning too quickly. Thicker chicken breasts may need additional time. Check the thickest part with a meat thermometer and remove the chicken from the heat once it reaches 165°F.
Step 6: Rest before slicing.
Transfer the chicken to a cutting board and let it rest for 5 minutes before slicing. Cut against the grain for the most tender bites.
My tip: Resist the urge to keep flipping the chicken or cutting into it to check whether it’s done. Letting it brown undisturbed and using a thermometer will give you much more consistent results.
How to Cook Chicken Breast in the Oven
Baking chicken breast is another great option, especially when you’re cooking several pieces at once or prepping protein for the week. It’s hands-off, easy to clean up, and requires very little prep.
My go-to oven temperature is 425°F. The higher heat helps the chicken cook relatively quickly while giving it a nicely browned exterior without leaving it in the oven longer than necessary.
What You’ll Need
- Boneless, skinless chicken breasts
- Olive oil or avocado oil
- Salt and black pepper
- Garlic powder and onion powder (optional)
Step-by-Step Instructions
Step 1: Preheat the oven.
Preheat your oven to 425°F. Lightly grease a baking dish or line a sheet pan with parchment paper for easier cleanup.
Step 2: Prep the chicken.
Pat the chicken breasts dry with a paper towel. If needed, pound them to an even thickness so they cook at a similar rate.
Step 3: Season the chicken.
Place the chicken in your baking dish or on the prepared sheet pan. Drizzle with olive oil or avocado oil and season both sides with salt, pepper, garlic powder, and any other seasonings you like.
Step 4: Bake.
Bake for approximately 18–22 minutes, depending on the thickness of the chicken breasts. Smaller or thinner pieces may cook more quickly, while larger pieces may take longer. Start checking the internal temperature early rather than relying on time alone.
Step 5: Check the temperature.
Insert a meat thermometer into the thickest part of the chicken. Once it reaches 165°F, remove it from the oven.
Step 6: Let it rest.
Let the chicken rest for about 5 minutes before slicing or shredding. This is especially helpful if you’re making chicken for meal prep because it helps keep the meat juicy.
How Long Should You Cook Chicken Breast?
Cooking time depends on the thickness of the chicken, the temperature of your pan or oven, and whether the chicken starts out cold from the refrigerator. Use these times as a starting point, then confirm doneness with a meat thermometer.
| Cooking method | Approximate cooking time |
|---|---|
| Skillet on the stovetop | 5–7 minutes per side |
| Oven at 425°F | 18–22 minutes |
| Resting time | About 5 minutes |
These estimates are for boneless, skinless chicken breasts of relatively even thickness. Larger or thicker pieces may need more time, and thinner pieces will cook faster.
The most important thing to remember: Chicken breast is safe to eat when it reaches an internal temperature of 165°F, measured in the thickest part of the meat. Don’t rely on the color of the chicken or cooking time alone to determine whether it’s done.
Why Does Chicken Breast Get Dry?
Chicken breast is naturally lean, which makes it a great source of protein but also means it has less fat to help keep it moist during cooking.
The most common reason chicken breast turns out dry is overcooking. As the internal temperature continues to rise, the muscle fibers tighten and squeeze out moisture, leaving the meat tough and stringy.
Uneven thickness can also contribute to dry chicken. If one end is much thinner than the other, it may be overcooked by the time the thickest section reaches a safe temperature.
How to Store Cooked Chicken Breast
If you’re cooking chicken breast for meal prep, it’s easy to make a few extra portions to use throughout the week.
In the refrigerator: Store cooked chicken in an airtight container in the refrigerator for 3–4 days.
In the freezer: Freeze cooked chicken in an airtight, freezer-safe container or bag for the best quality. For easier meal prep, slice or shred it before freezing and portion it into individual servings.
To reheat: Add a splash of broth or water to the chicken before reheating to help prevent it from drying out. Cover and heat gently in the microwave or on the stovetop until warmed through. You can also slice cold cooked chicken and add it directly to salads or wraps.
Chicken Breast Recipes


Should I cover chicken breast when baking it?
You generally don’t need to cover boneless, skinless chicken breasts when baking them at 425°F. Leaving them uncovered helps the outside brown. The key is to avoid overcooking and remove the chicken once it reaches 165°F.
Is it better to cook chicken breast in a pan or in the oven?
Both methods work well! A skillet is great when you want a golden-brown exterior and a quick cooking time. The oven is convenient when you’re cooking multiple chicken breasts at once or preparing protein for the week. Choose whichever method fits your meal and schedule.
Can I cook chicken breast ahead of time for meal prep?
Absolutely! Cooked chicken breast is a great meal prep staple. Let it cool, refrigerate it promptly in an airtight container, and use it within 3–4 days. You can slice or shred it ahead of time to make assembling meals even easier.