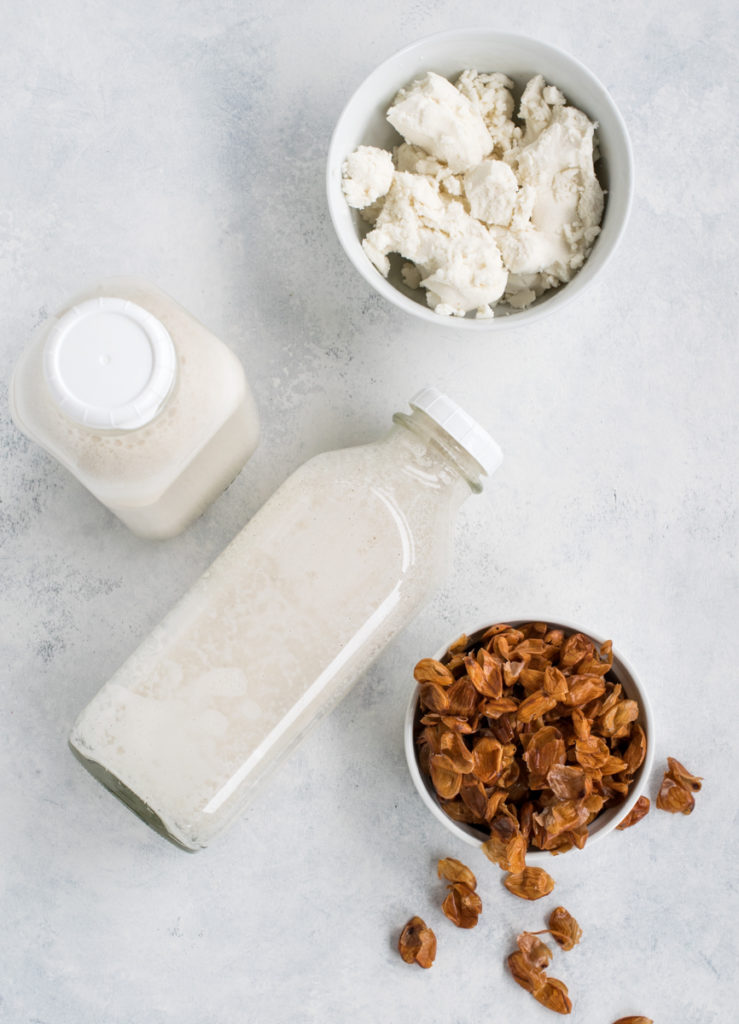
I’ve been drinking almond milk for years now and until just recently, I was buying cartons only from my local grocery store. Ever since making a point to focus more on making ingredients from scratch as much as possible to cut down on packaged items (about a year ago), I’ve wanted to make my own almond milk. It always seemed so intimidating to me and something I assumed took so much work.
I was so WRONG! It’s incredible easy, very gratifying and the taste of the freshly made nut milk makes all the difference in the world.
Plus, grocery store brands of nut milks tend to be filled with all kinds of unnecessary additives like gums, fillers, sugars, carrageenan, and not to mention, being extremely watered down. You’ll be able to notice a difference in the first sip after making your own homemade almond milk how thick and full of flavor it is. Making it from scratch also gives you full control over the ingredients going into the blender and allows you to get creative by switching up the flavors.
How To Make
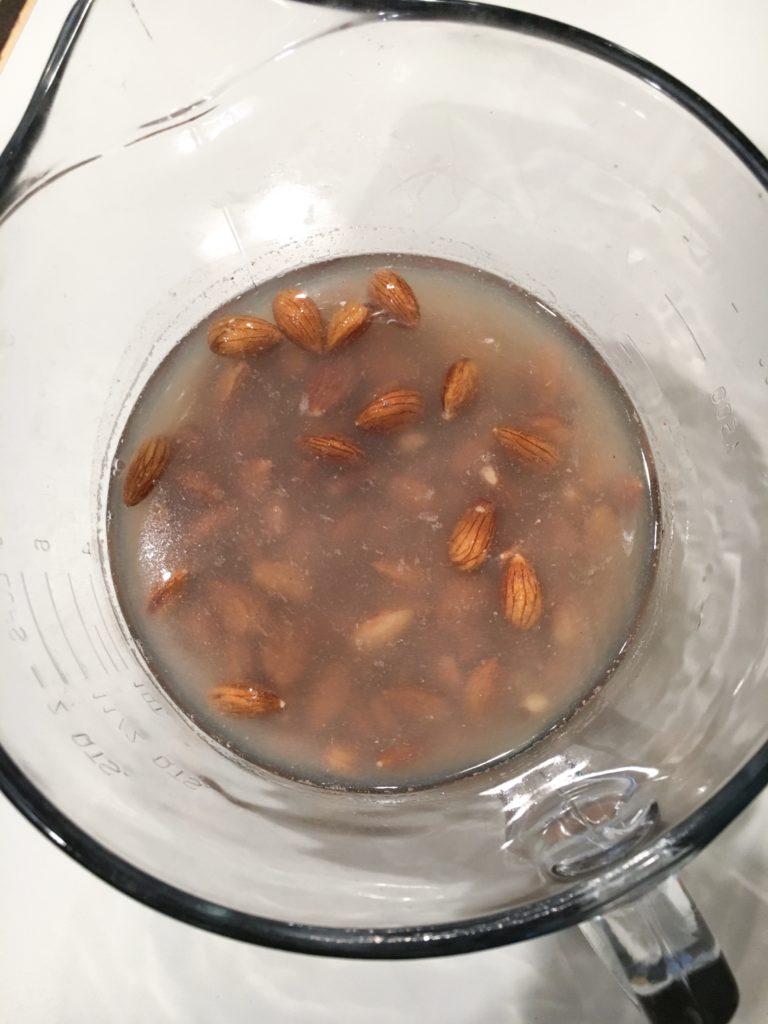
The first step in making your own almond milk is to soak the almonds overnight. Nuts, seeds, grains, beans and legumes contain naturally-occurring anti-nutrients like phytic acid, which are protective compounds for the plant, but also interfere with our digestion process. In relation to making plants harder to digest, anti-nutrients also lock up many of the nutrients the plant is able to offer. By soaking the nuts, it neutralizes the enzymes, making the nut more nutritious and easier for the body to digest (I definitely notice a difference with my digestion). It’s recommended to soak raw nuts in fresh filtered water overnight, about 12 hours.
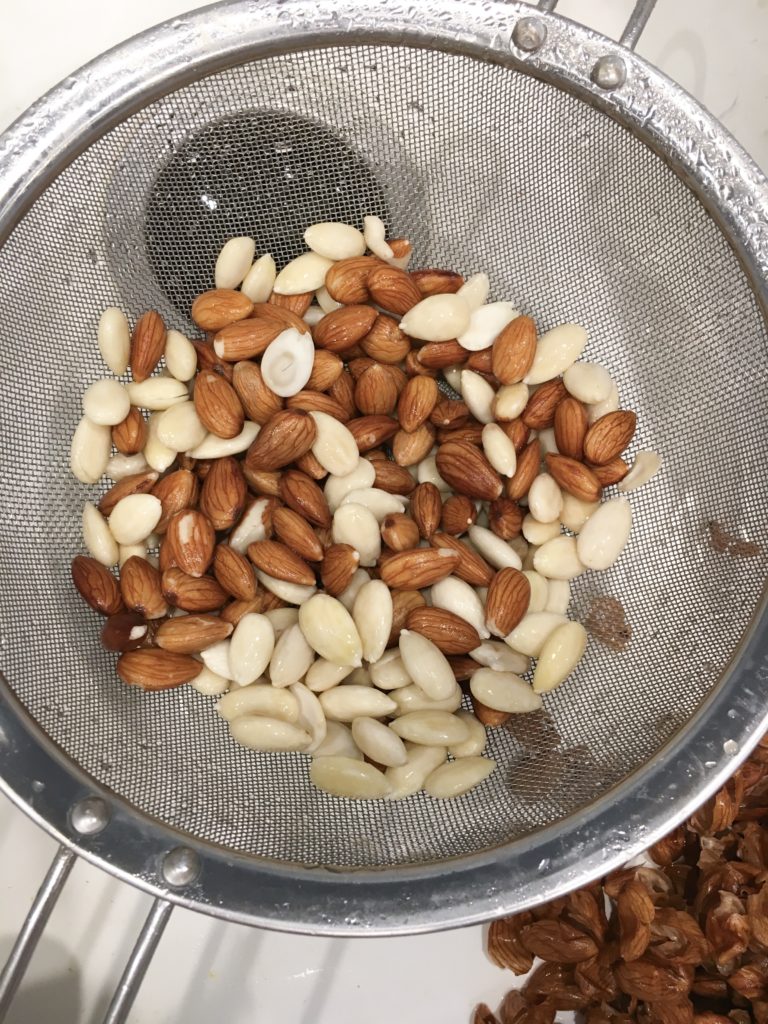
Once soaked, strain and rinse the almonds and discard the water that you had soaked them in. This next step of peeling the almonds is optional, but I think it really makes the finished product so much creamier, and if repurposing the almond meal for another recipe, makes it easier to digest without the skins intact. All you have to do is pinch each almond between two fingers and squeeze. The nut should pop right out, freeing itself of its skin.
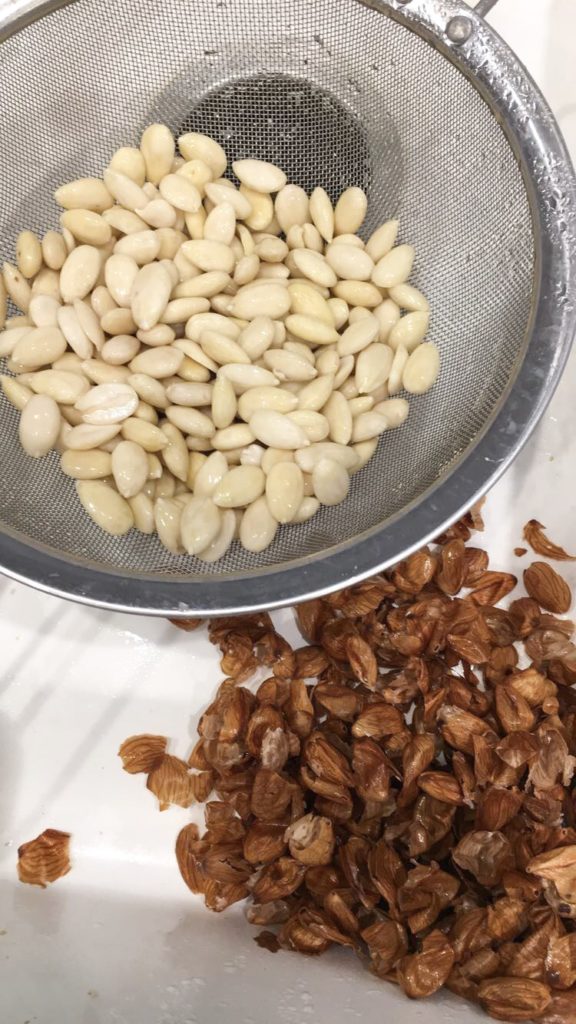
After the batch is peeled (if choosing to do so), add the almonds to a high-powered blender (I use a Vitamix), along with 3 parts fresh filtered water. Blend for about 2-3 minutes on high, then using a nut-milk bag or cheese cloth (I use this one— you can use ‘Rachael10’ for discount on Ellie’s Best nut milk bags), strain the almonds in a large bowl or glass, separating the liquid from the almond pulp. Squeeze out as much moisture as possible from the pulp, then set aside in a small bowl.
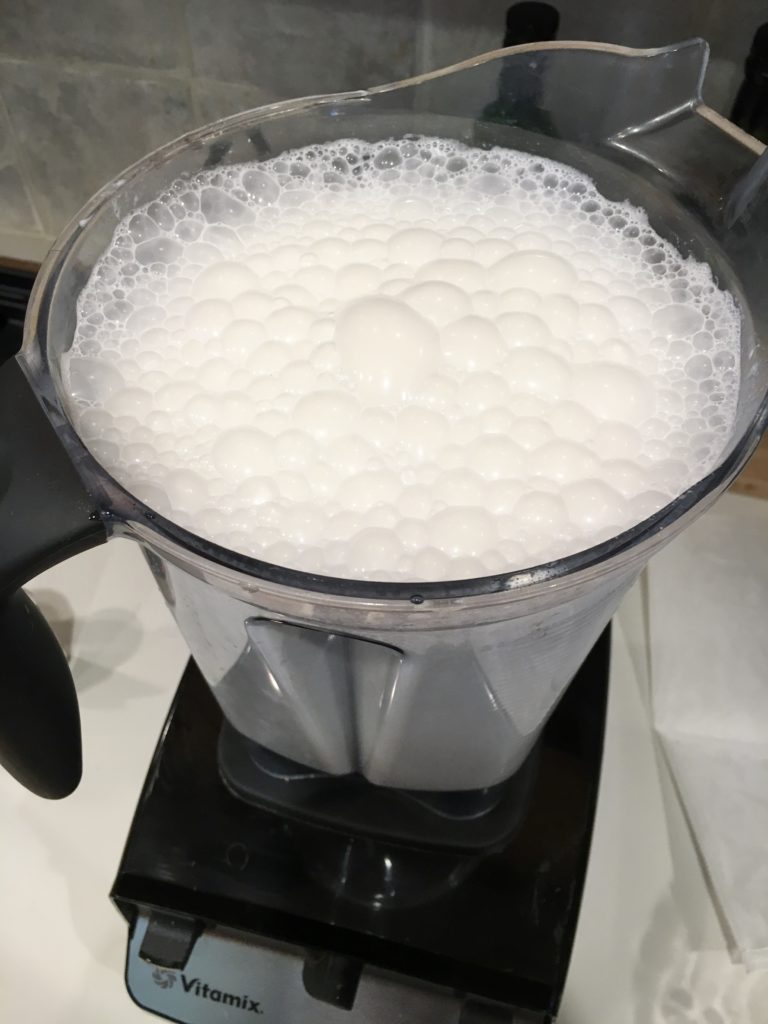
Pour almond milk back into blender along with desired ingredients to flavor, i.e. vanilla, cinnamon, pink salt, pitted dates, maple syrup. Blend for another minute. Store in glass container in the fridge for up to 5 days.
I can almost guarantee you will only want to make your own nut milk from here on out!! Or, at least cut down on the amount you buy from the store like I do– I go through so much almond milk it’s insane.
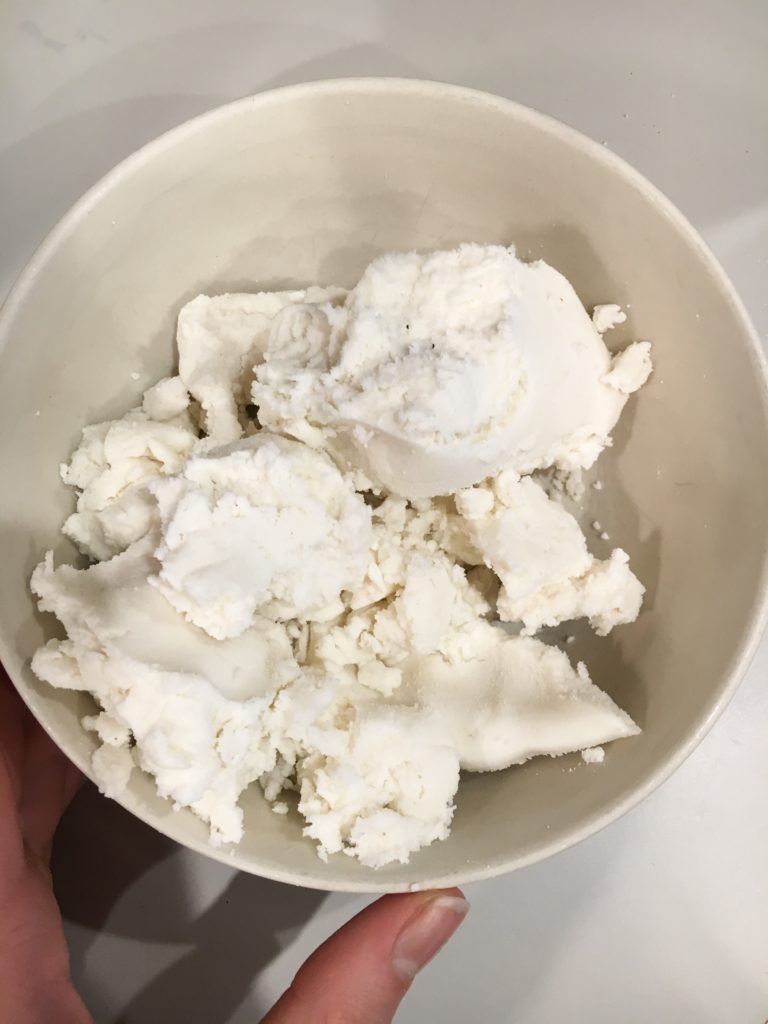
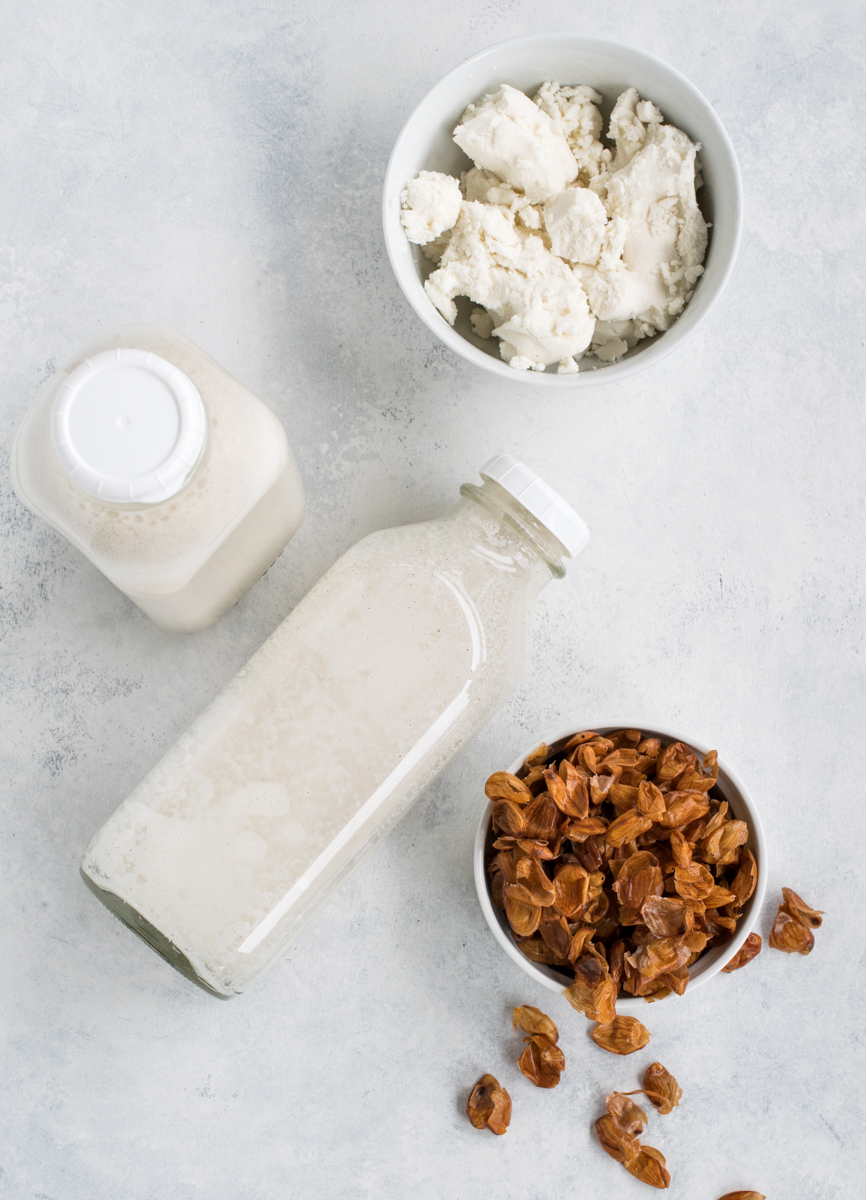
Repurposing almond pulp: spread almond pulp flat on baking sheet to bake in the oven at 200 degrees F for 2 hours. Remove and let cool, then add mixture to a blender to create a fine ‘flour’ texture. Use this homemade almond flour for baking, in smoothies for an extra boost of nutrients, or in my Cashew Chocolate Chip Cookie Skillet, like I’ve been doing!
Want to try different flavors? My favorite has been cashew almond milk. Repeat the same steps as above, except replacing 1/2 the almonds with cashews. It’s so creamy!
Hemp Milk is even more simple. No need to soak or strain, just blend 1/3 cup hemp hearts with about 6 cups filtered water
Homemade Almond Milk
Ingredients
- 2 cups raw almonds
- 10 cups filtered water
- Flavors of choice: i.e. cinnamon, vanilla bean, pink salt
- High-powered blender, i.e. Vitamix
- Nut-milk bag or cheese cloth
- Glass milk bottles, I use these
Instructions
- Add 2 cups almonds to 3 cups filtered water in a large bowl. Cover with dish towel and let soak overnight, about 12 hours.
- Strain almonds and rinse thoroughly, discarding the water that was previously soaked with almonds.
- To peel almonds (optional), pinch almond between two fingers and squeeze. The almond should pop right out, freeing itself of its skin.
- Add almonds to high-powered blender along with 6-7 cups fresh filtered water. Blend on high for 2 minutes. *The more water you add, the thinner consistency it will be.
- Using a nut milk bag or cheese cloth, strain almond milk into a large bowl or glass, separating the liquid from the leftover pulp. Squeeze all of the moisture out of the pulp and set aside in a small bowl.
- Pour almond milk back into the blender with seasonings/spices of choice to blend another minute.
- Store in glass container in the refrigerator for up to 5 days.




Really wanting to make my own almond milk. I know it says vanilla bean, but Can you use vanilla extract?
Hi Rachael- this recipe is amazing!! So excited to try variations on this. I have a question- if you go the route of doing half almonds, half cashews can you still do the pulp to flour step or will it not work for cashews? Let me know thank you so much! Love all your recipes!!
I’m sure it would work totally fine 🙂
Where are the bottles from?
Amazon! Search “glass milk bottles”
I’ve been wanting to make my own almond milk for a while already but always thought it was a tedious process. Thank you so much for this recipe! I made my first batch last week and I’ve been hooked ever since! I even made the almond flour which was very easy to make as well! Also, thanks for the product recommendations. I bought the same glass bottle and nut milk bag which are both very good quality products.
I loved reading this!! Thank you so much for sharing 🙂 I felt the exact same way about making nut milk from scratch. It’s not tedious at all!
OMGEE! I have to try this and the cookie skillet this weekend… thanks thanks, so helpful!
You’re very welcome! 🙂
I have quickly become obsessed with making homemade almond milk!! The difference between homemade and store bought is super noticeable. I love how you included how to re-purpose the pulp! I’m going to give that a try 🙂
I am so obsessed already! 🙂 The almond pulp is so easy to make almond flour I completely guessed and it turned out great!
I love that you explain the science behind your recipes! I will definitely try this. Thanks Rachael 🙂
I thought that would help show how easy it is 🙂 You’re welcome!
Love this! There is something so fun about making your own nut milk. I feel like such a homemaker, but it’s so easy!
I feel the exact same!! 🙂