

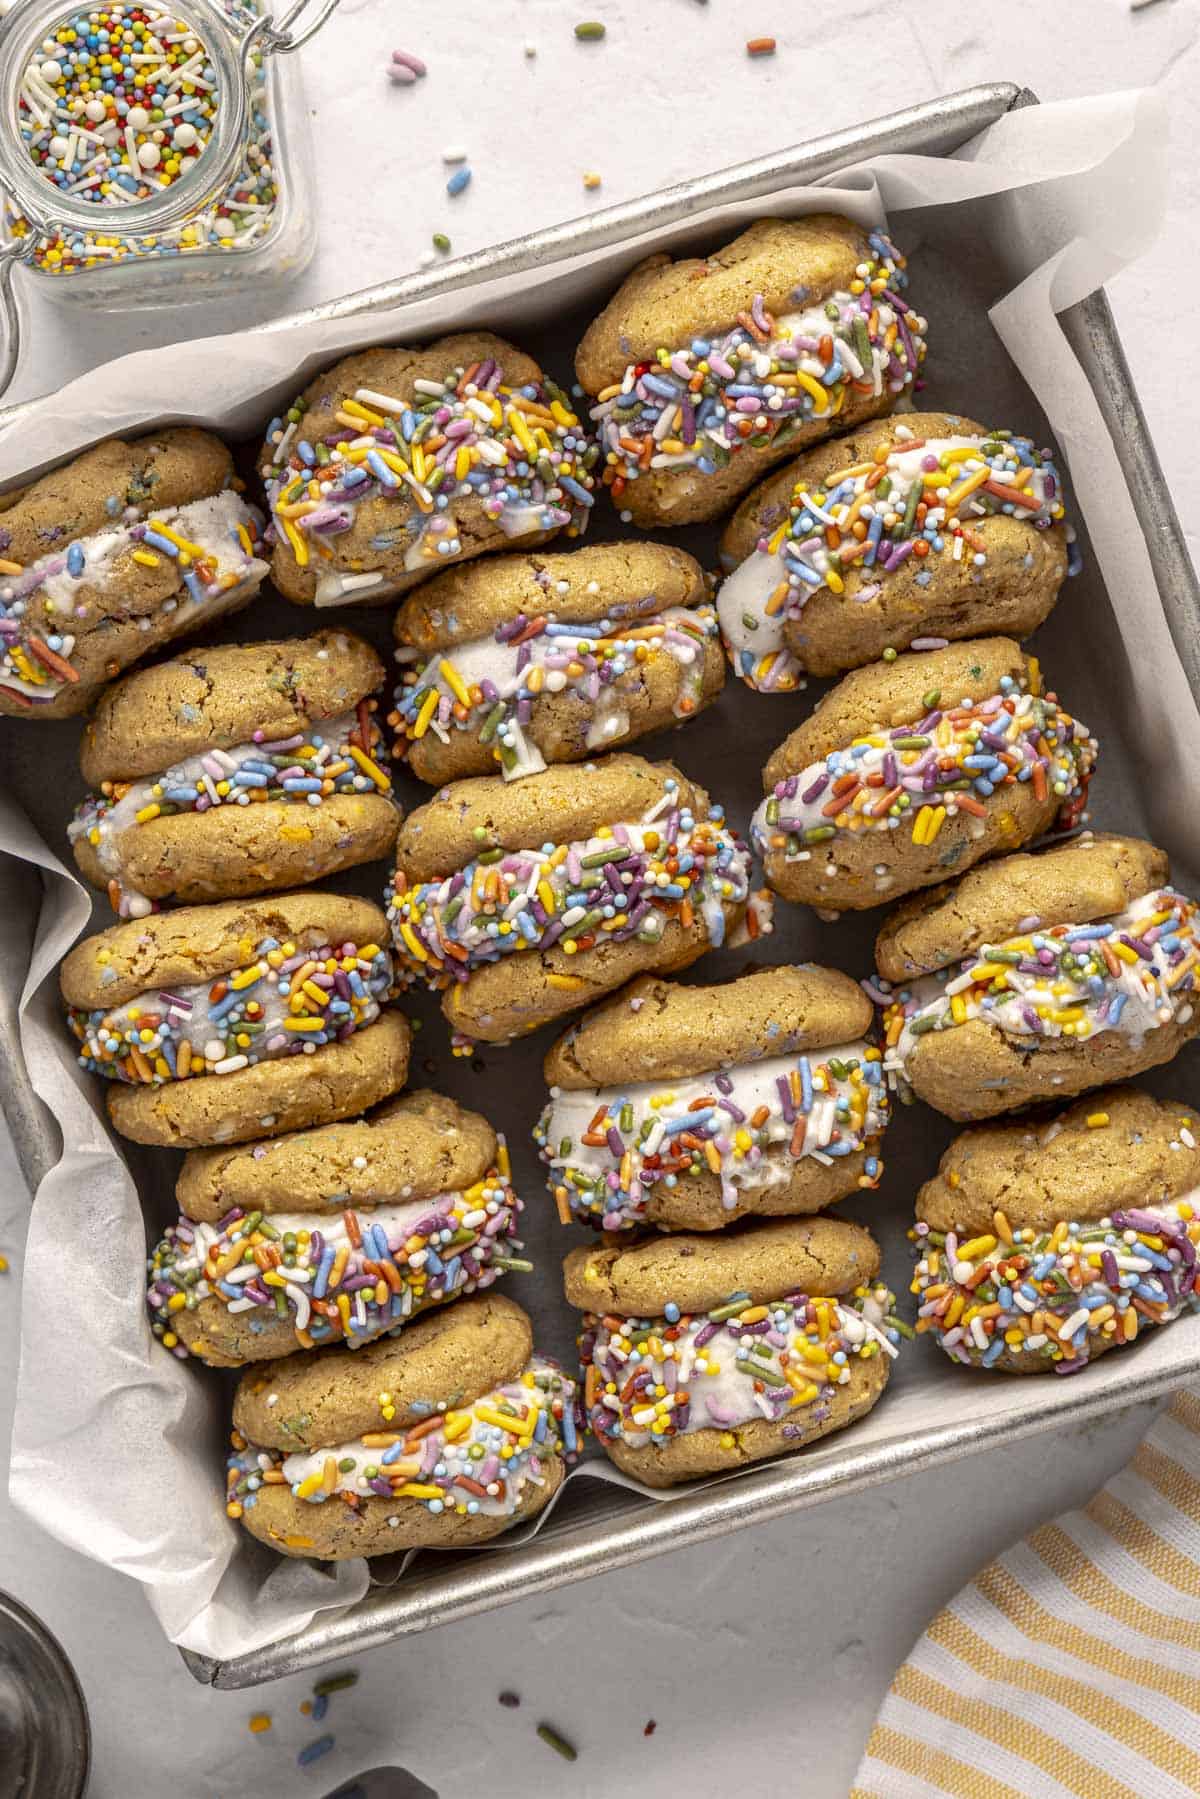
These Funfetti Birthday Cake Ice Cream Sandwiches are an ideal festive summer treat that feels indulgent but is secretly better-for-you. They’re gluten-free, dairy-free, refined sugar-free and grain-free, but you’d never know it from their next-level taste. A healthy, better-for-you dessert that’s perfect for summer gatherings or anytime you want a crowd-pleasing treat.
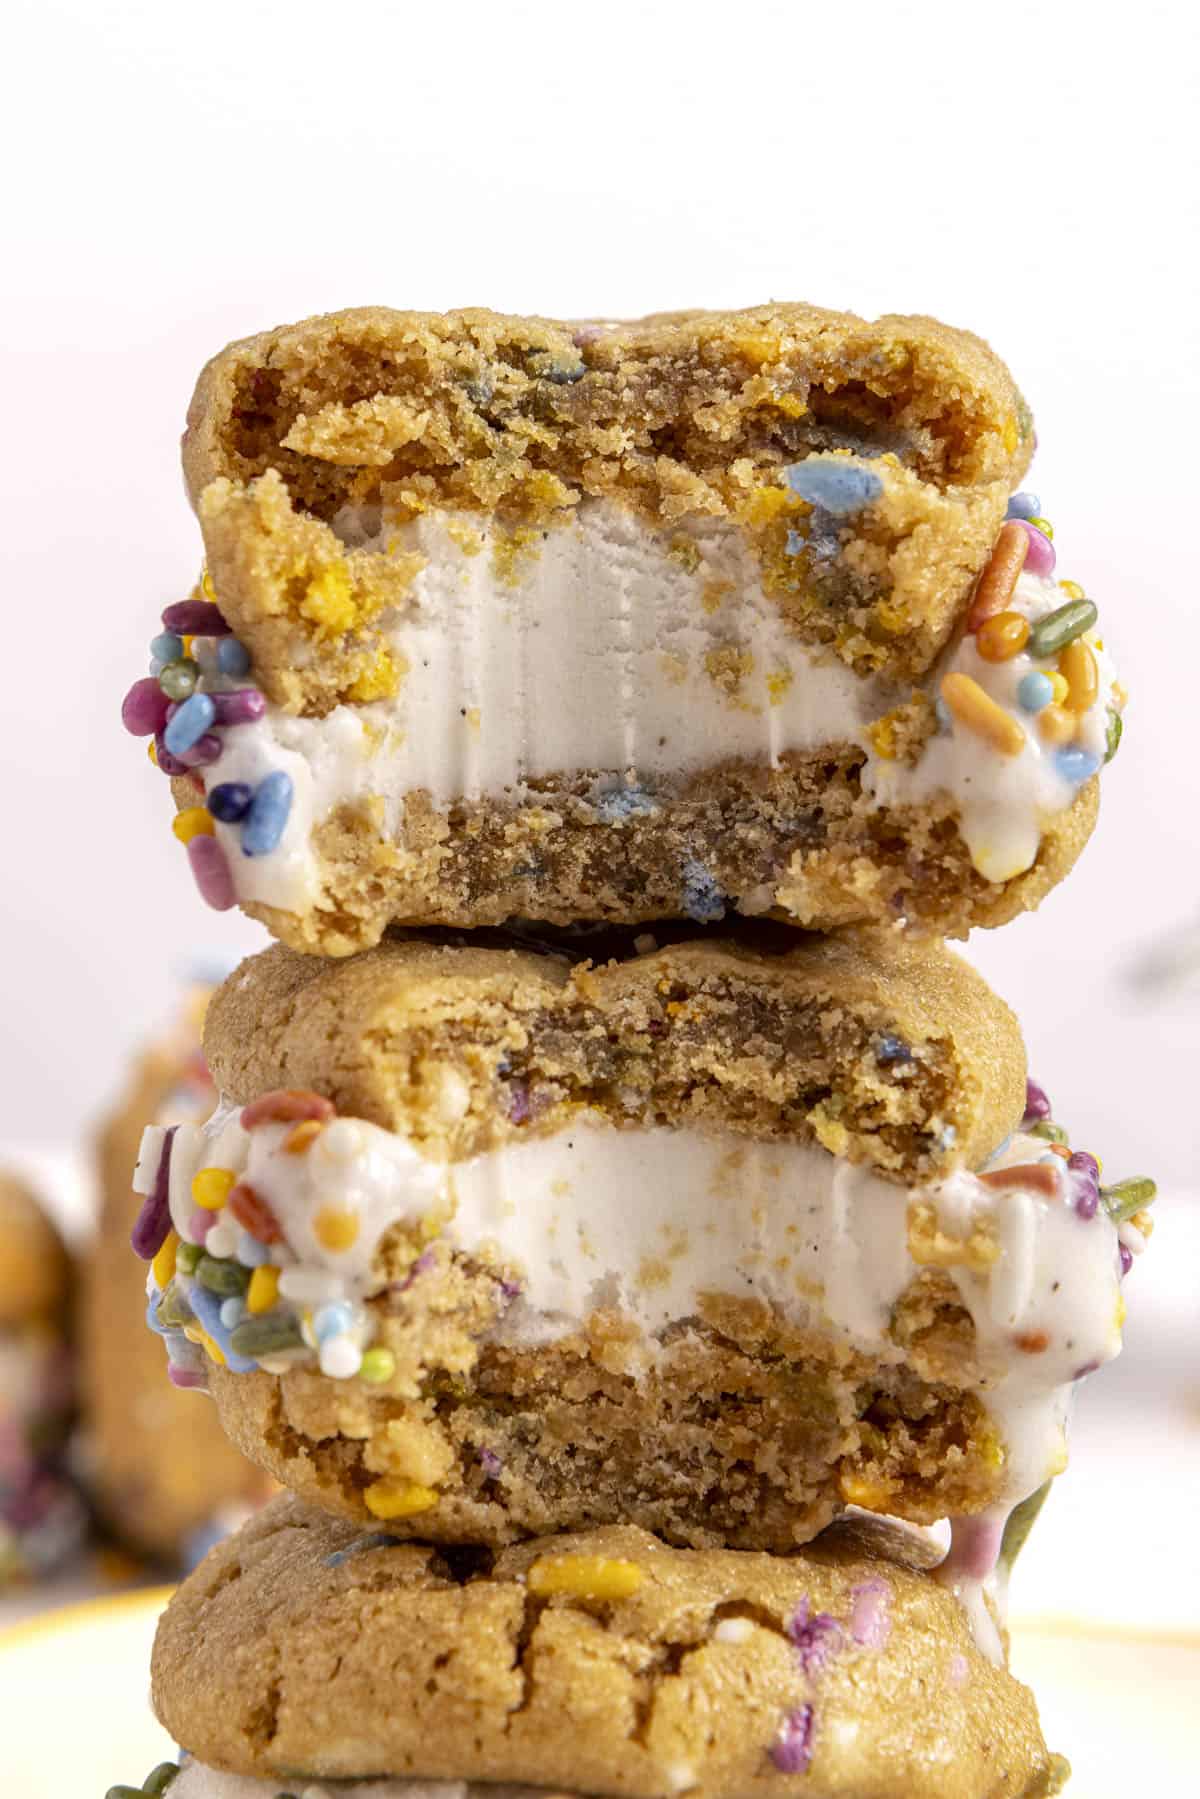
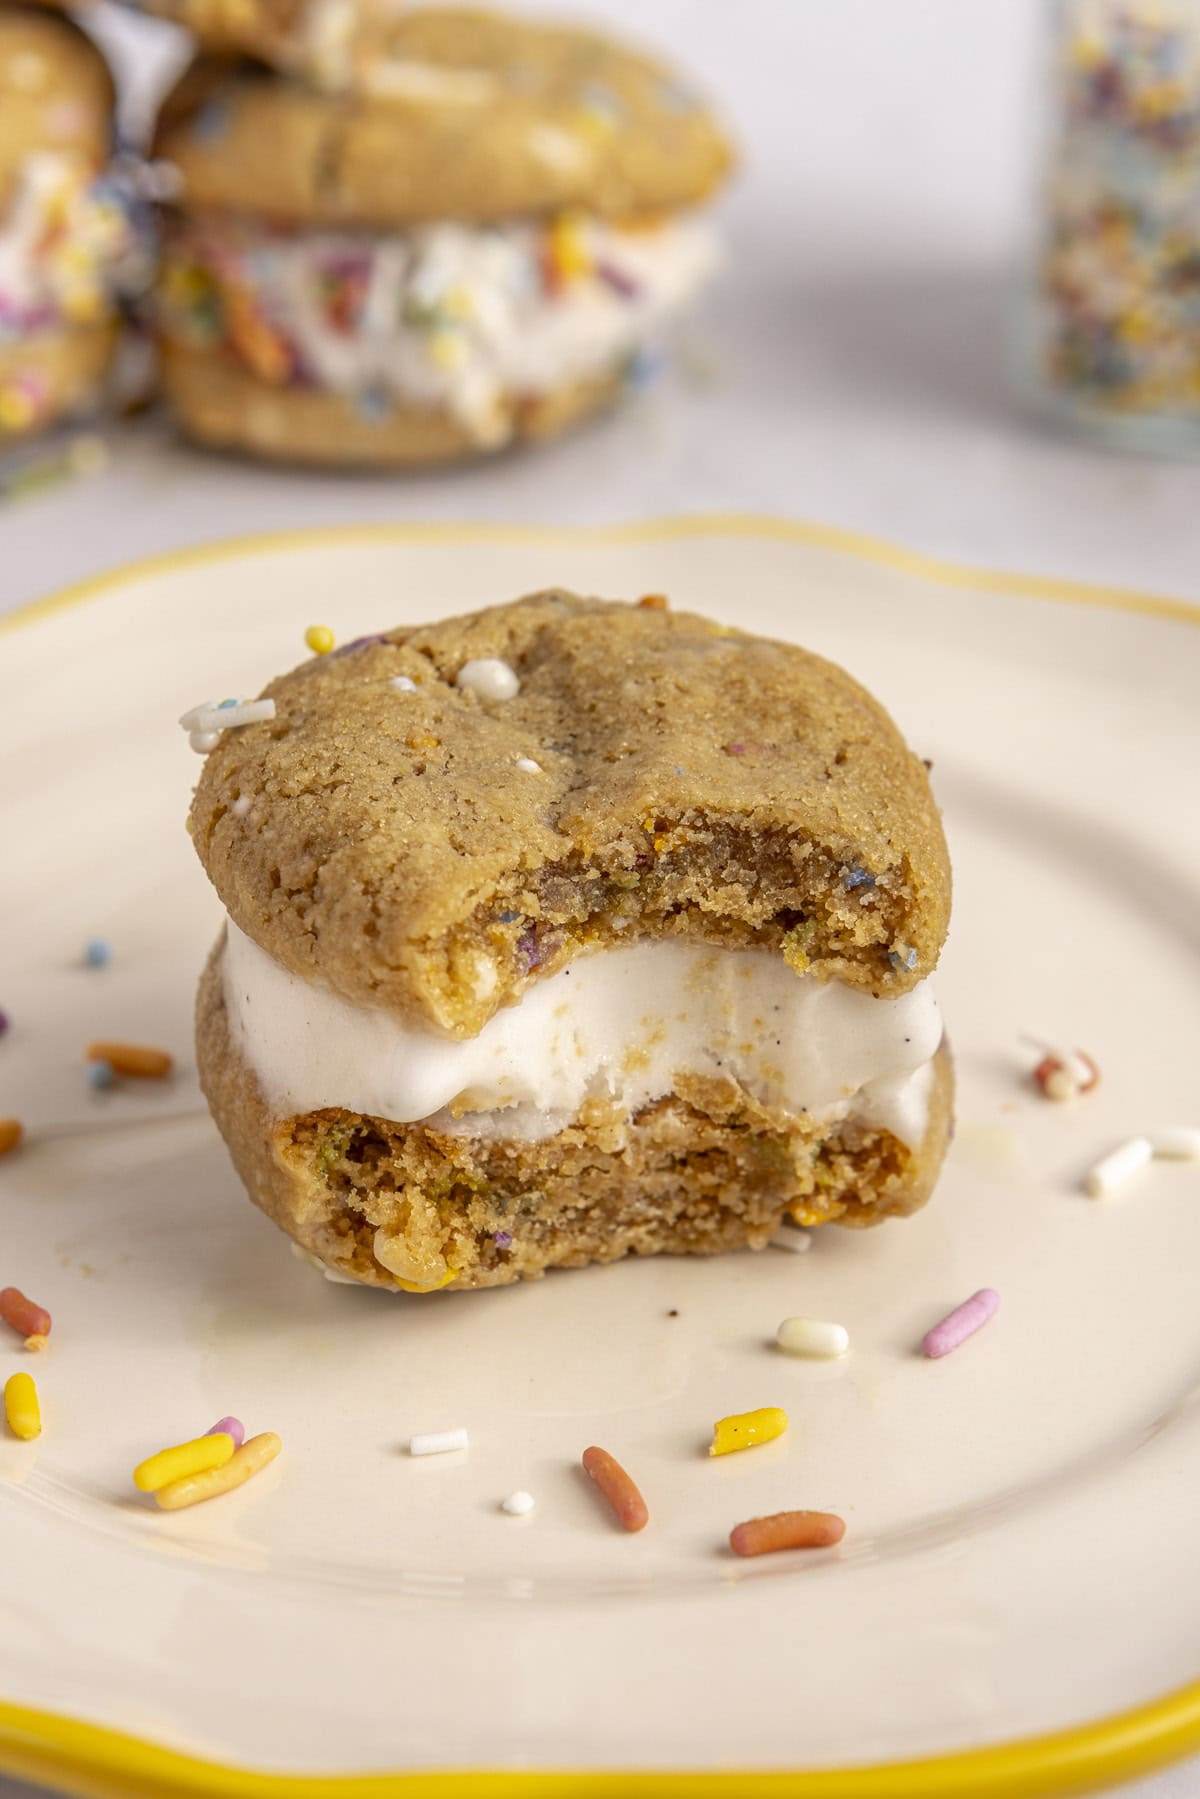
The soft-on-the-outside, crisp-on-the-edges cookie texture combined with creamy dairy-free vanilla ice cream gives total birthday cake vibes in every bite — a fun, kid-friendly option for any celebration. With an ingredient list that skips all the junk, this is a treat you can feel good about enjoying or serving at a backyard hangout, birthday party, or just a hot summer night.
Why You’ll Love These Healthier Ice Cream Sandwiches
If you grew up on Funfetti boxed cake, I guarantee you will love these healthier Funfetti Birthday Cake Ice Cream sandwiches. Instead of traditional refined sugar-packed cookies, this recipe is packed with nutrient-dense swaps that still deliver on flavor. It’s kind of mind-blowing how they manage to taste so good.
Made with wholesome ingredients like almond flour which adds healthy fats and protein, arrowroot starch to help keep the cookies soft and chewy, and ghee for a rich buttery taste without the dairy, they’re honestly unbelievable.
They’re also completely refined sugar-free, using a combo of pure maple syrup and coconut sugar to naturally sweeten the cookies without a blood sugar spike. And let’s not forget the natural sprinkles — because everything’s more fun with a little color.
Perfect for Summer, Birthdays, or Anytime You Want a Treat
These healthy Funfetti cookie ice cream sandwiches are perfect for summer BBQs, pool days, or any time you want an easy gluten-free dessert that feels nostalgic but doesn’t derail your goals. I’m obsessed!
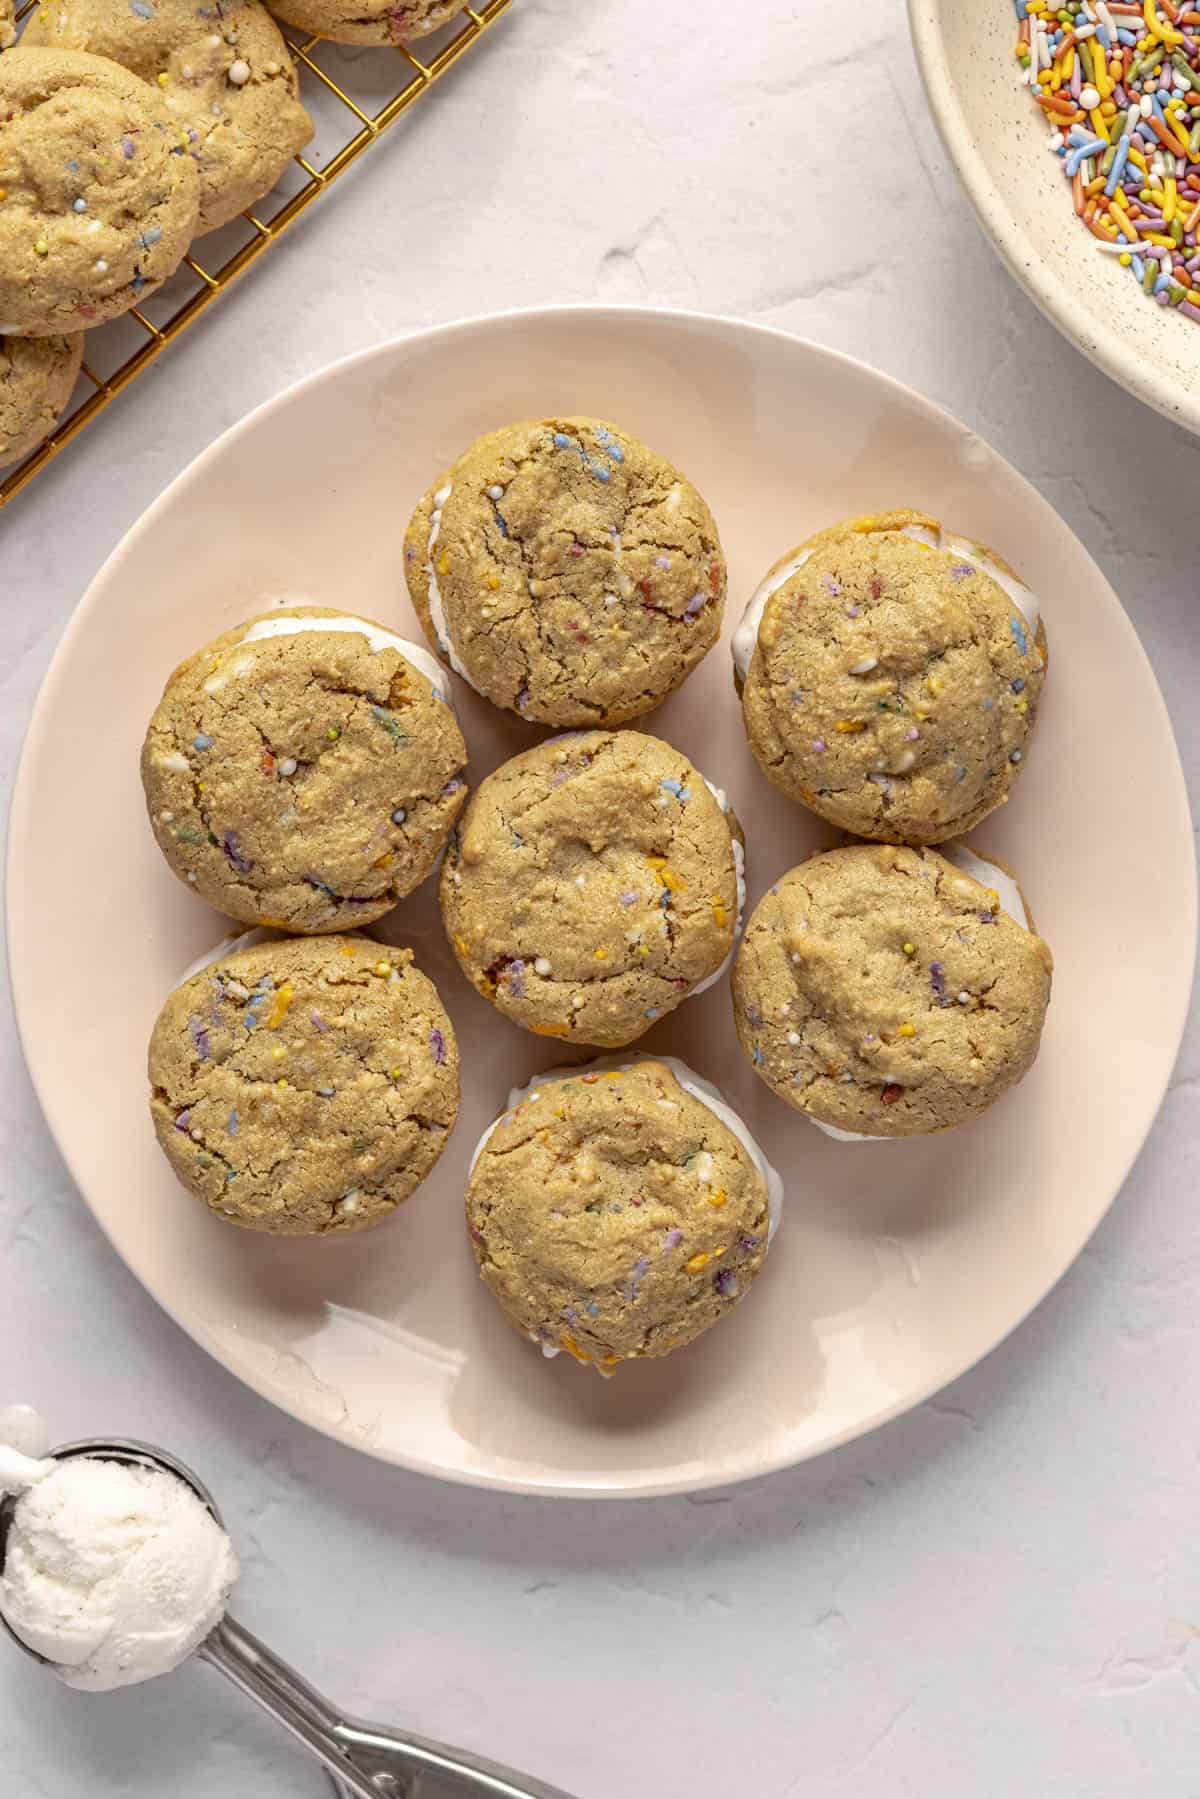
They’re great on their own, but we love them sandwiched with dairy-free vanilla ice cream. I also like making them minis, but you can easily make full-sized cookies using a 2-tablespoon cookie scoop instead of a 1-tablespoon scoop.
And if you’ve never tried making homemade ice cream sandwiches, don’t worry — they’re super simple to assemble and can be stored in the freezer for up to a week. Make them for a birthday party treat, a fun weekend dessert, or when the next celebratory craving hits. I mean, birthday cake ice cream sandwiches with a wholesome twist — does it get any better?!
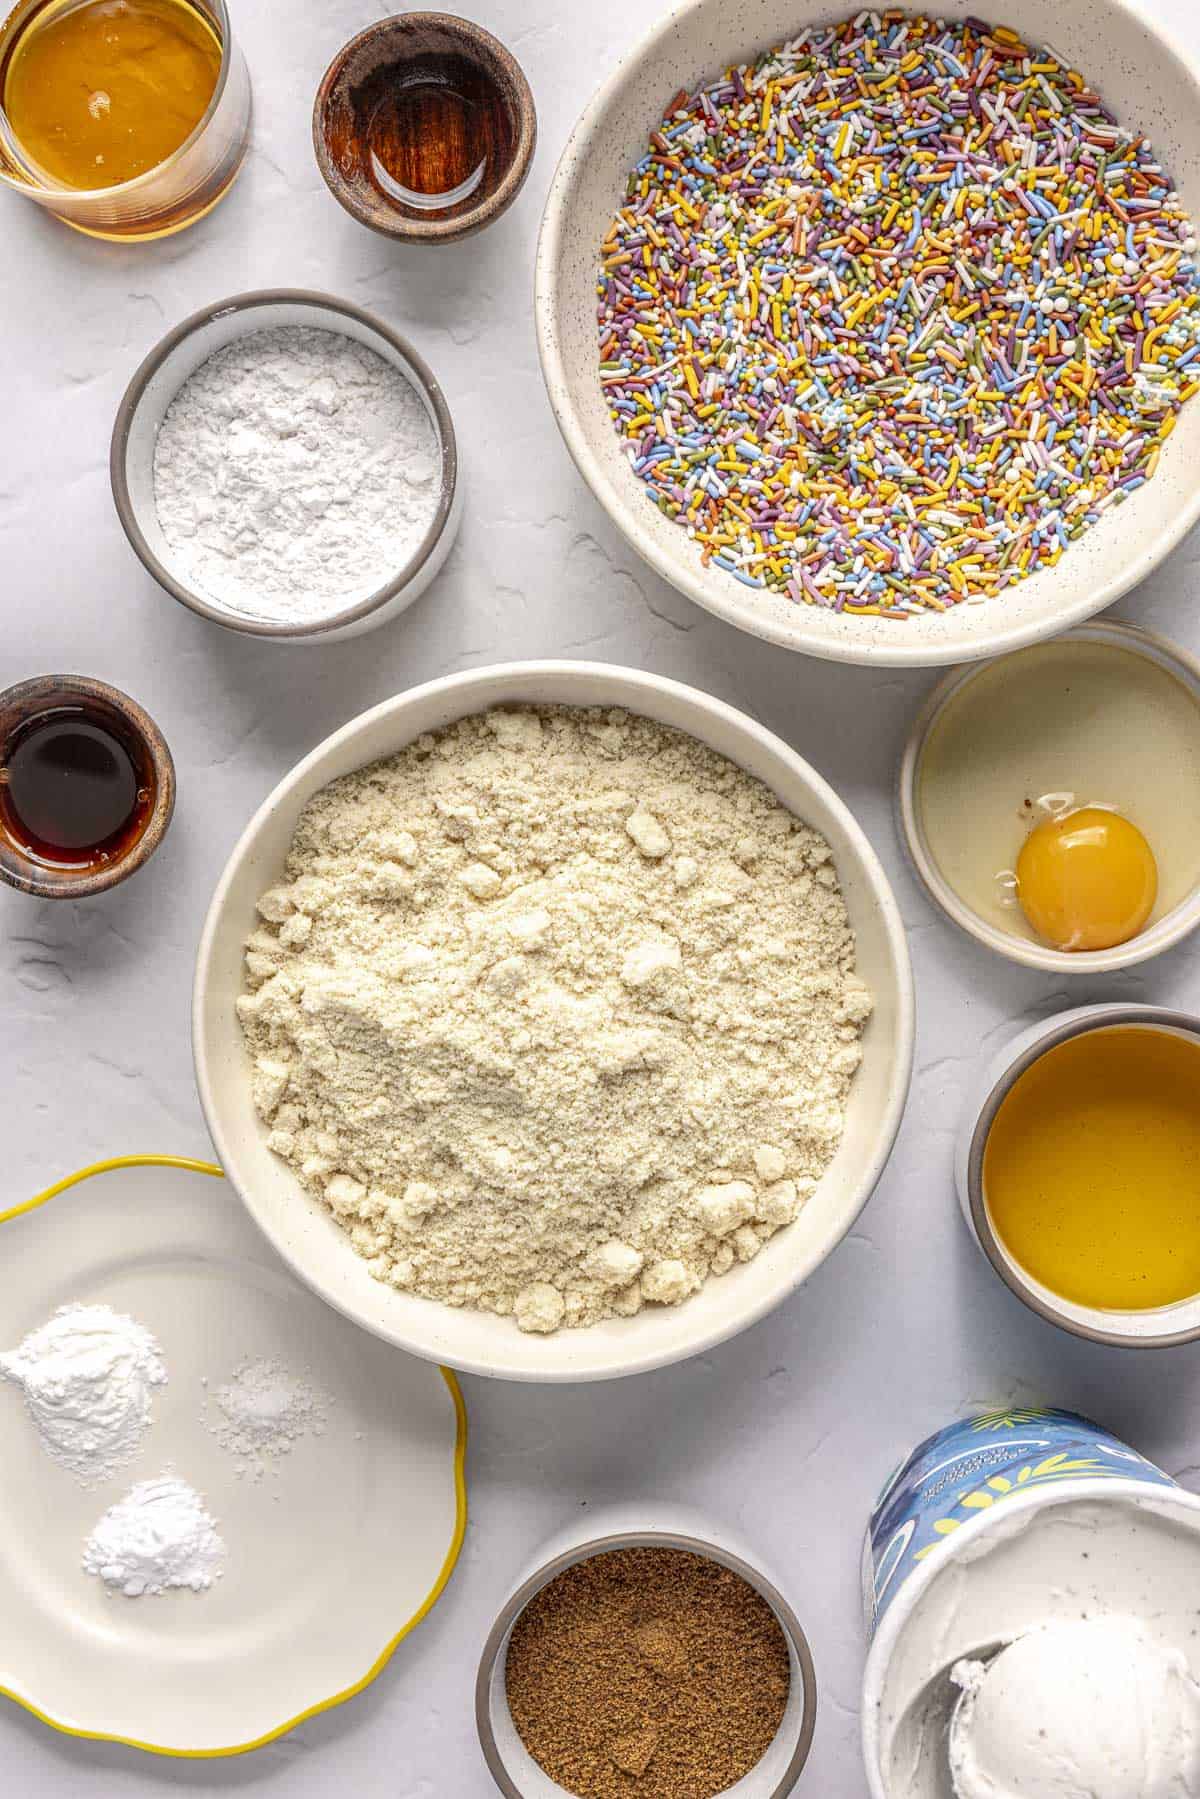
INGREDIENTS YOU’LL NEED:
For the Cookies:
- Almond flour
- Arrowroot starch
- Baking powder
- Baking soda
- Kosher salt
- Ghee (I like 4th & Heart)
- Pure maple syrup
- Coconut sugar
- Egg (1)
- Pure vanilla extract
- Almond extract
- Natural sprinkles
To Assemble:
- Dairy-free vanilla ice cream
- Natural sprinkles
HOW TO MAKE FUNFETTI BIRTHDAY CAKE ICE CREAM SANDWICHES
For the Cookies:
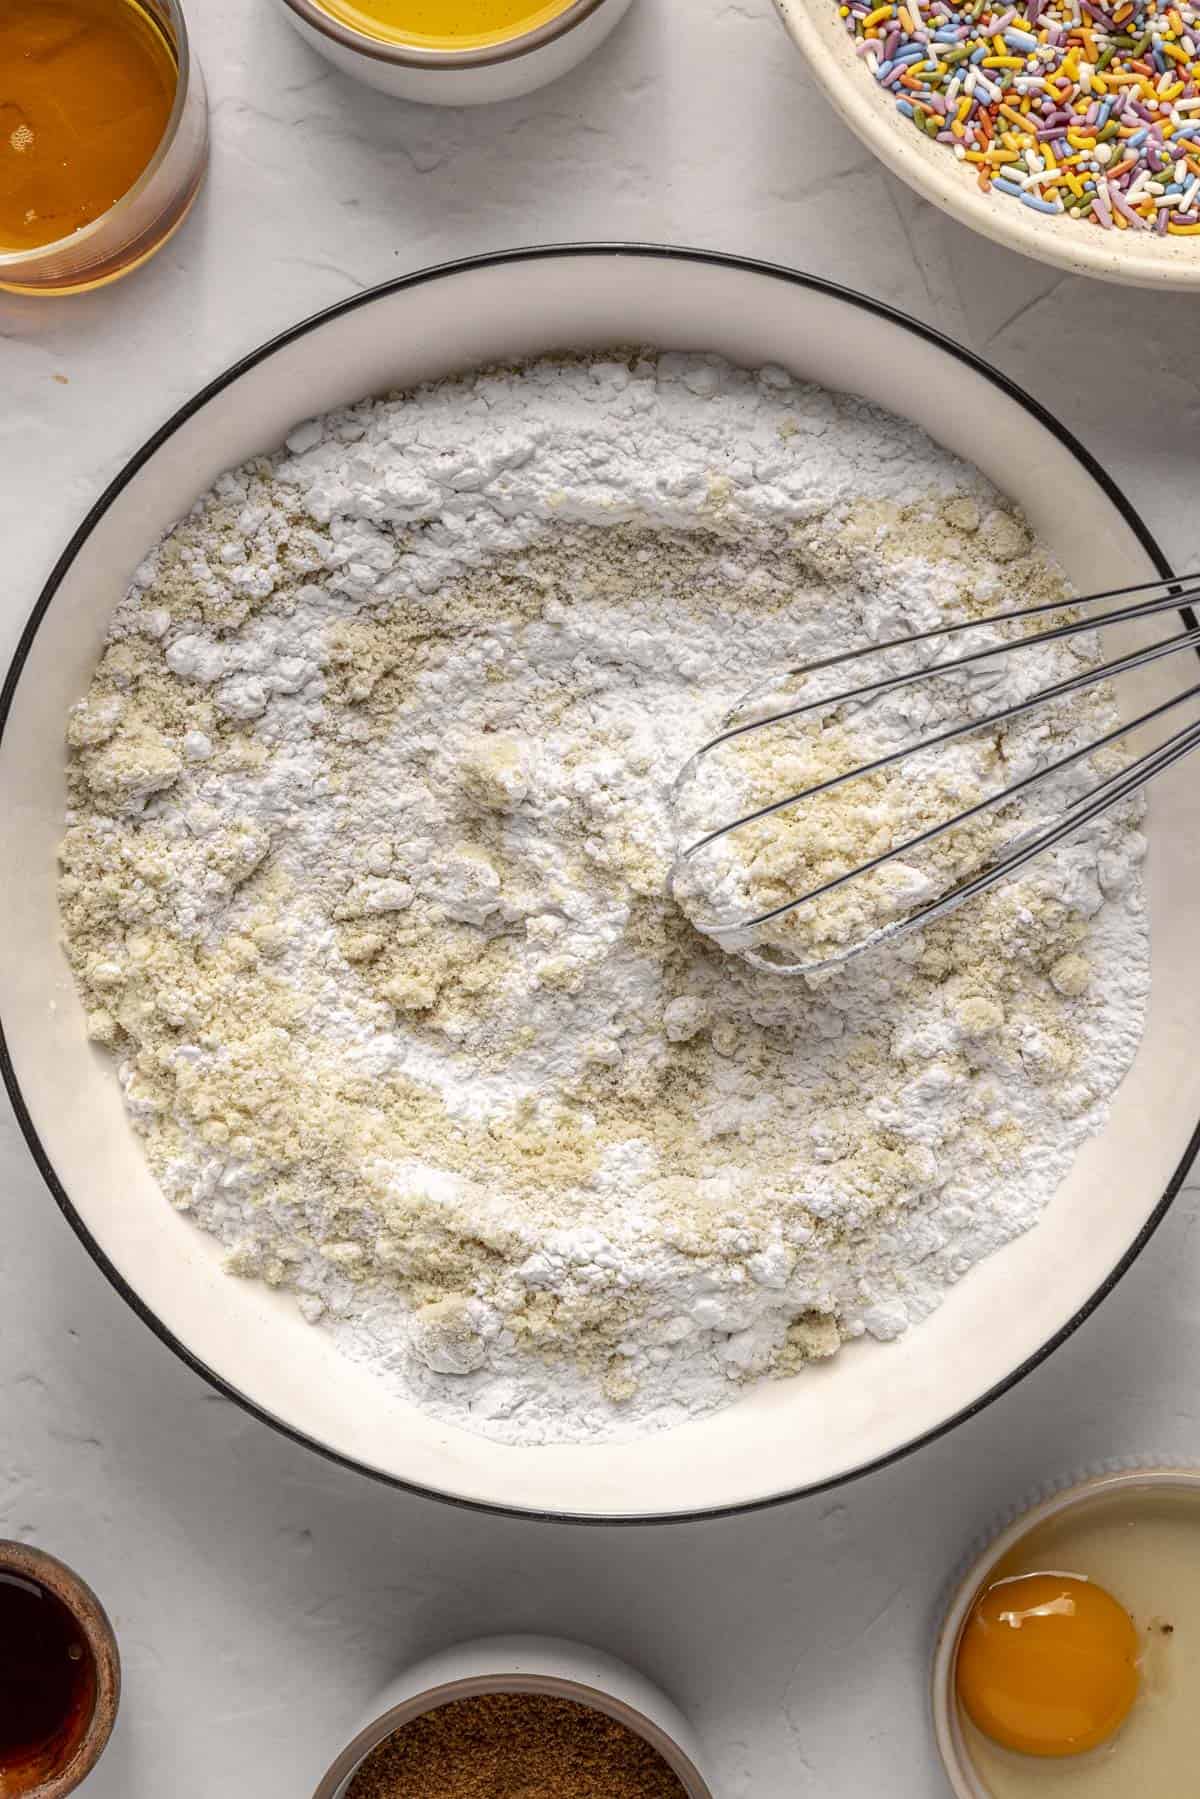
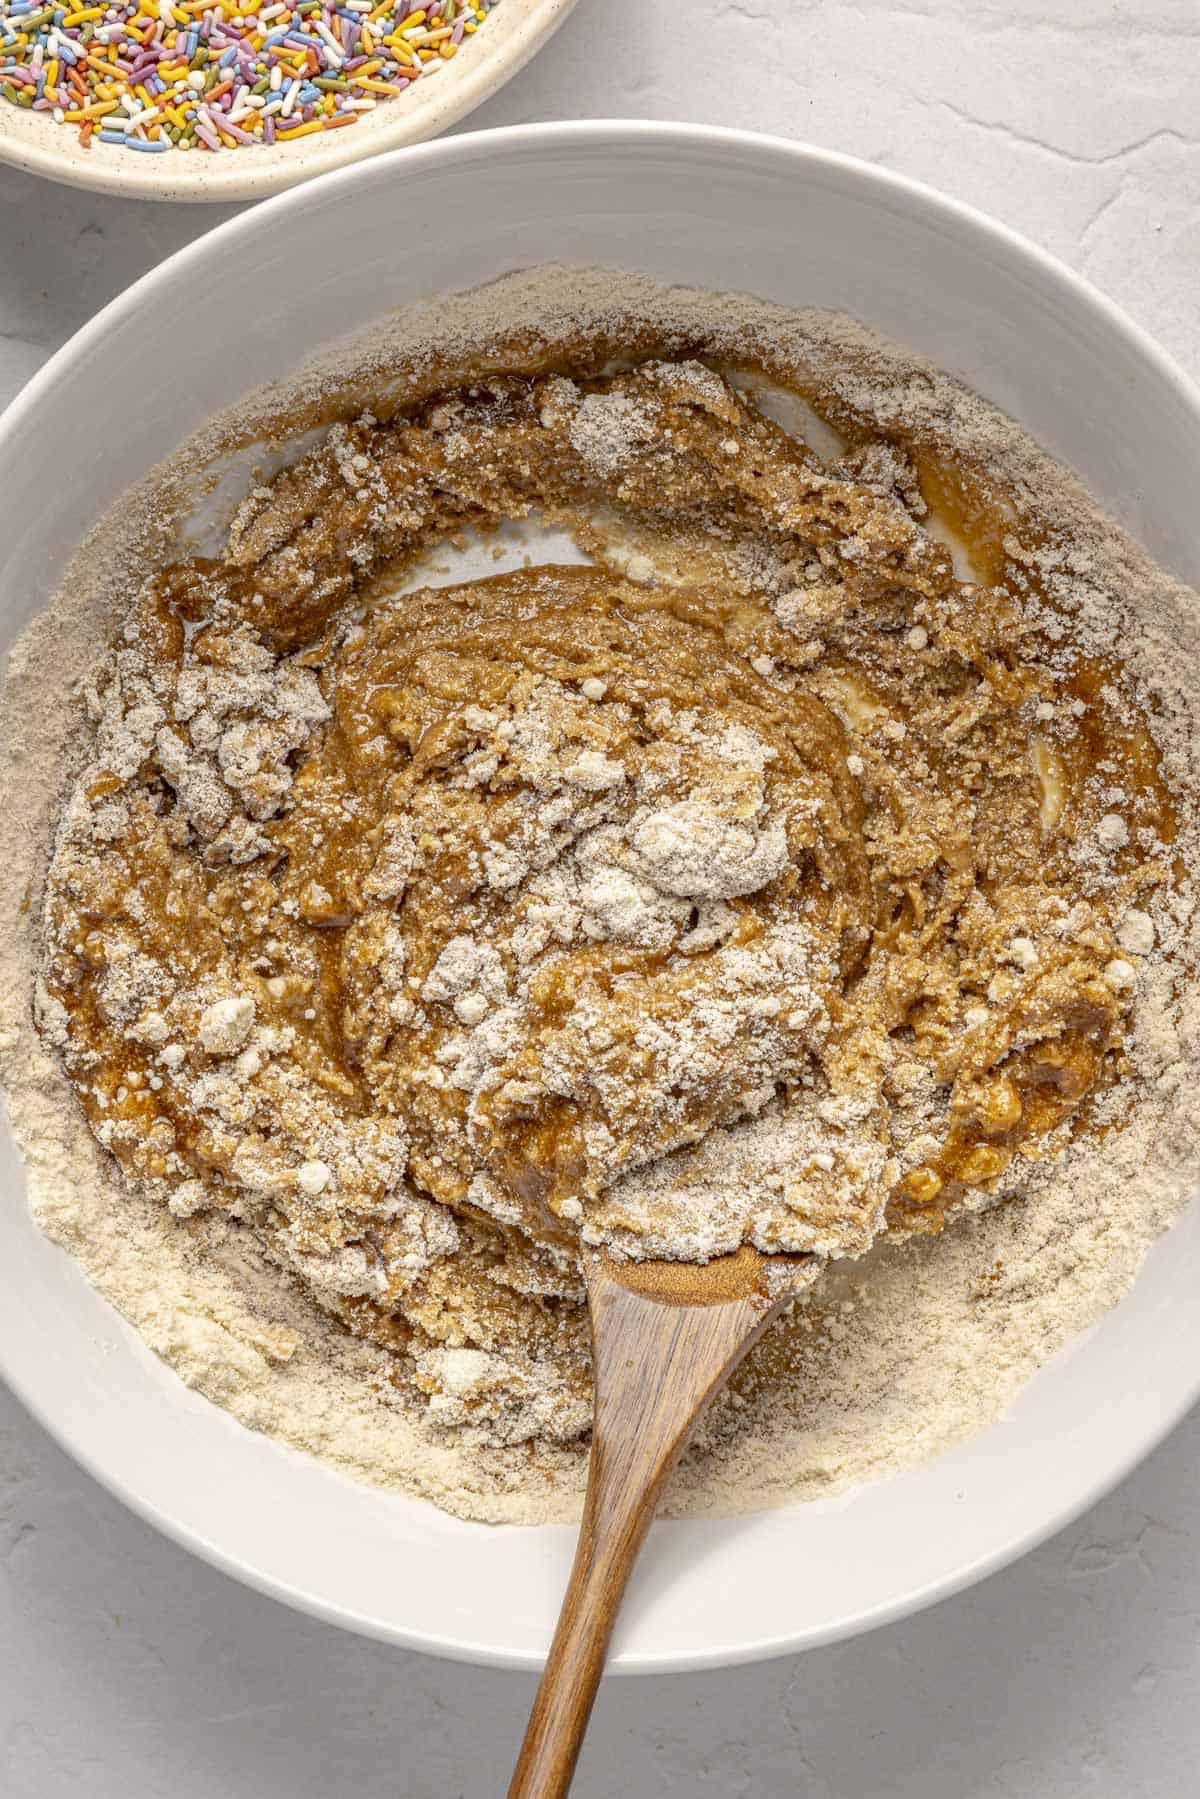
In a medium bowl, add the almond flour, arrowroot starch, baking powder, baking soda, and salt. Whisk to combine. Set aside.
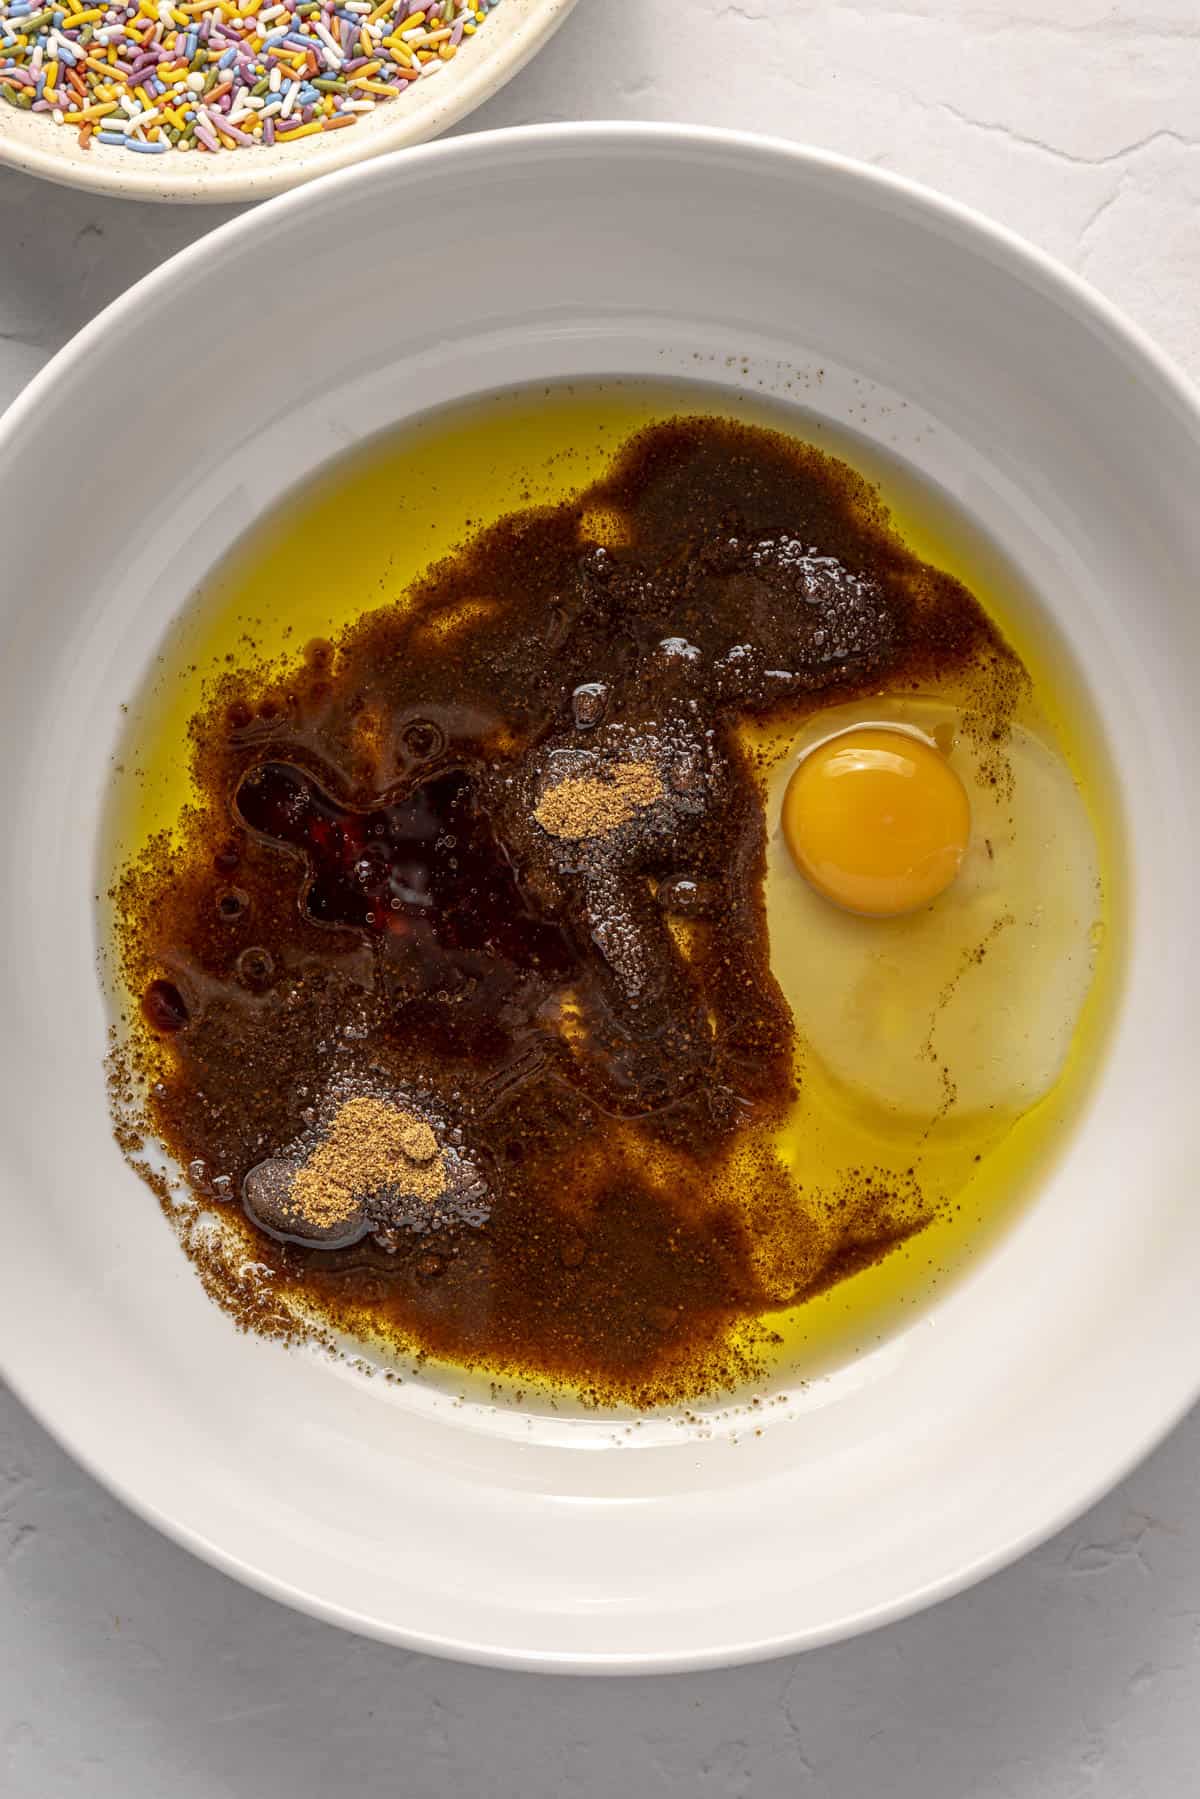
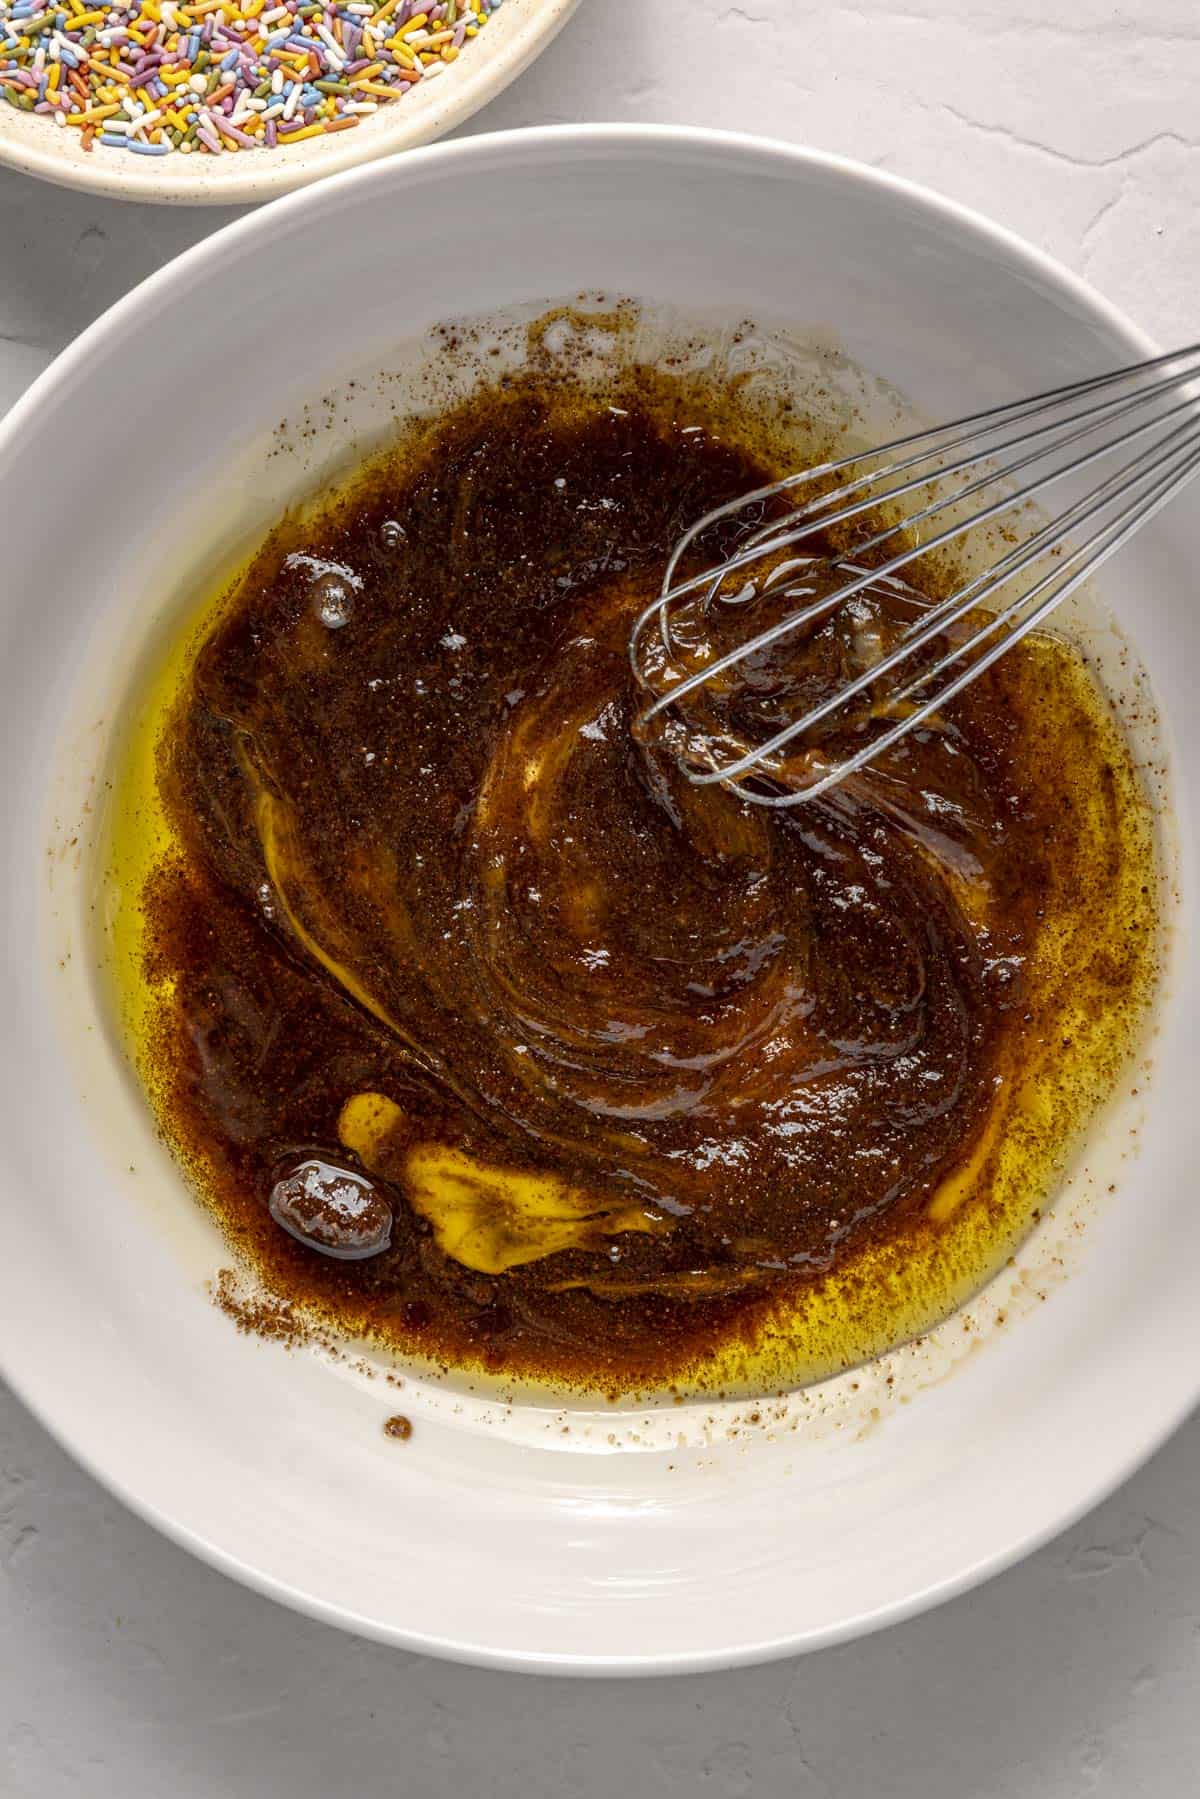
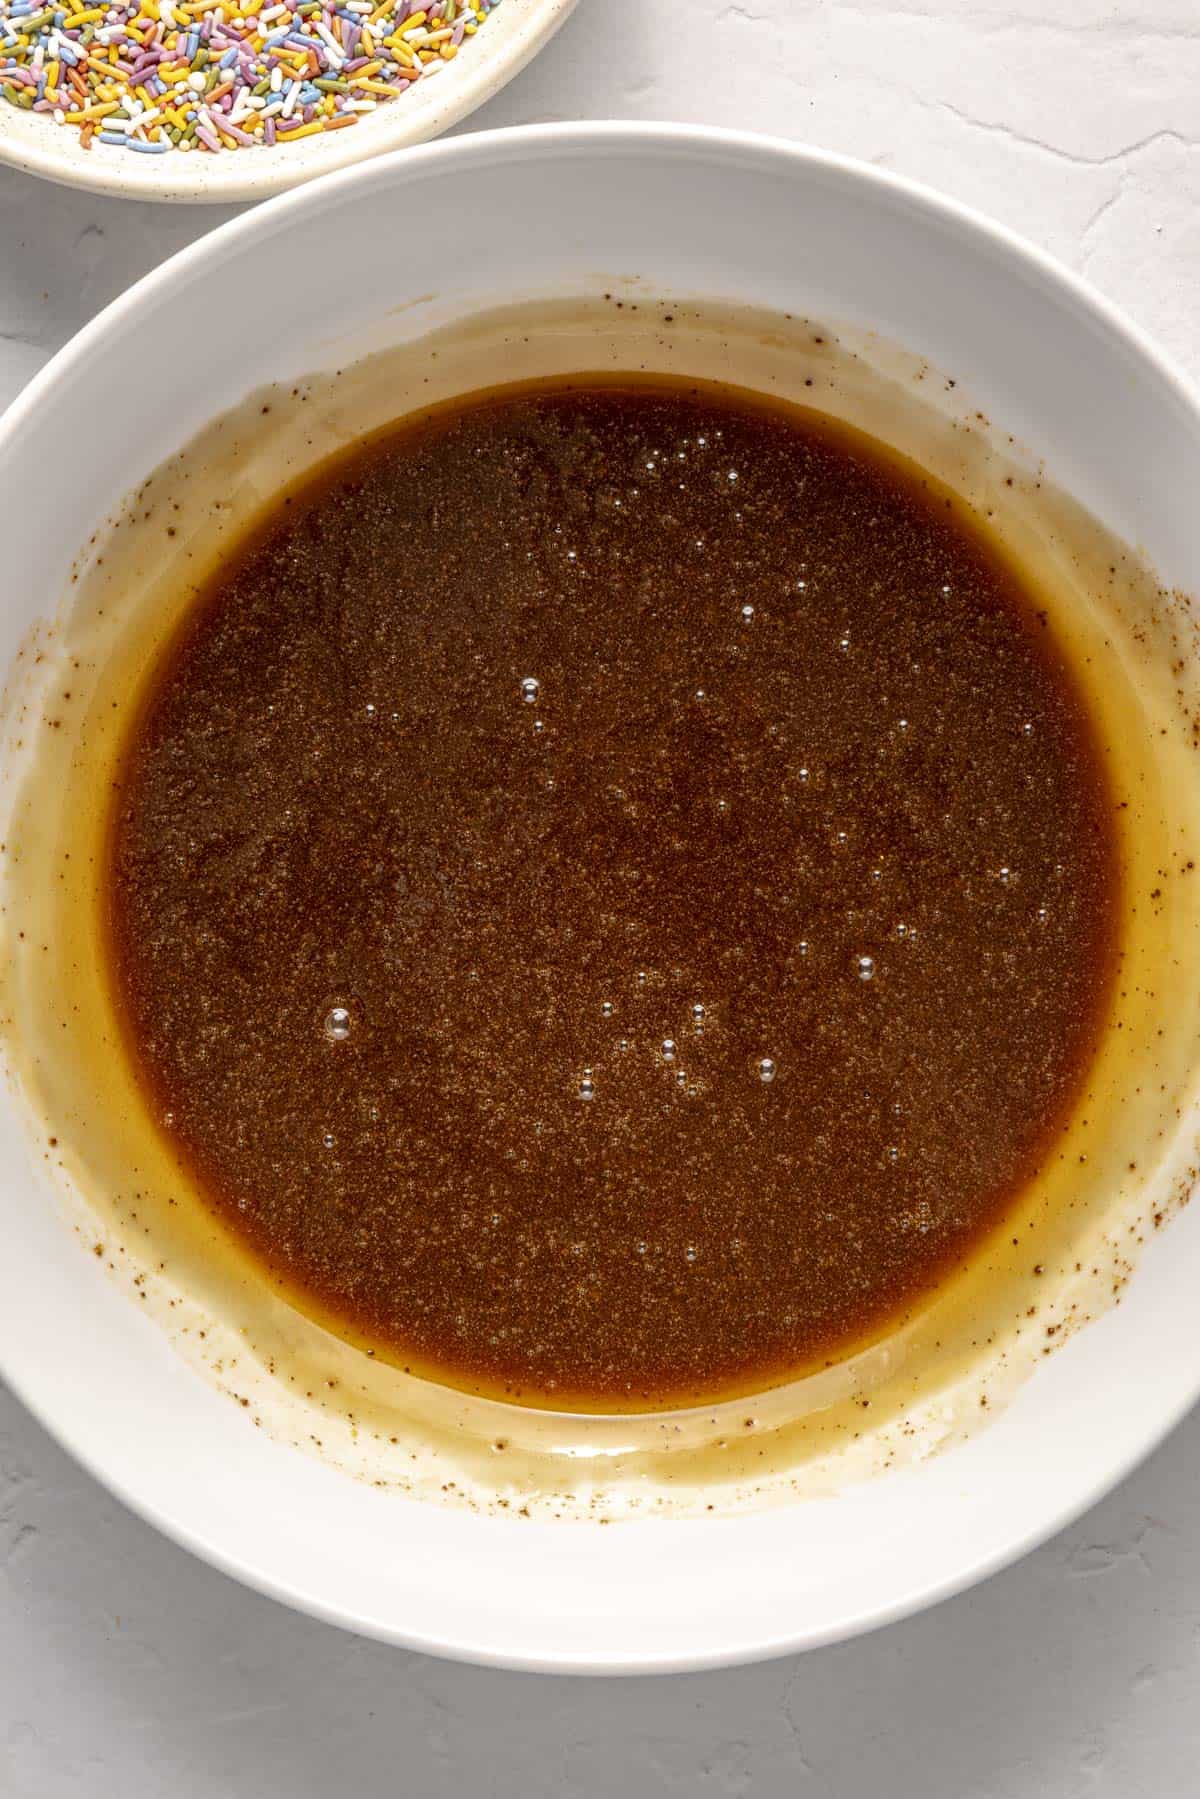
In a large bowl, add the melted ghee, maple syrup, coconut sugar, egg, vanilla extract, and almond extract. Whisk for 30 seconds until the mixture is smooth and totally combined. Allow to sit for a few minutes before whisking for an additional 30 seconds.
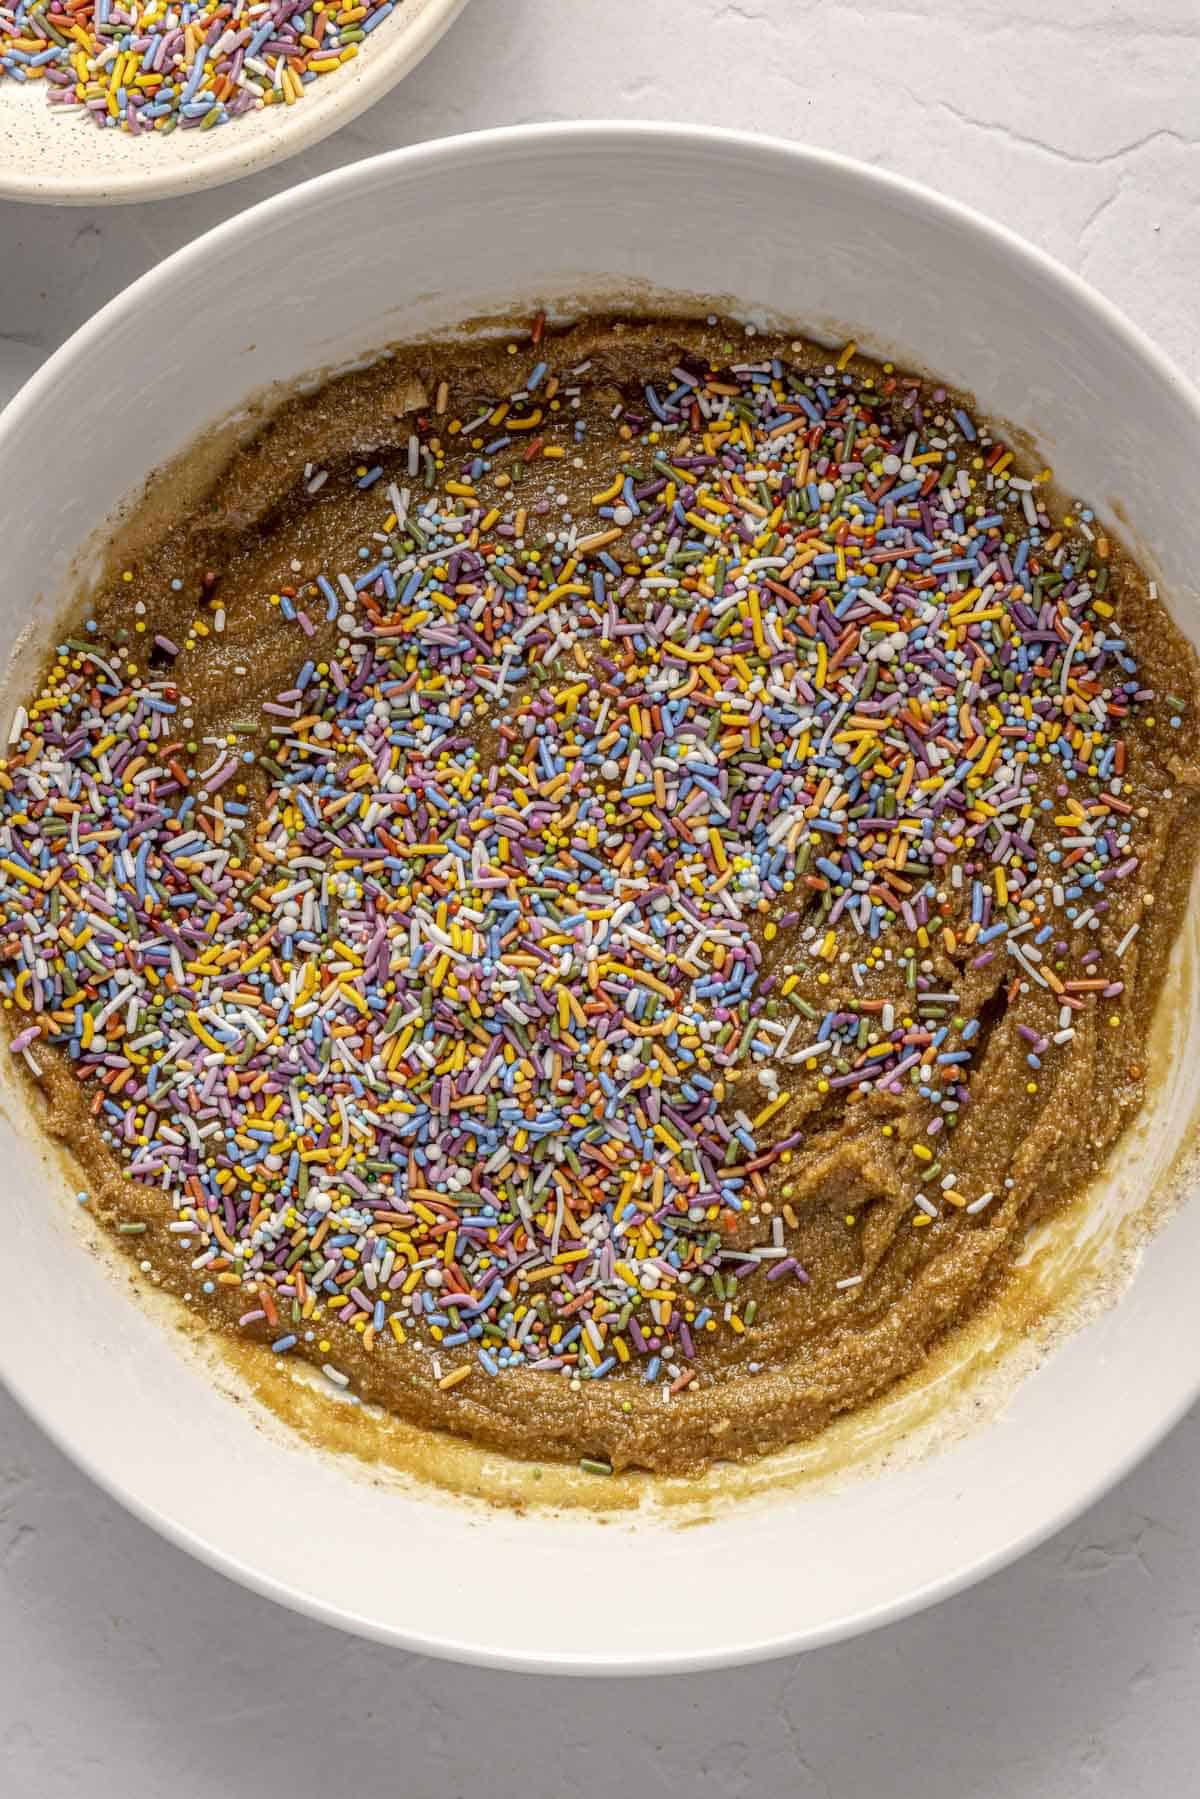
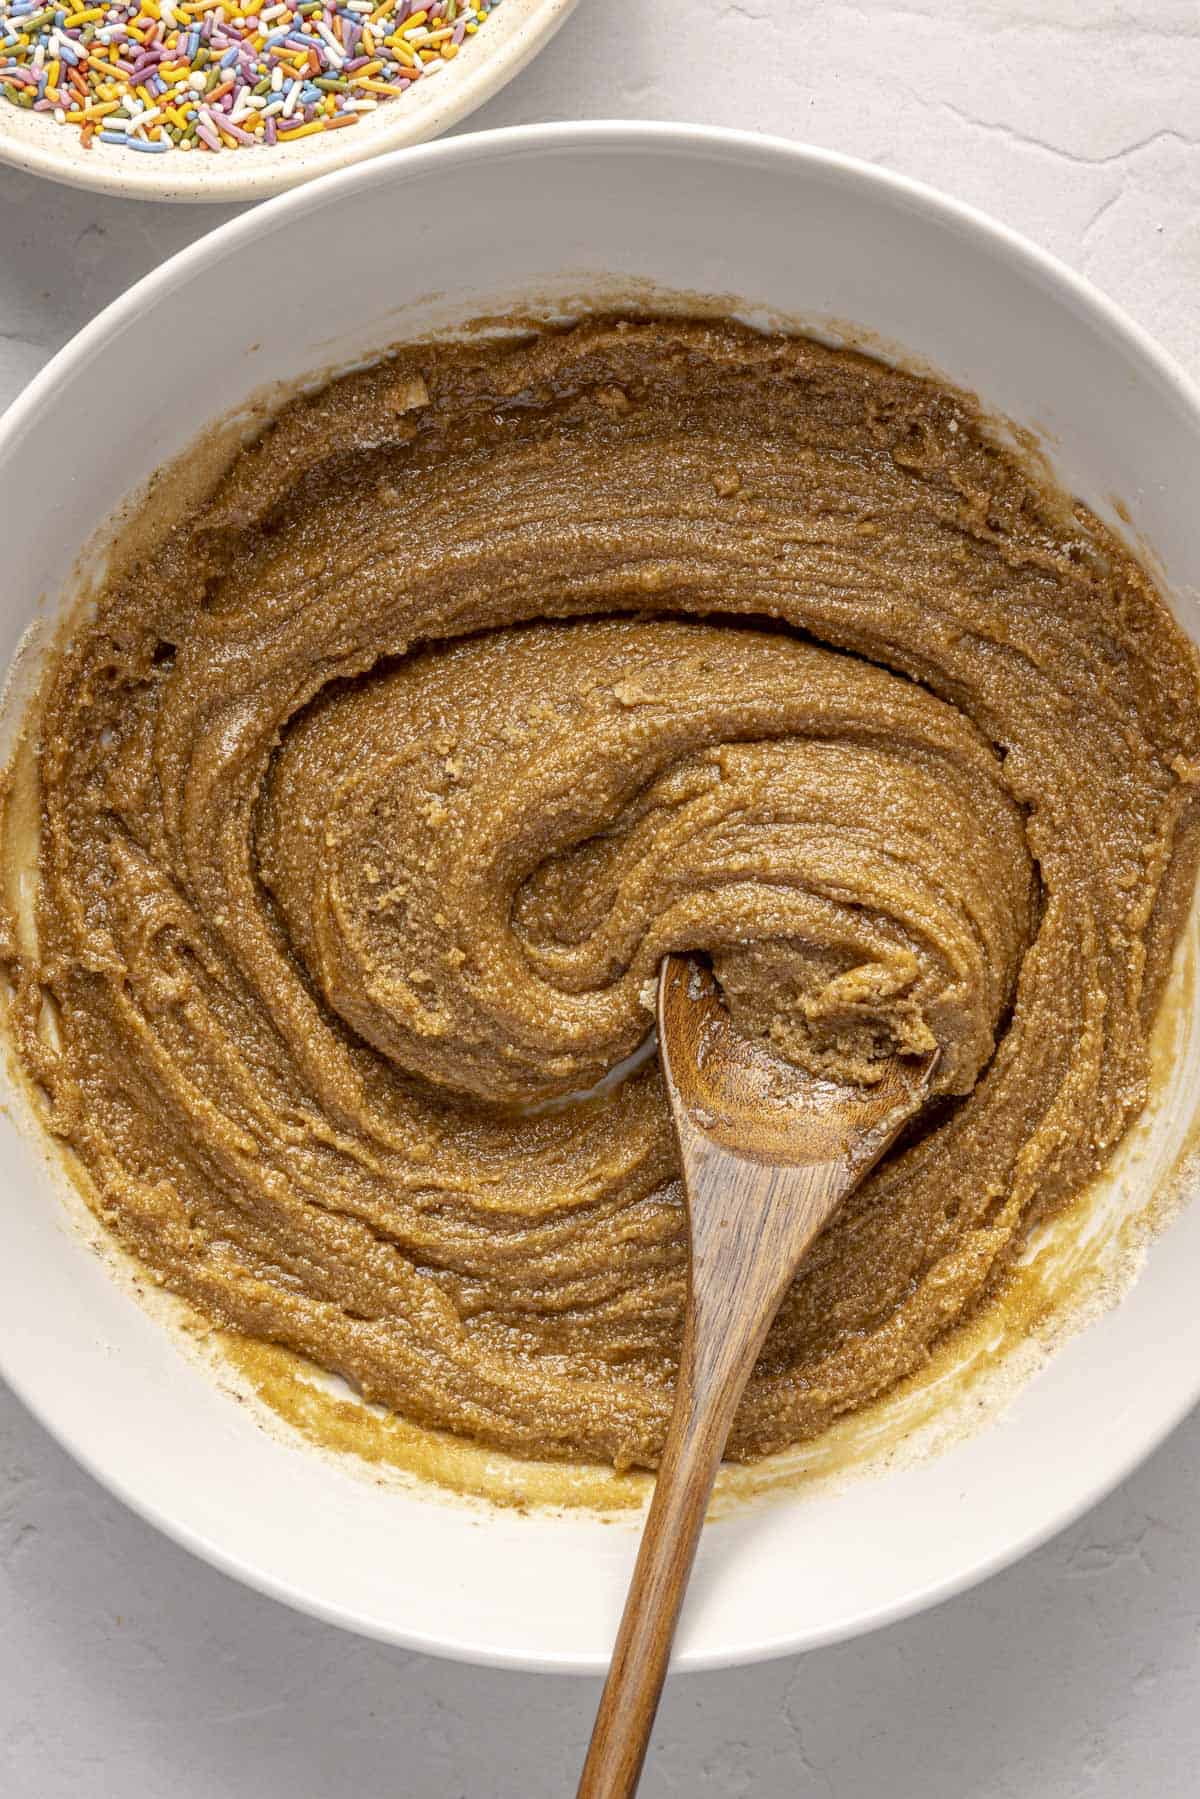
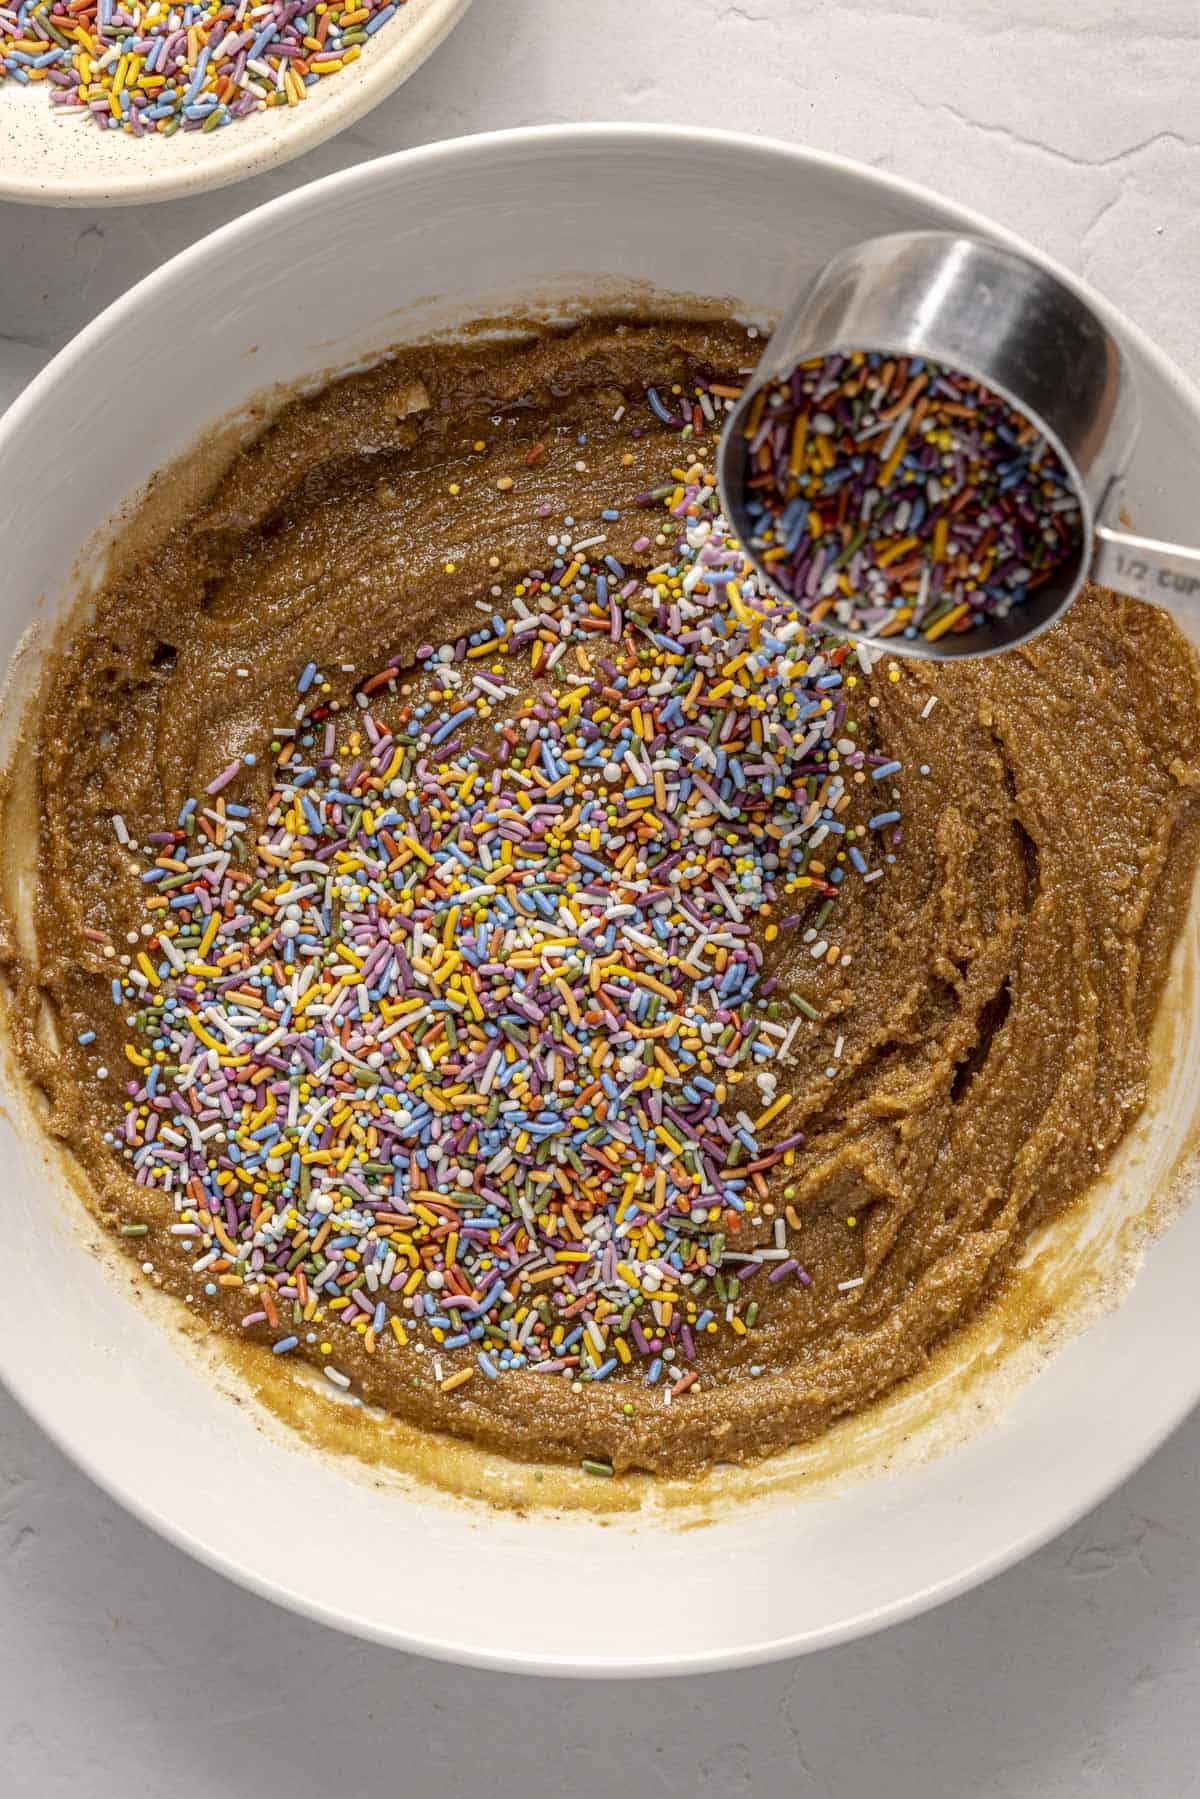
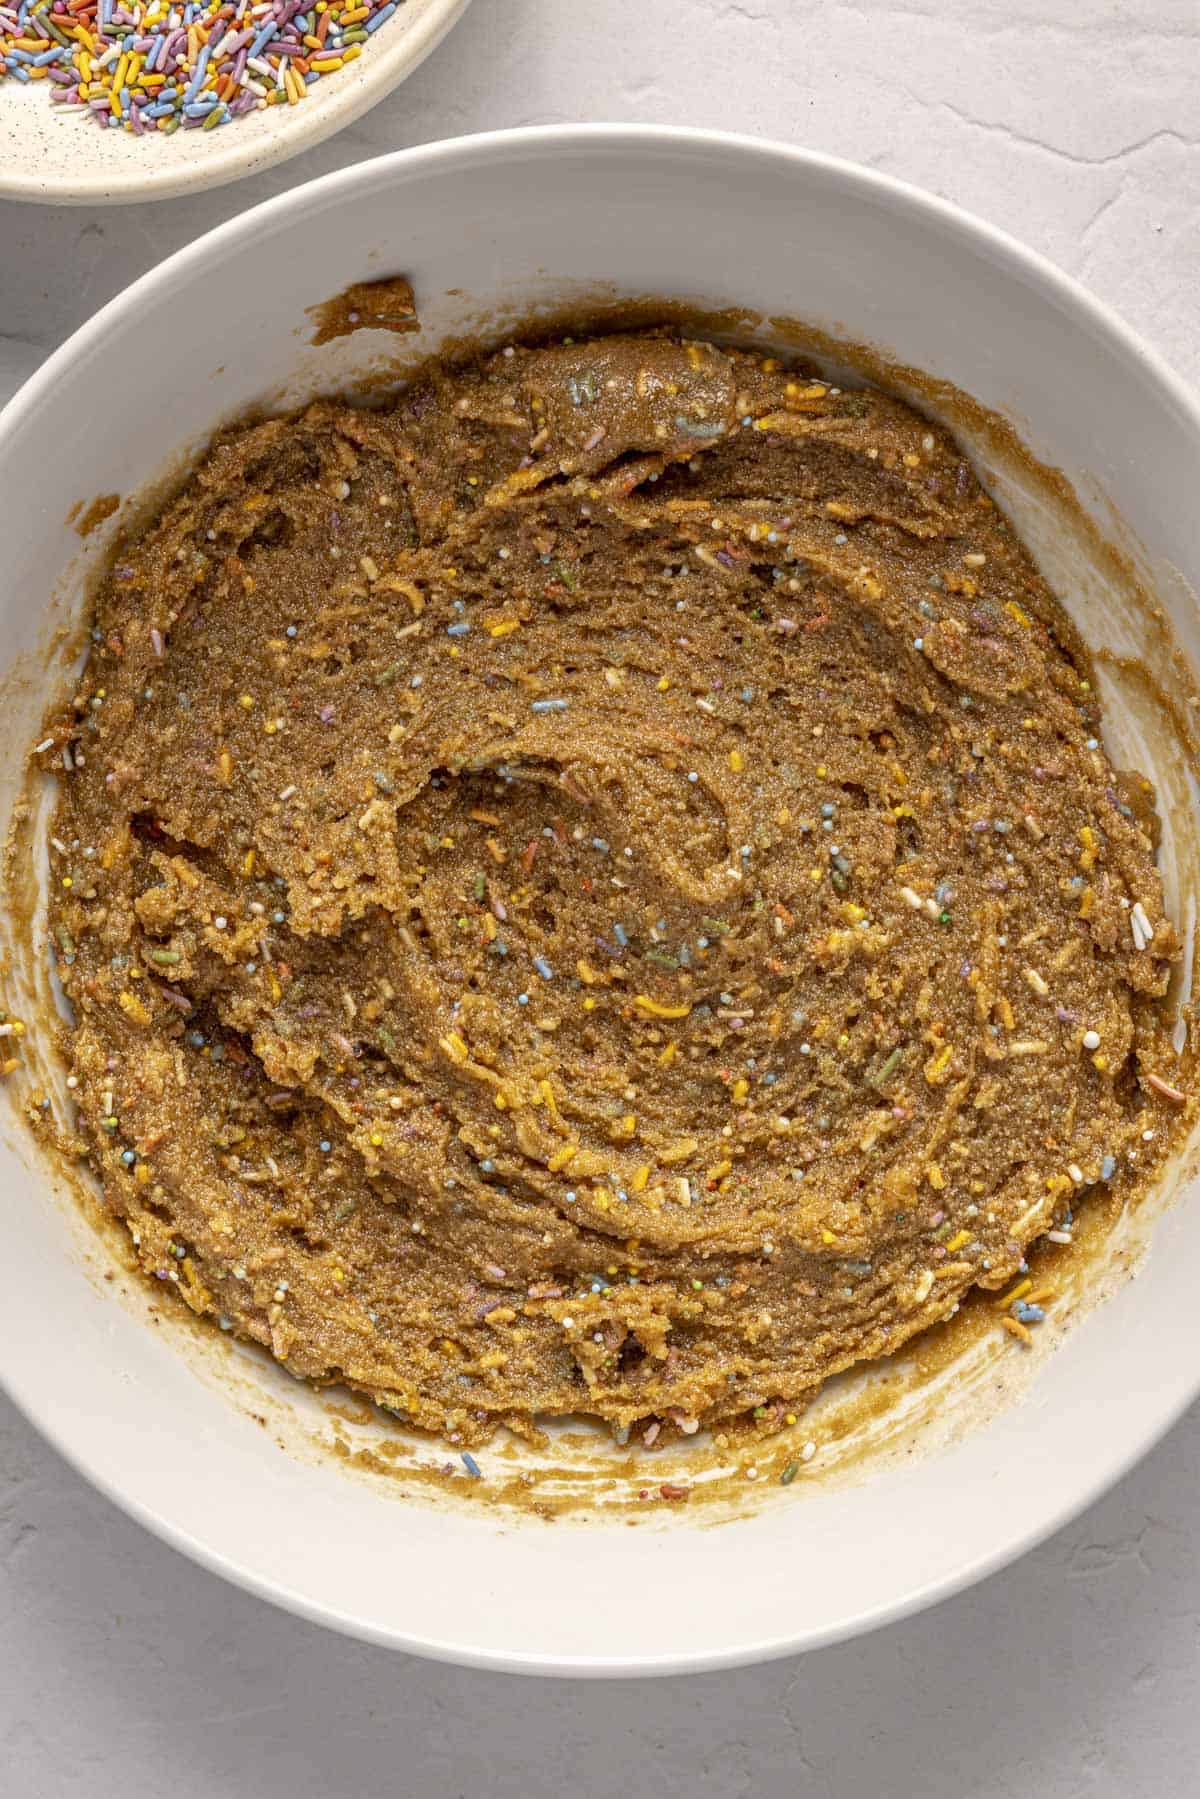
Add the dry ingredients to the wet. Using a wooden spoon, stir together until just combined. Add the sprinkles and stir to combine, ensuring the sprinkles are evenly distributed.
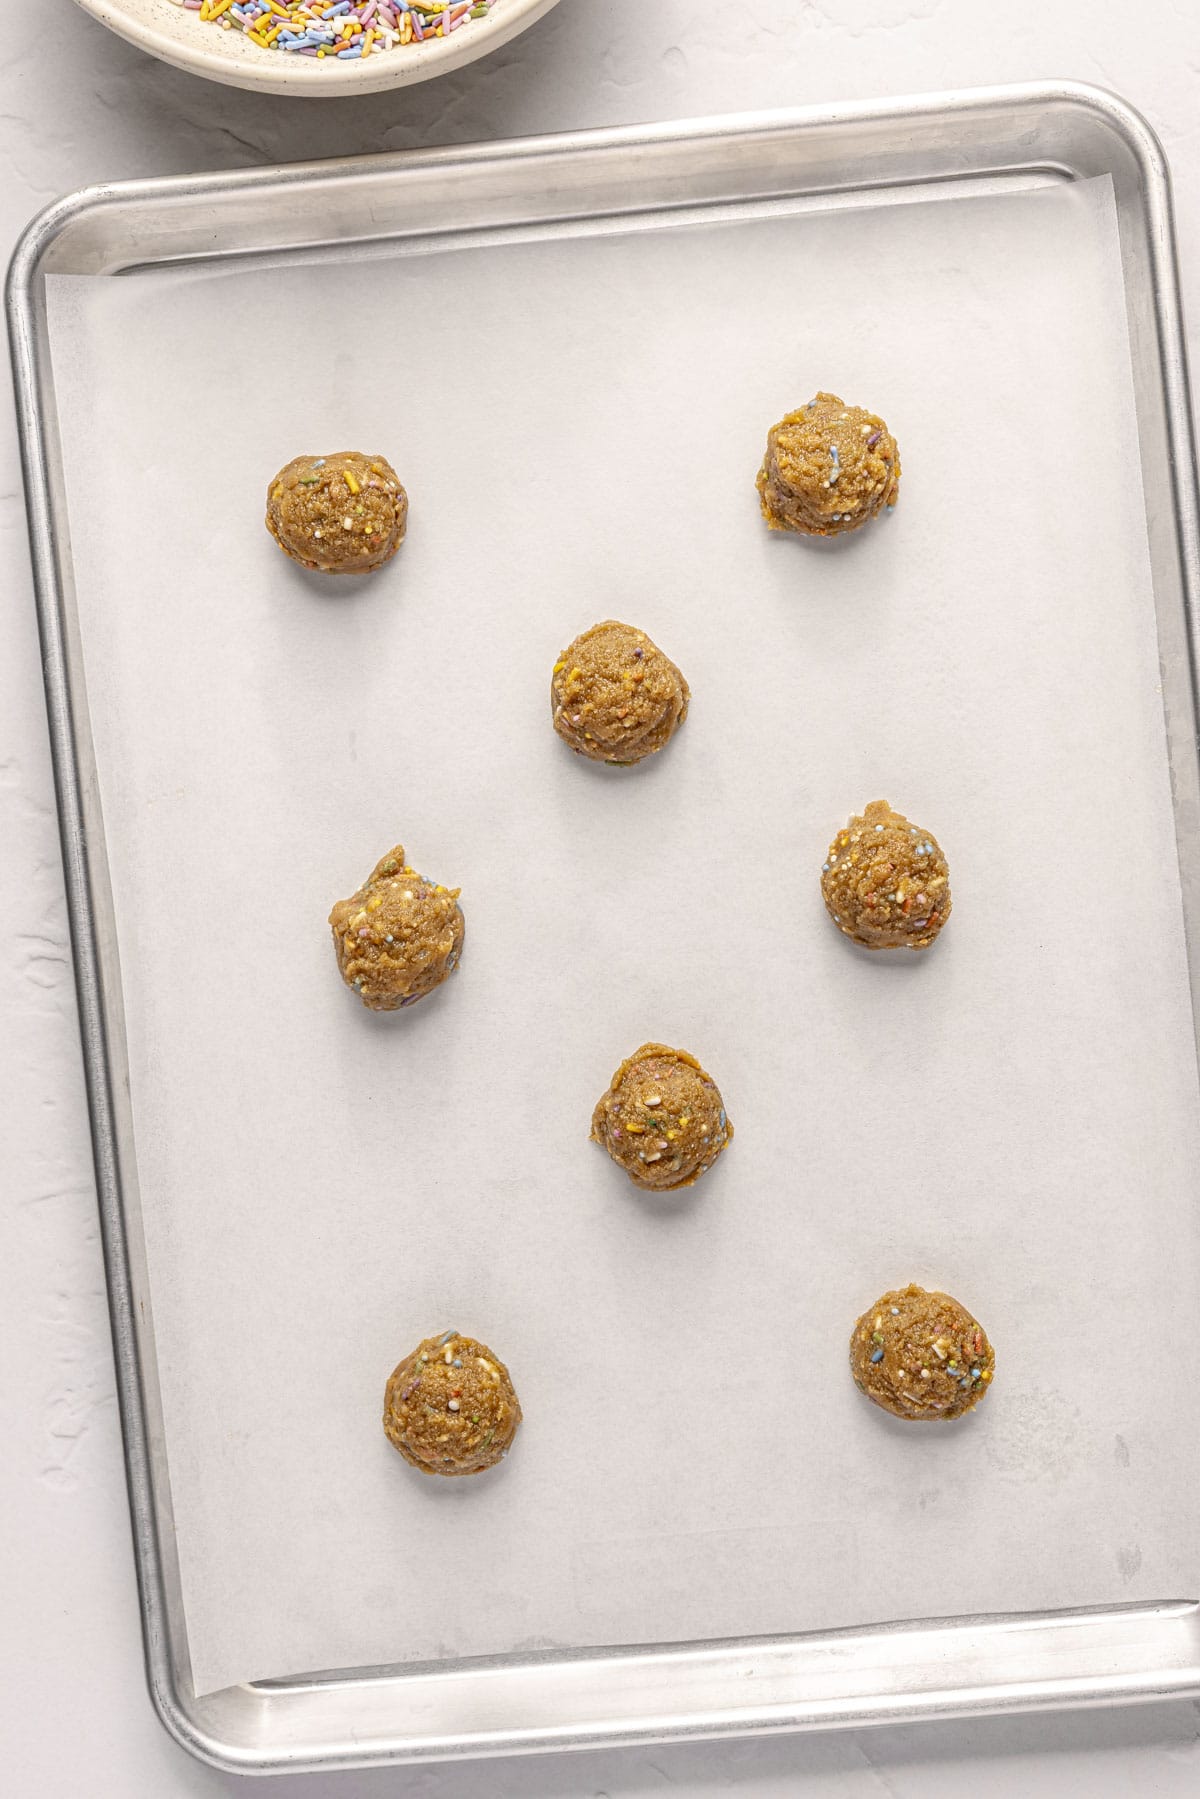
Line two cookie sheets with parchment paper. Using a 1-tablespoon cookie scoop, portion the dough into 38-40 balls, placing them on one of the prepared cookie sheets. Transfer to the freezer for 20 minutes to chill.
Preheat the oven to 350°F.
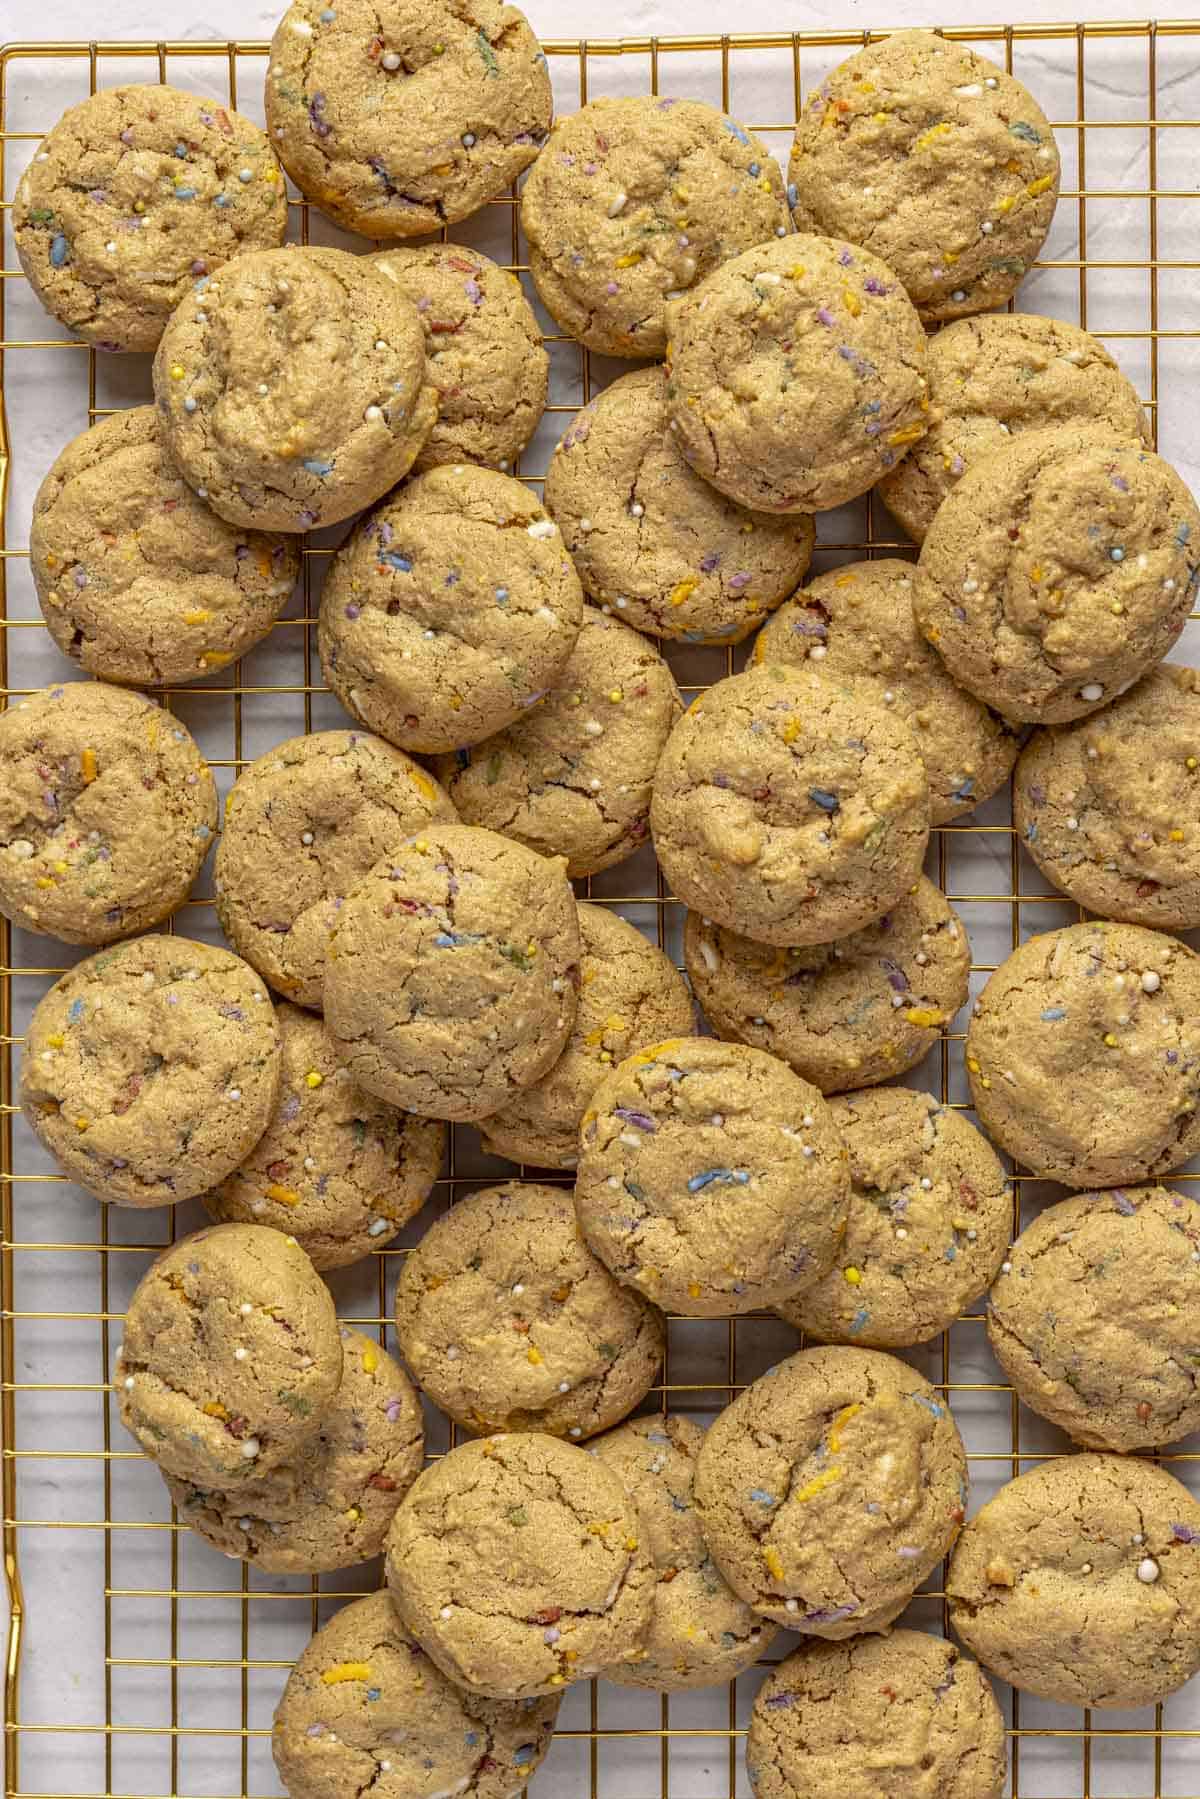
Remove the cookie dough from the freezer and place 8-10 cookies onto the other prepared baking sheet, leaving about 2 inches of space between. Bake on the middle rack for 8 to 9 minutes. The cookies will be soft in the middle and crisp on the edges.
Allow the cookies to cool on the sheet before transferring to a cooling rack. Repeat until all the cookies are baked. Allow to fully cool before assembling.


To Assemble:
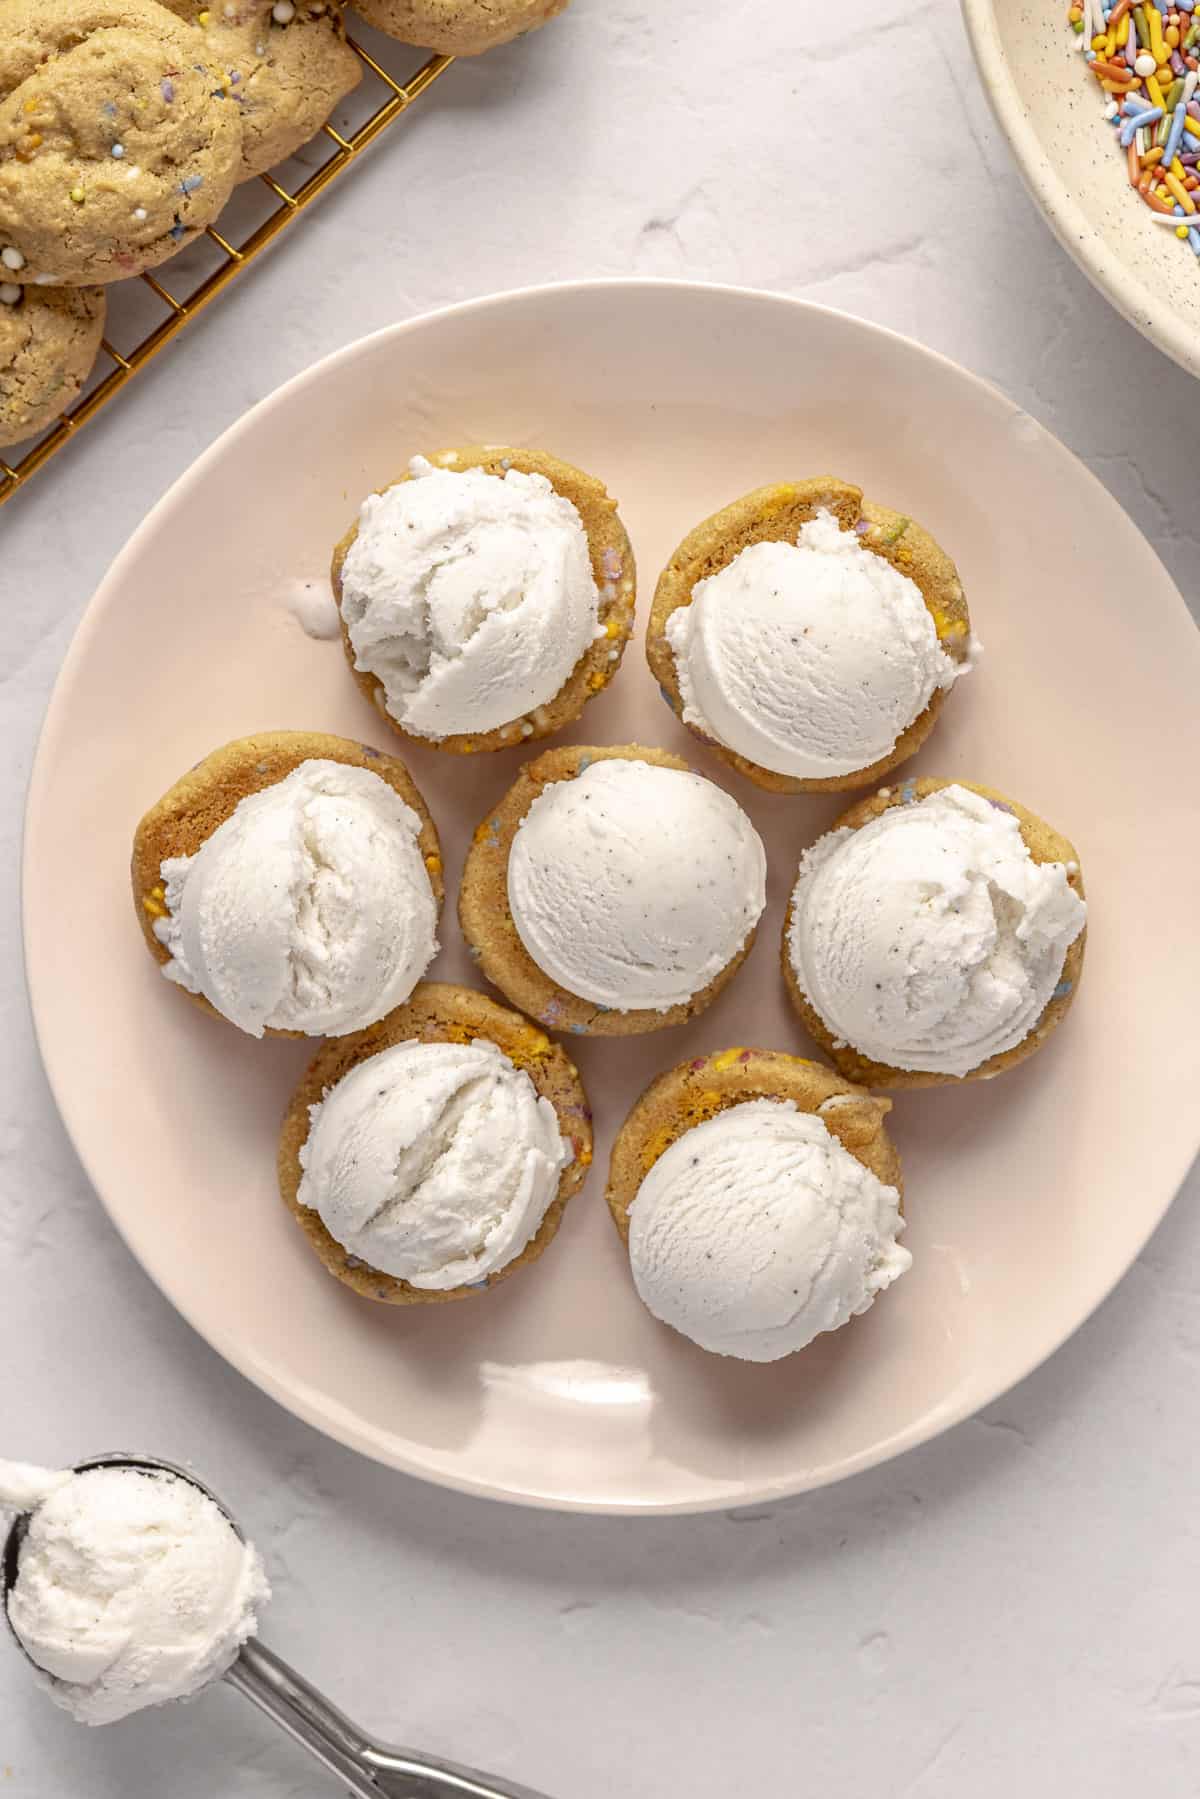
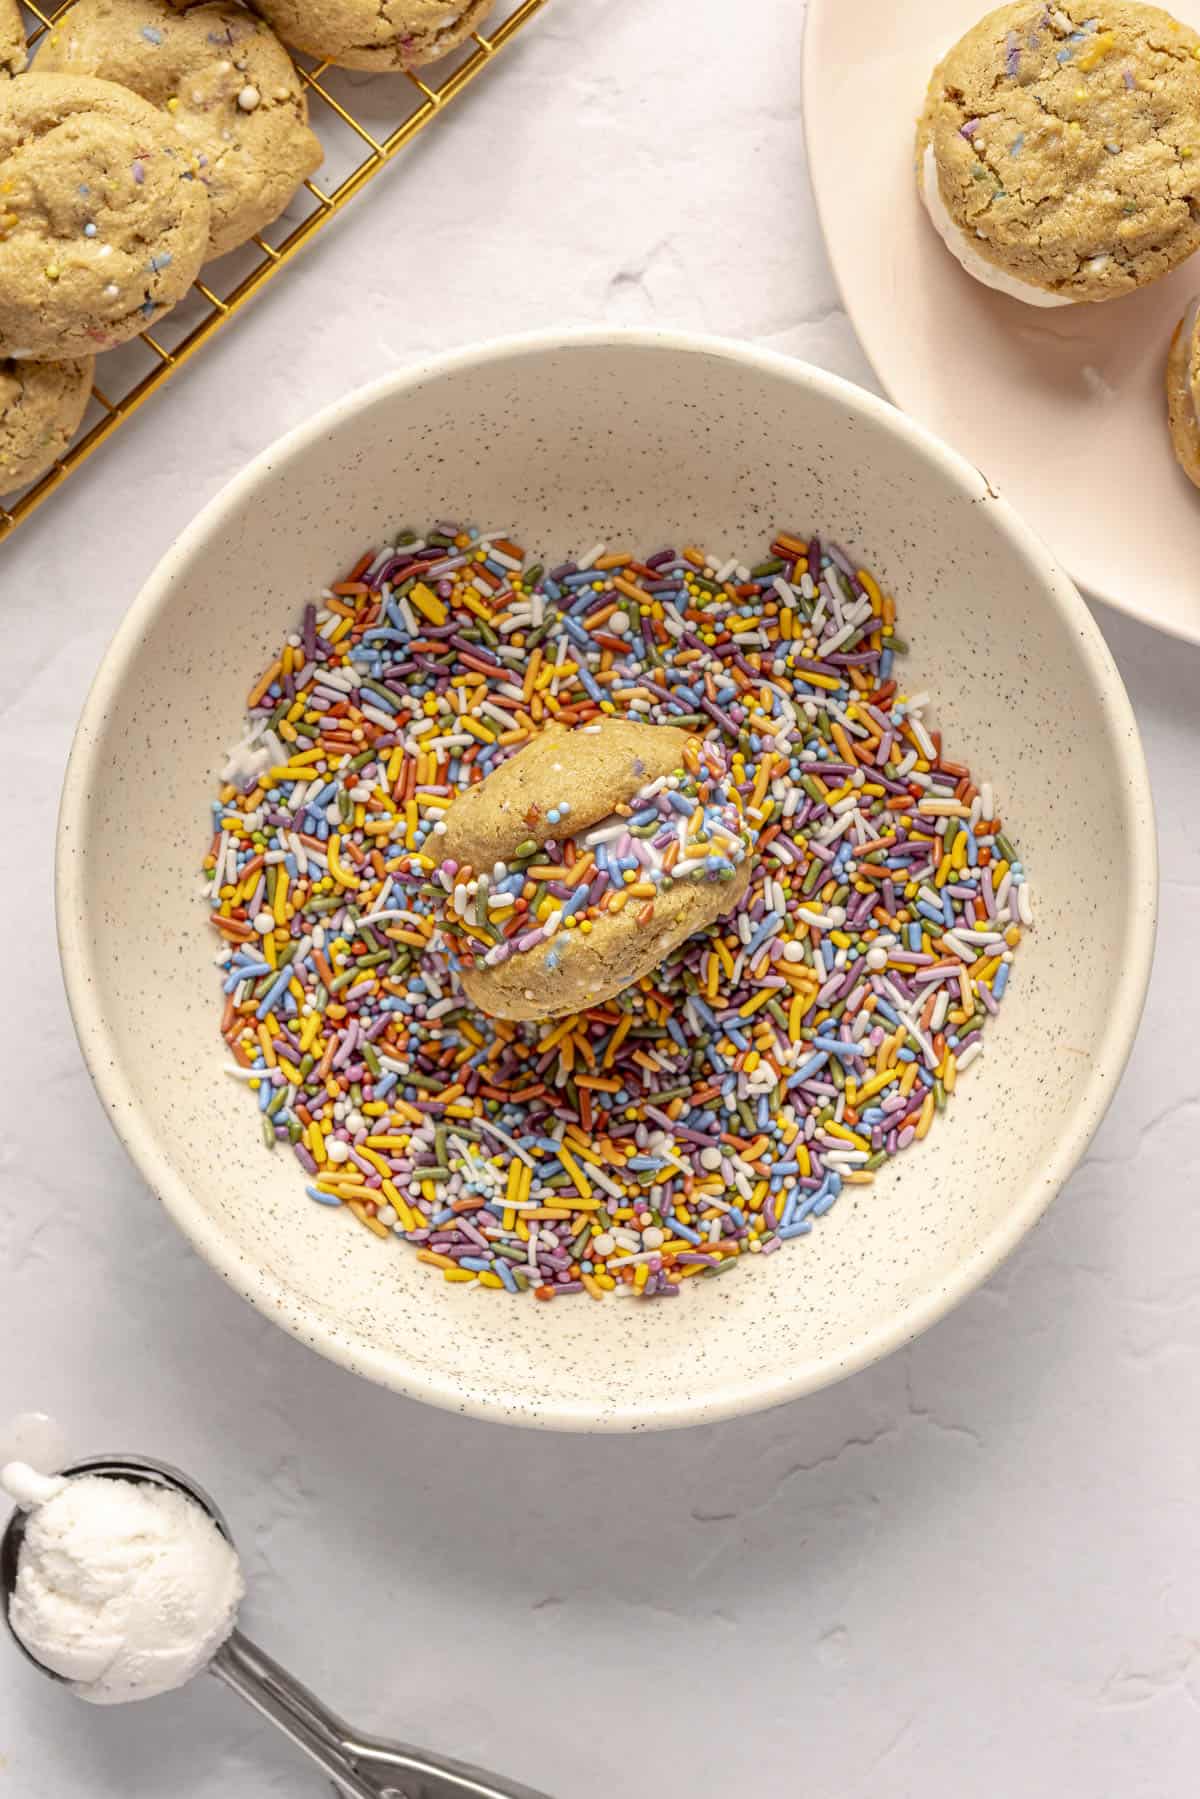
Pour the sprinkles onto a plate.
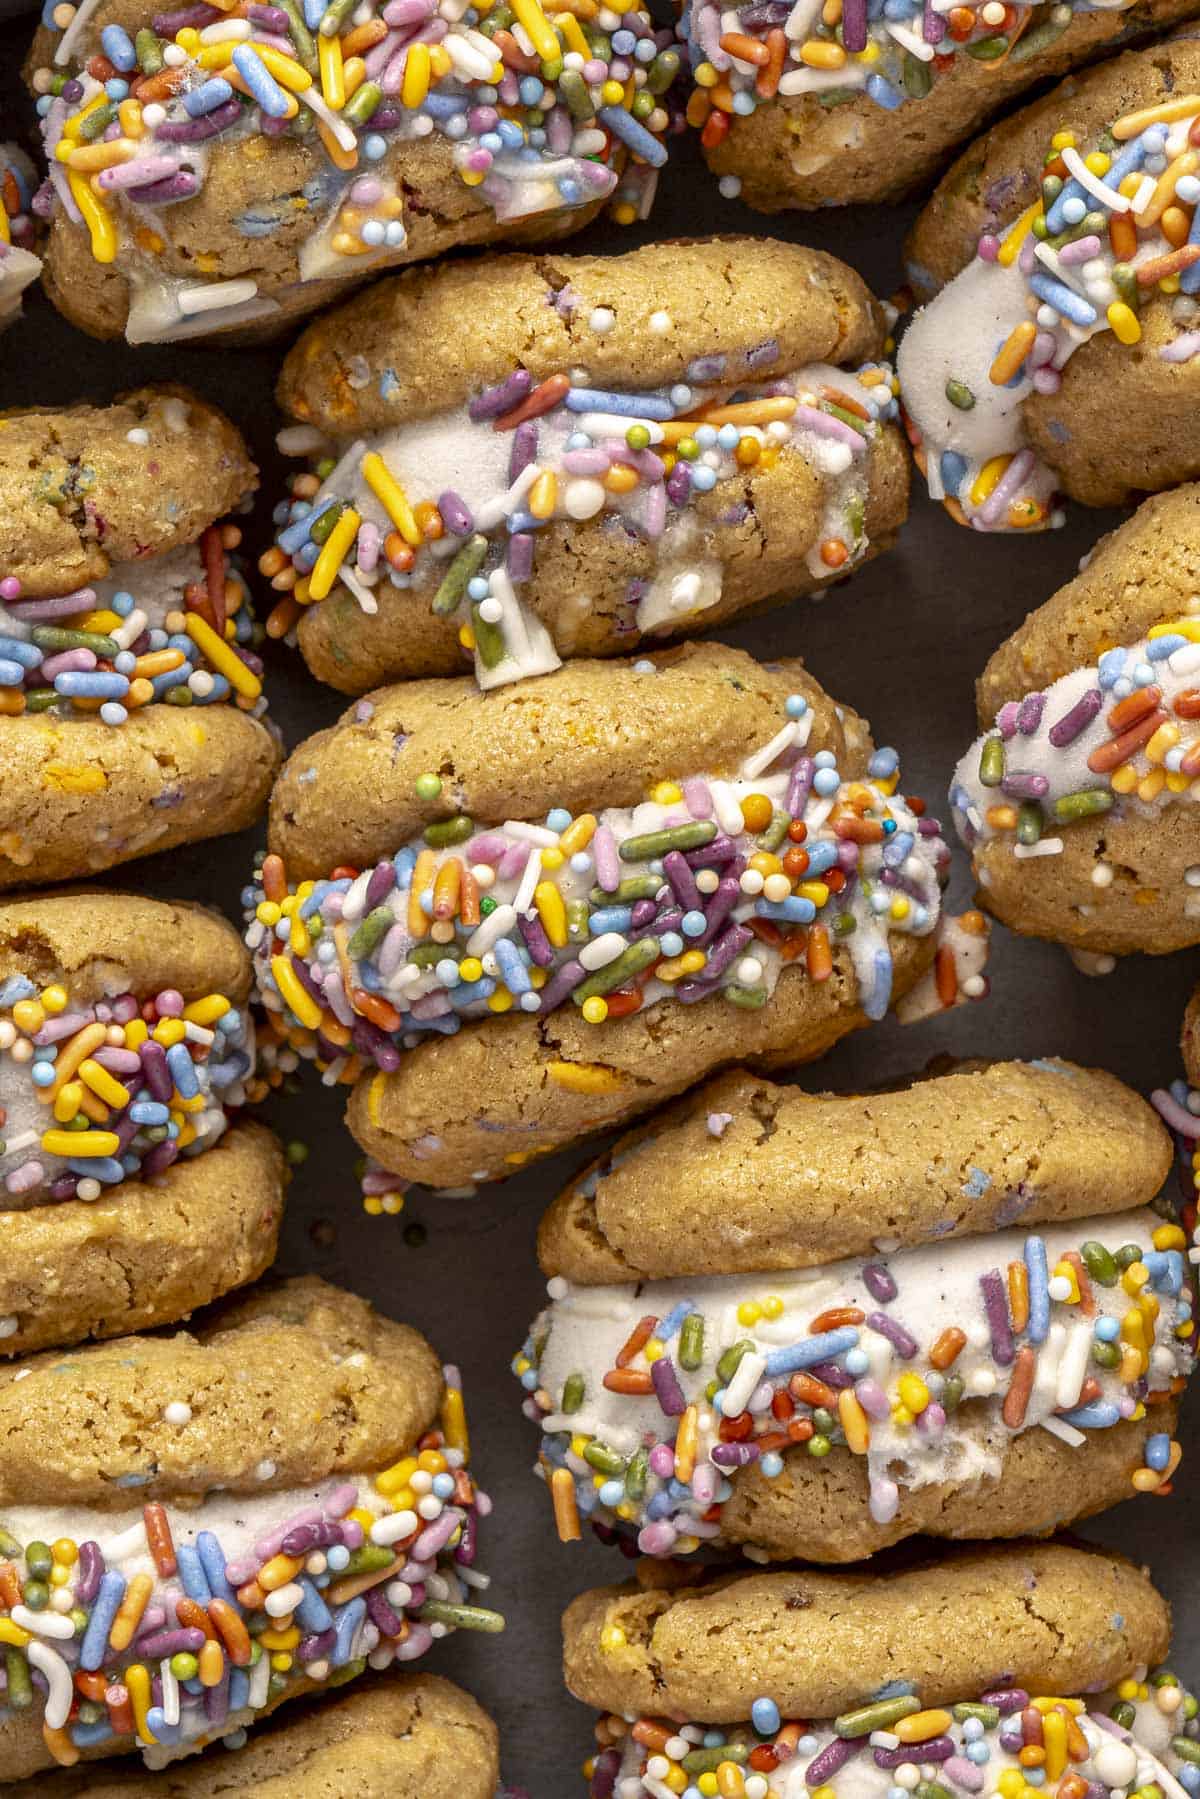
Spoon about 2 tablespoons of vanilla ice cream onto one of the cookies. Gently press the other cookie on top until the ice cream reaches the edges of the cookies.
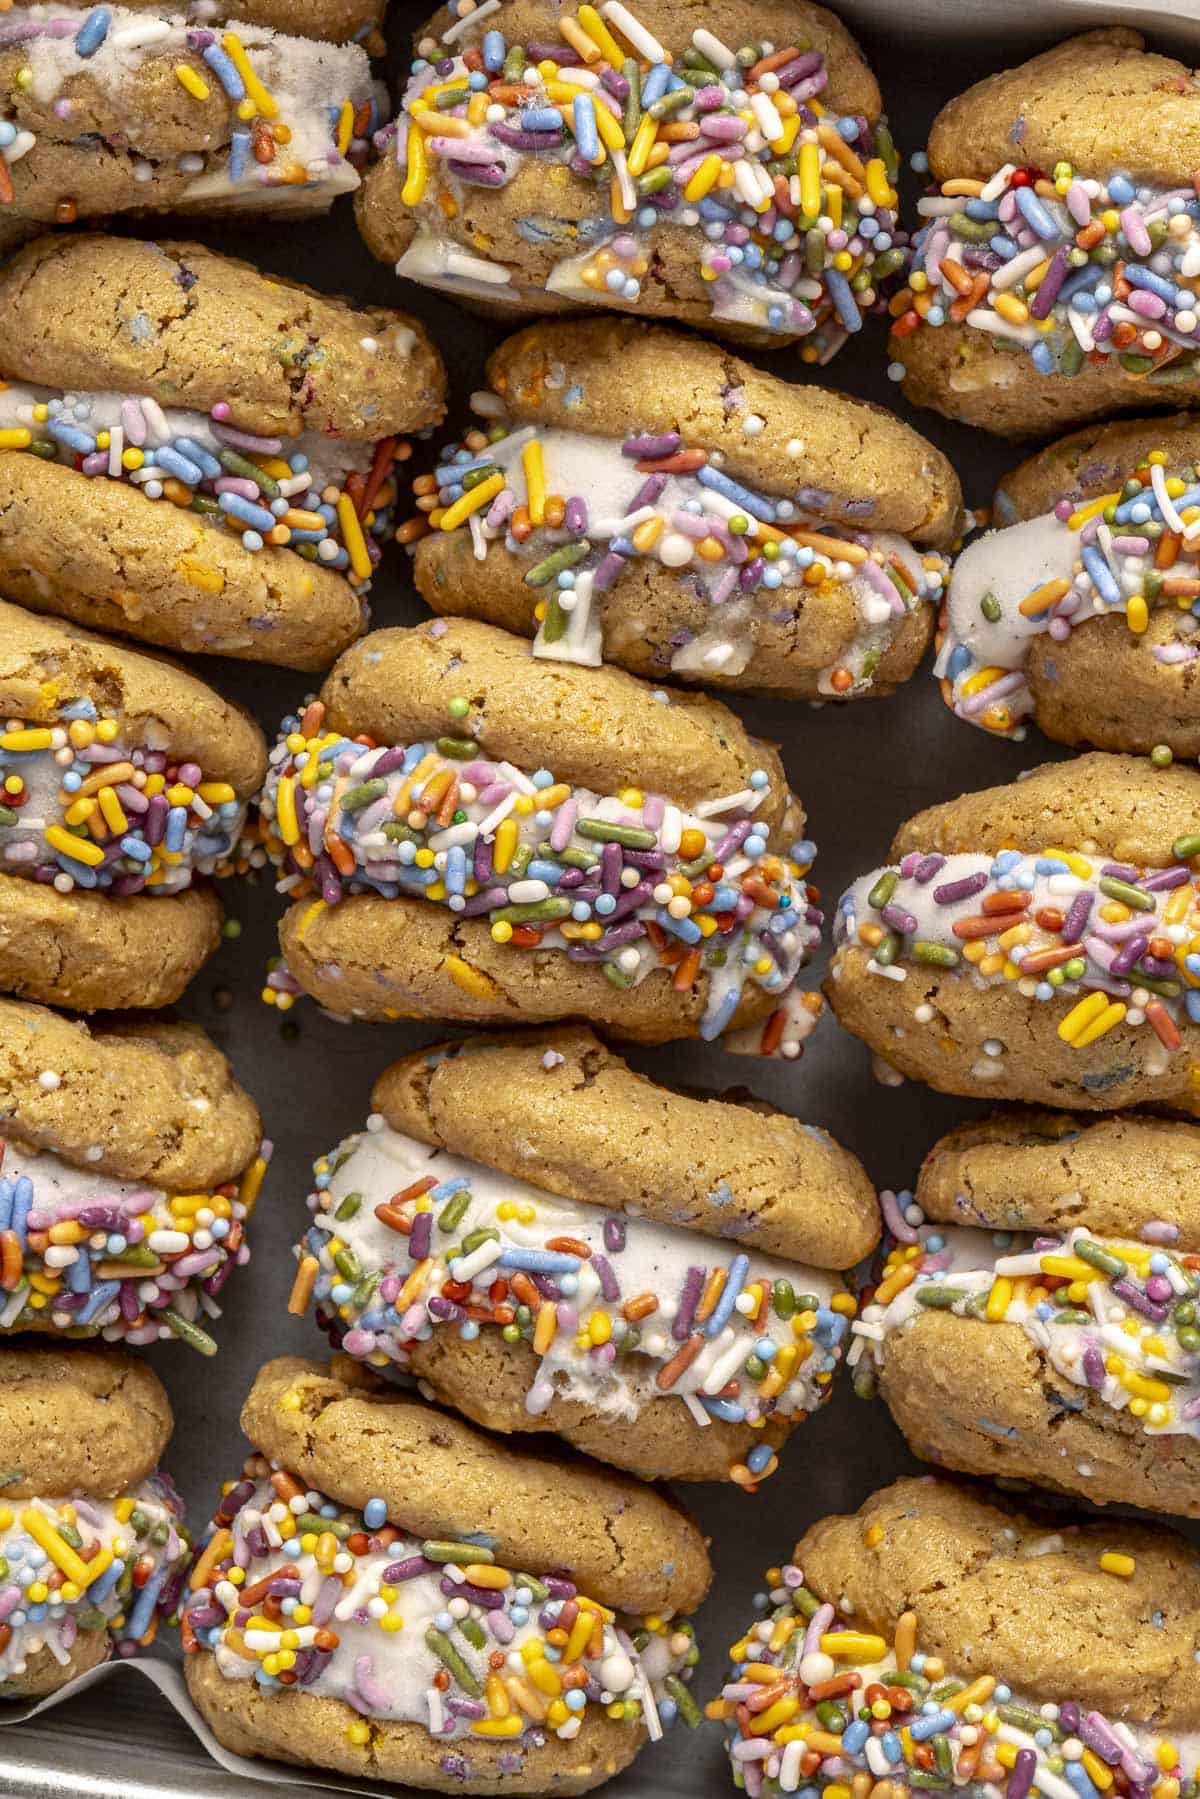
If desired, roll the edges of the assembled cookie sandwiches in the sprinkles and immediately transfer to the freezer. Repeat to make the remaining sandwiches.
Chill for at least 1 hour before serving. Enjoy!
RECIPE SUBSTITUTIONS & QUESTIONS
If you need to customize this recipe, there are plenty of easy swaps. For a gluten version, use all-purpose flour instead of almond flour. Arrowroot starch can be swapped with tapioca or cornstarch, and ghee can be replaced with softened butter if you’re not dairy-free.
Maple syrup can be subbed with another liquid sweetener like honey or agave, while coconut sugar should be swapped with a dry sweetener like maple sugar, date sugar, or brown sugar.
For a vegan option, use a flax egg. And feel free to use any dairy or dairy-free vanilla ice cream—or banana “nice cream” for a lower-sugar twist.
I’ve only made this recipe as-is so far, so let me know if you try any of these swaps and how they turn out! And for all my go-to kitchen and cooking essentials (& more!), shop my Amazon Storefront.
How do you store homemade ice cream sandwiches, and can you make them ahead of time?
Yes! You can bake the cookies in advance and store them at room temperature for up to 2 days, or freeze them for longer. When ready, assemble with dairy-free vanilla ice cream and freeze the sandwiches in an airtight container for up to 1 week. Let them sit at room temp for 5–10 minutes before serving to soften slightly. Perfect for prepping ahead for birthdays, BBQs, or summer treats!
Can I make these ice cream sandwiches full-sized instead of mini?
Yes! While this recipe makes mini ice cream sandwiches using a 1-tablespoon cookie scoop, you can make regular-sized ones by simply using a 2-tablespoon scoop. They’ll be slightly thicker and larger — great for a more classic-style sandwich or serving a crowd.

More Healthy Summer Desserts to Try Next:
One-Ingredient Blood Orange Sorbet
High-Protein Froyo With A Chocolate Shell Topping
Funfetti Birthday Cake Ice Cream Sandwiches

Equipment
- medium + large mixing bowls
- 1-tablespoon cookie scoop
Ingredients
For the Cookies:
- 2 ¼ cups almond flour
- ½ cup arrowroot starch
- 1 teaspoon baking powder
- ½ teaspoon baking soda
- ½ teaspoon kosher salt
- ½ cup ghee, melted and cooled to room temperature (I like 4th & Heart)
- ¼ cup pure maple syrup
- ½ cup coconut sugar
- 1 large egg, room temperature
- 2 teaspoons pure vanilla extract
- ½ teaspoon almond extract
- ½ cup natural sprinkles
To Assemble:
- 2 pints dairy-free vanilla ice cream
- ½ cup natural sprinkles
Instructions
For the Cookies:
- In a medium bowl, add the almond flour, arrowroot starch, baking powder, baking soda, and salt. Whisk to combine. Set aside.
- In a large bowl, add the melted ghee, maple syrup, coconut sugar, egg, vanilla extract, and almond extract. Whisk for 30 seconds until the mixture is smooth and totally combined. Allow to sit for a few minutes before whisking for an additional 30 seconds.
- Add the dry ingredients to the wet. Using a wooden spoon, stir together until just combined. Add the sprinkles and stir to combine, ensuring the sprinkles are evenly distributed.
- Line two cookie sheets with parchment paper. Using a 1-tablespoon cookie scoop, portion the dough into 38-40 balls, placing them on one of the prepared cookie sheets. Transfer to the freezer for 20 minutes to chill.
- Preheat the oven to 350°F.
- Remove the cookie dough from the freezer and place 8-10 cookies onto the other prepared baking sheet, leaving about 2 inches of space between. Bake on the middle rack for 8 to 9 minutes. The cookies will be soft in the middle and crisp on the edges.
- Allow the cookies to cool on the sheet before transferring to a cooling rack. Repeat until all the cookies are baked. Allow to fully cool before assembling.
To Assemble:
- Pour the sprinkles onto a plate.
- Spoon about 2 tablespoons of vanilla ice cream onto one of the cookies. Gently press the other cookie on top until the ice cream reaches the edges of the cookies.
- If desired, roll the edges of the assembled cookie sandwiches in the sprinkles and immediately transfer to the freezer. Repeat to make the remaining sandwiches.
- Chill for at least 1 hour before serving. Enjoy!
Notes
- Swap almond flour for all-purpose flour for a traditional gluten version.
- Replace arrowroot starch with tapioca starch or cornstarch if needed.
- Use softened butter instead of ghee if not dairy-free.
- Substitute maple syrup with another liquid sweetener like honey or agave syrup.
- Substitute coconut sugar with a dry sweetener like maple sugar, date sugar, or brown sugar (if not refined sugar-free).
- For egg-free or vegan, use a flax egg (1 tbsp ground flaxseed + 3 tbsp water).
- Use any dairy or dairy-free vanilla ice cream, or try frozen banana “nice cream” for a lower-sugar option.
Bake cookies up to 2 days in advance (store at room temp or freeze). Once assembled, freeze sandwiches in an airtight container for up to 1 week. Let sit at room temp 5–10 minutes before serving.


These are adorable! What brand of ice cream and sprinkles did you use?
I personally like Watkins dye-free sprinkles and ice cream brands I like: Ice Cream For Bears & Van Leeuwen 🙂 Anything with minimal ingredients
Made these this past weekend for a summer bbq. They were a huge hit, I’ll definitely make again!
Cute but have been done for the past ten years or maybe more from clean-eating food bloggers. For the life of me, I can’t understand how you could be on the New York Times bestseller list. You must know someone or have an inside connection because your recipes are nothing extraordinary and there are many other clean-eating food bloggers who have done incredible, gourmet things far beyond yours. You’re just an elementary, average ‘neighbor next door’ health girl vibe, that’s all.
She has plenty of people who love her recipes. If you don’t, cool, but why feel the need to be a b*tch? Move on with your life and keep your hate to yourself; there’s no reason to attack people over a difference of opinion, let alone a recipe🙄
Dani,
One word of advise… Eat a sandwich before you Jump on the internet.
We love her content! It’s relatable to the every day average Joe just trying to keep our heads above water. NOT everything needs to be “gourmet” in order for the recipe to slap. We love the elementary, average ‘neighbour next door’ health girl vibe… girl…….BYEEEEEEEE
Used red and blue supernatural sprinkles for a fun 4th of July treat. Everyone loved them! My little and I did skip the sprinkles in the cookie batter and instead opted to sprinkle a smaller amount on top before baking.
Oh my I am sure that was adorable!! I am so happy you had a good turnout and everyone liked them! 😊
Rachel do you know anything about dairy free cookies?? Thanks #1 fan