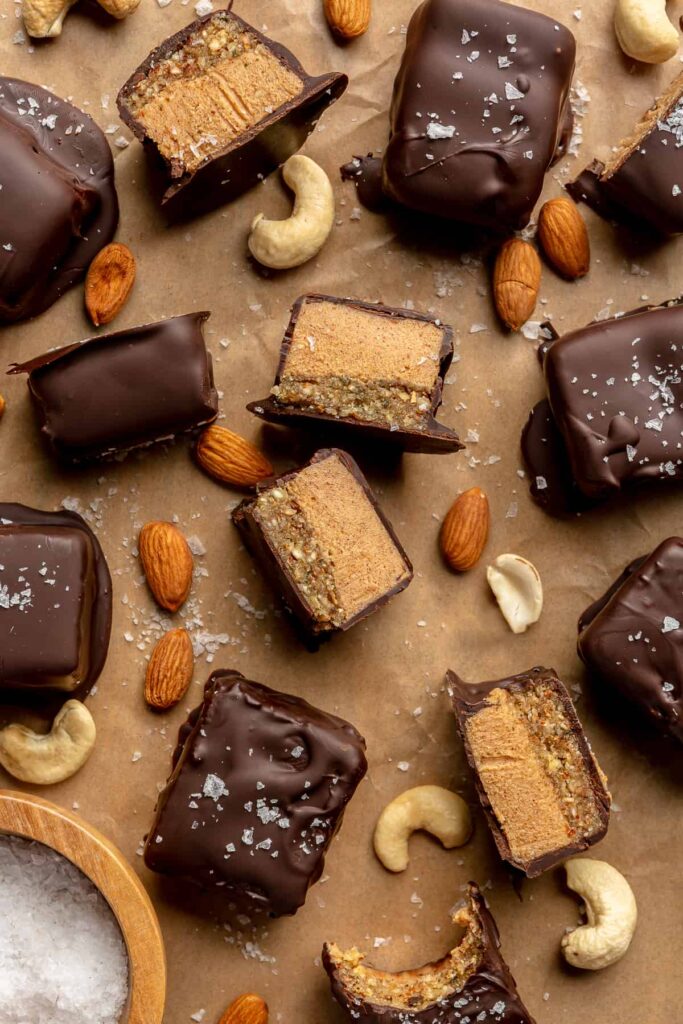
It’s time to bring back Mars Bars. Who’s with me?
I recently rediscovered my Raw Mars Bars when I noticed they were one of the most shared recipes from my site. So, I knew I had to revamp this post. The recipe is still the same deliciously decadent one that we all know and love, but it was time to update the pics to really do this sweet treat justice.
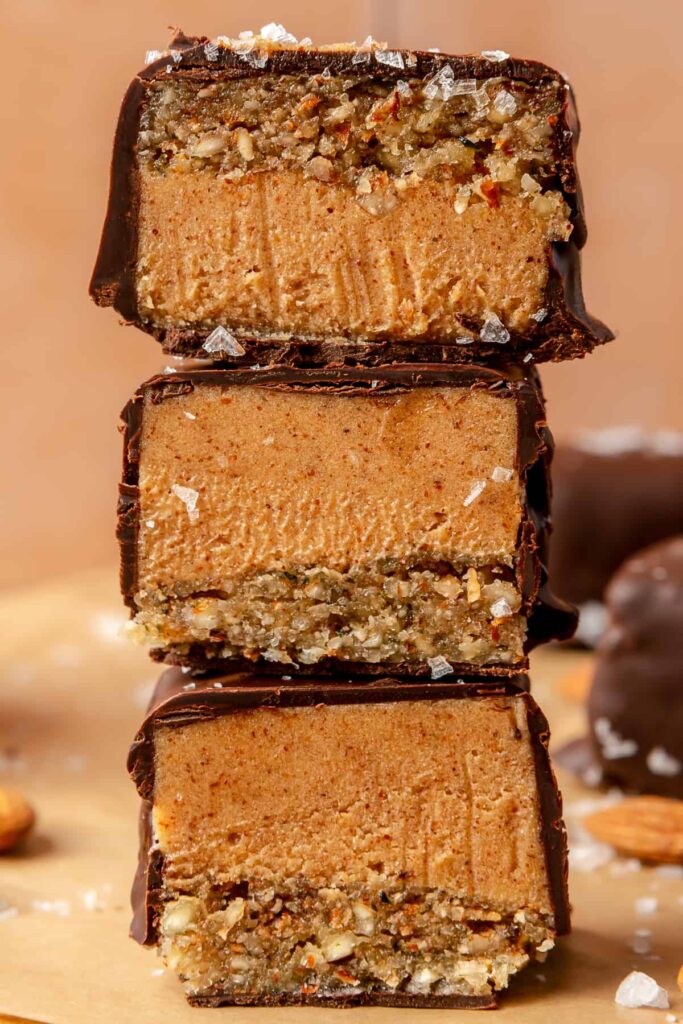
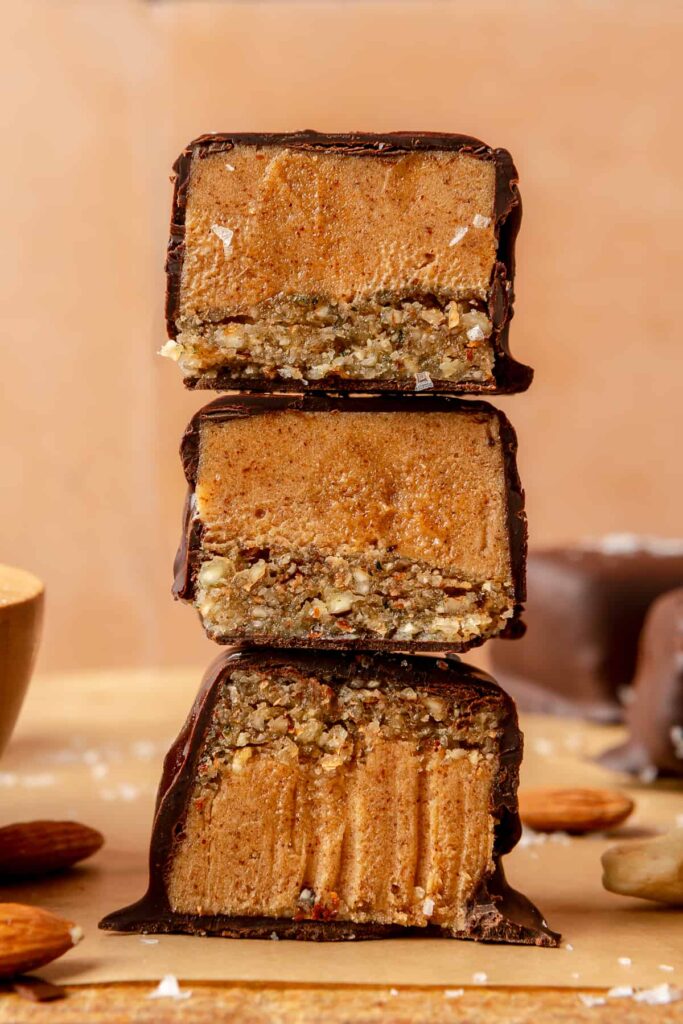
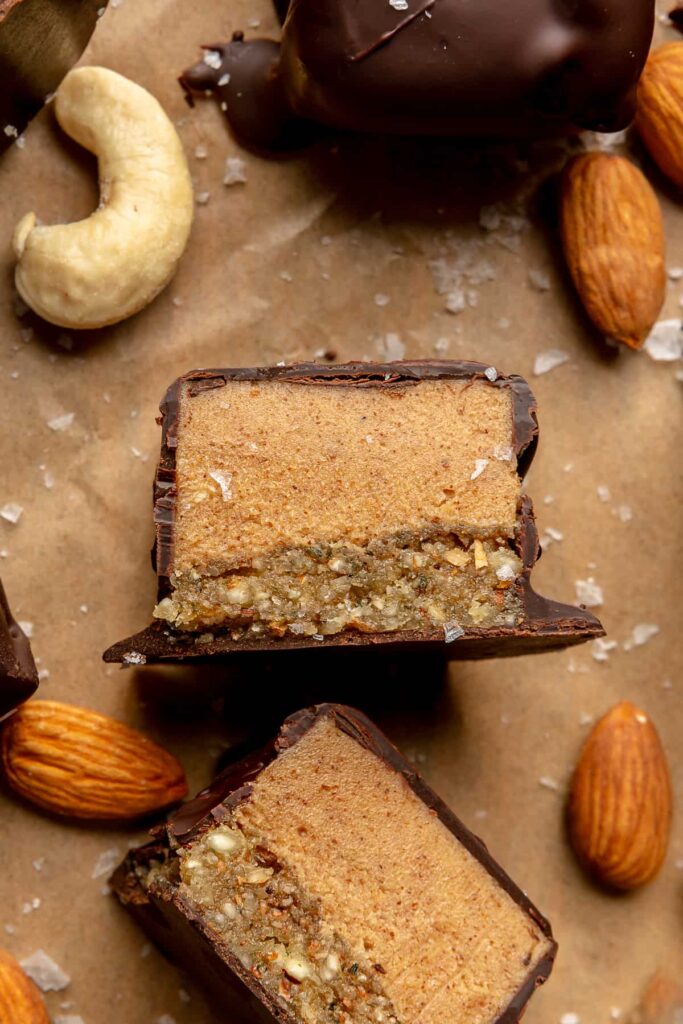
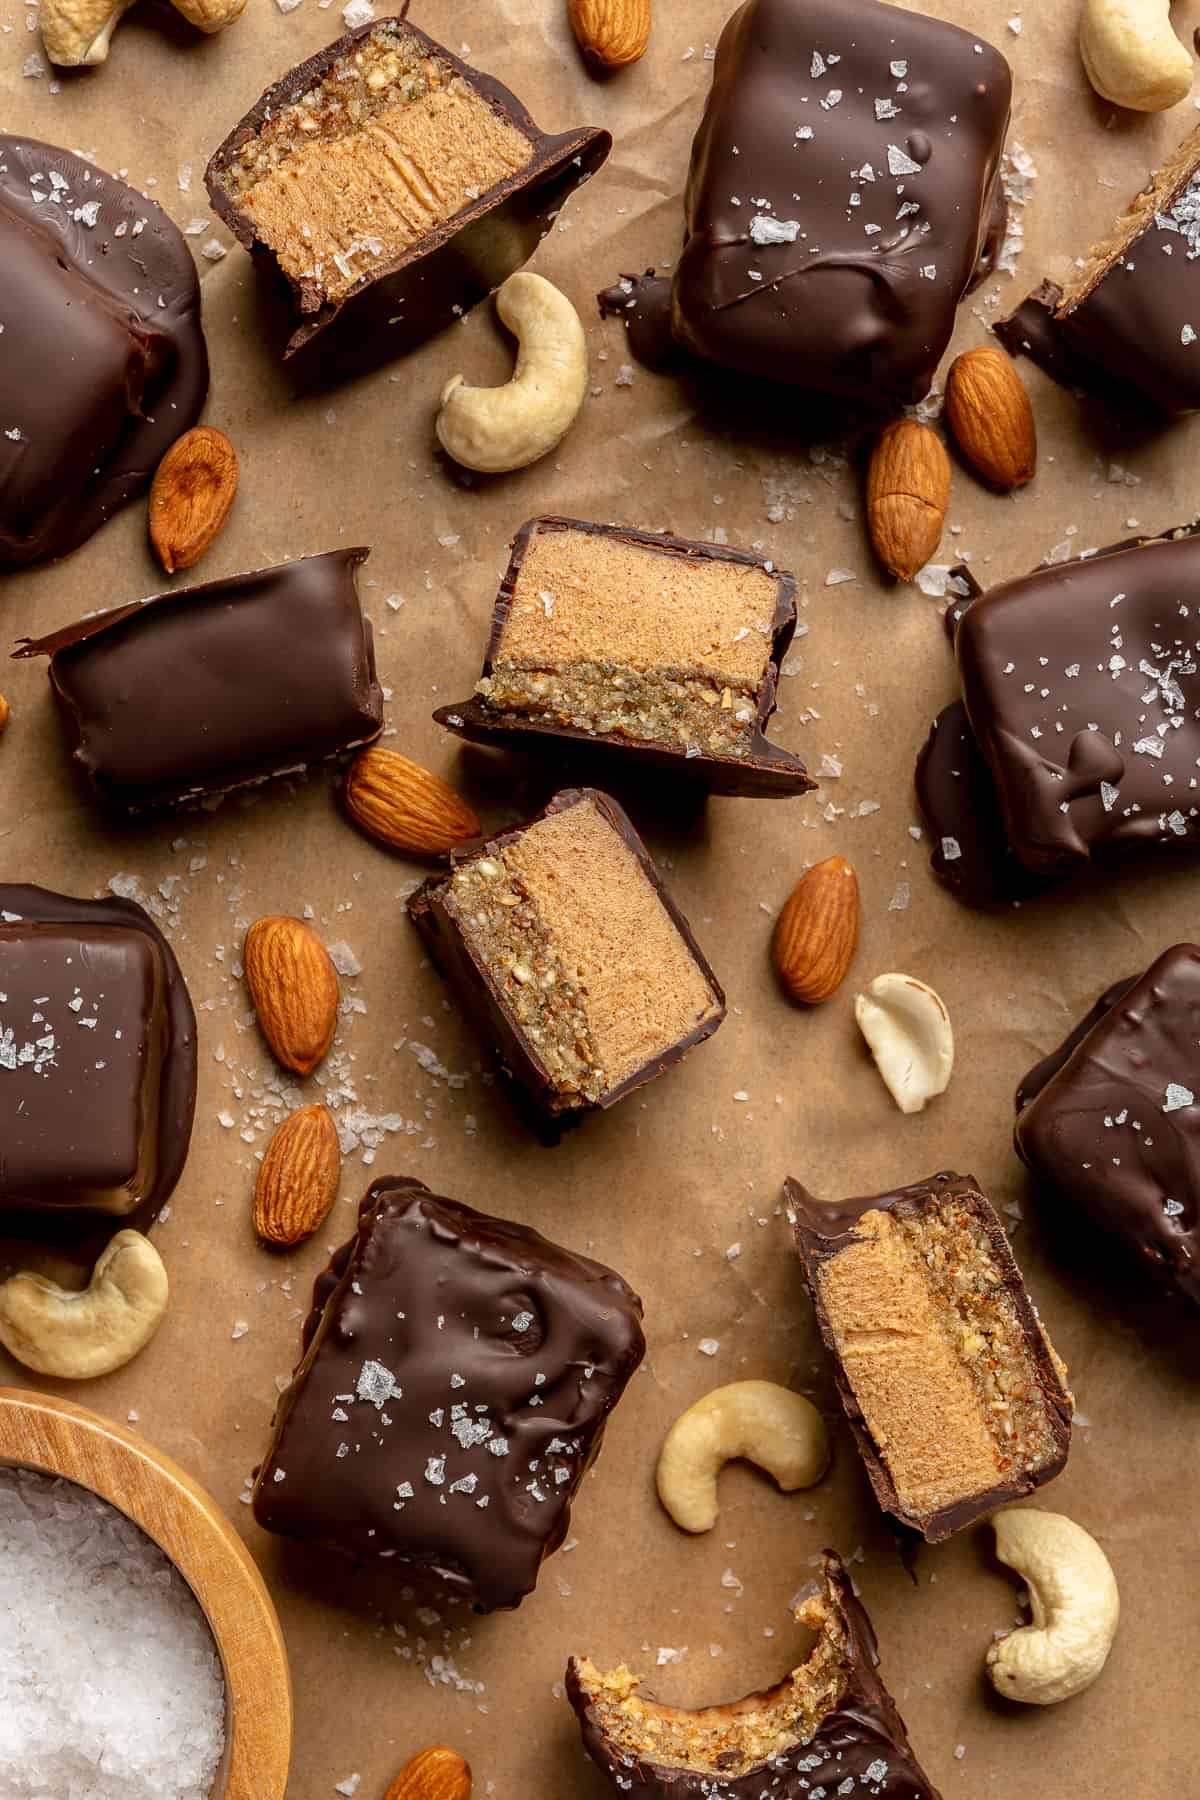
I mean, just look at those layers of chocolatey, nut-buttery goodness.
HEALTHY AND WHOLESOME INSPIRATION
I was so inspired when I traveled to Australia in 2018. It was a trip of a lifetime, but one thing that really stuck with me was how fresh, healthy and wholesome all of the food was.
And so many places offered raw desserts made with tons of nourishing ingredients. I still can’t get over it!
To indulge in all the crazy-good treats knowing they’re also nutrient-packed is a major win.
Probably my favorite café we visited was Serotonin Dealer in Melbourne. These Raw Mars Bars are inspired from a treat I had there and I’ll never forget it. I was even lucky enough to meet the girl who owned the place. So many great memories!
In case you’re headed down under anytime soon, my travel guide can be found here + trip recap can be found here (keep in mind these are from 2018, lol).
RAW MARS BARS BLISS
To know me is to know I love sweets. If you have my cookbook, Rachael’s Good Eats, you might have noticed the ‘Sweets’ section is one of the longest chapters in there (it’s also a NYT bestseller; I think I’m still in shock over that!).
Even more-so, I love putting my spin on all the dessert and candy classics by using better-for-you ingredients. Hence my obsession with all the Australian goodies.
I get it can be tough to crack the code on reading food labels, especially here in the U.S. (check out my post on My Top 3 Tips For Reading Labels) – but when in doubt, I like to bring it back to the basics of real, whole foods. And that includes dessert.
Let’s start with the base of my Raw Mars Bars. Almonds and cashews are rich in protein, fiber and healthy fats. They also contain a variety of vitamins and minerals, like vitamin E and magnesium.
Cinnamon is great for blood sugar balance and contains antioxidant and anti-inflammatory properties, and hemp seeds provide about 10 grams of plant protein in every 3 tablespoons.
Naturally sweetened with maple syrup, the base and filling alone have me drooling. But how can we call this a candy bar remake without a dark chocolate coating topped with flakey sea salt? Pure bliss.
A NOSTALGIC, NO-BAKE TREAT
Aside from being a gluten-free, refined sugar-free candy bar remake that’s made with minimal, real food ingredients, the best part about this unreal tasting treat is there’s no baking involved.
It takes a little bit of time from start to finish, but that’s only because it needs to set in the freezer. Beyond worth it though!
These Raw Mars Bars are a bite of heaven + nostalgia for me, and it makes me so happy to see how much they’ve been shared over the years since I first posted them.
I hope you get a chance to make these soon and love them just as much as I do!
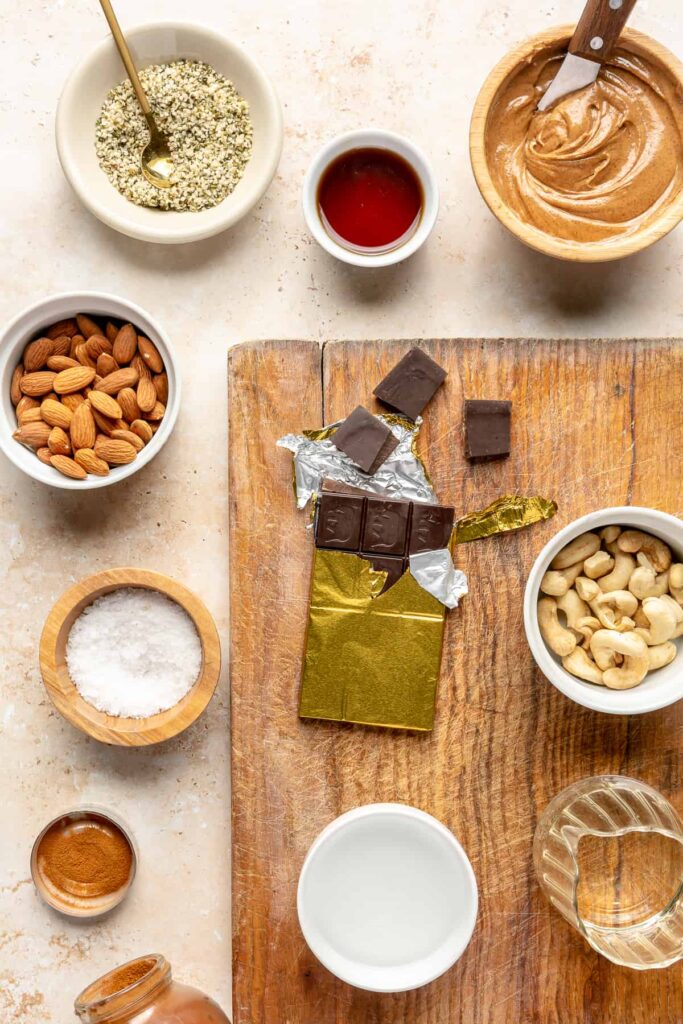
INGREDIENTS YOU’LL NEED:
Base:
- Almonds
- Cashews
- Hemp seeds, (optional, but so nutritious! Suggestions for subs below)
- Maple syrup
- Filtered water
- Cinnamon
- Pinch sea salt
Filling:
- Almond butter
- Melted coconut oil
- Maple syrup
- Filtered water
Chocolate Coating:
- Chocolate bar, melted (I used @evolvedchocolate Signature Dark Chocolate Bar)
- Melted coconut oil
- Flakey sea salt (I like Maldon)
HOW TO MAKE MY RAW MARS BARS
Base and Filling
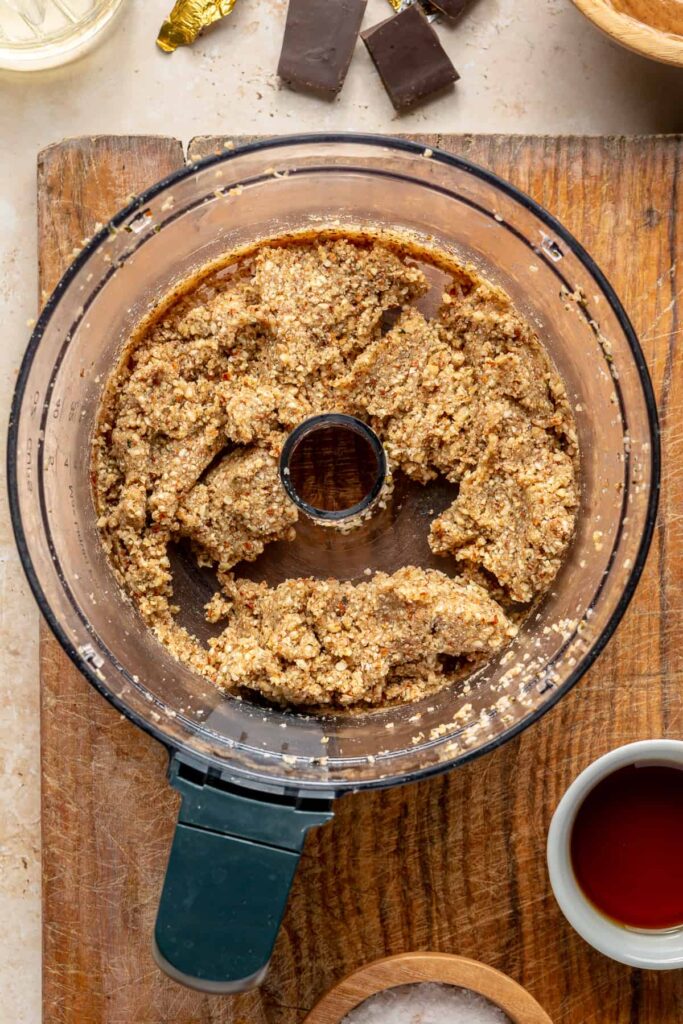
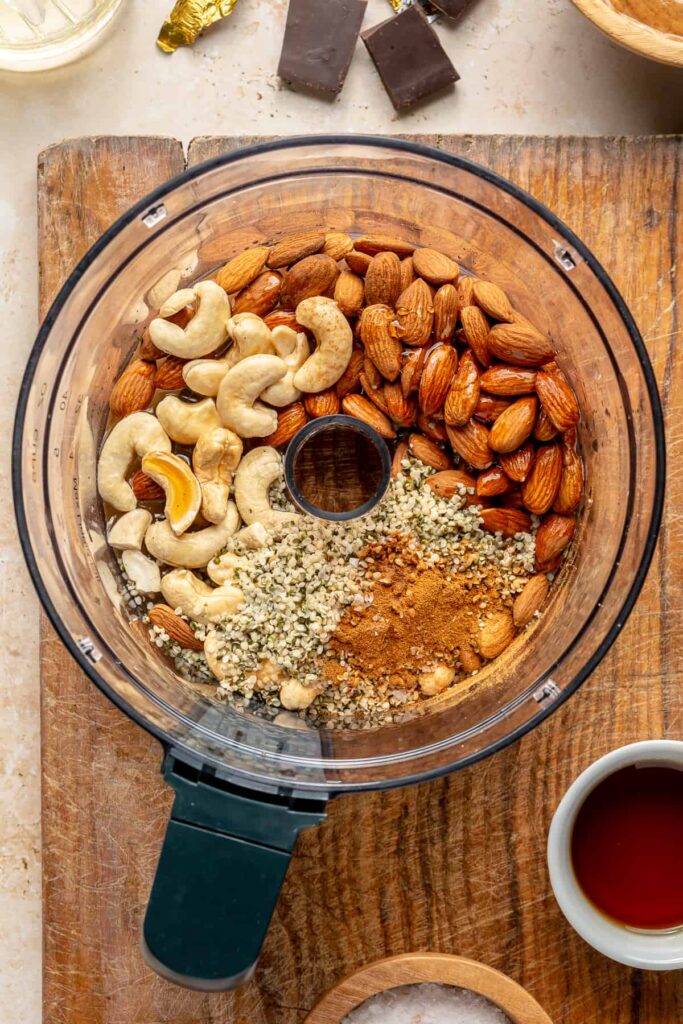
In a food processor, pulse together all base ingredients until it reaches a dough-like consistency.
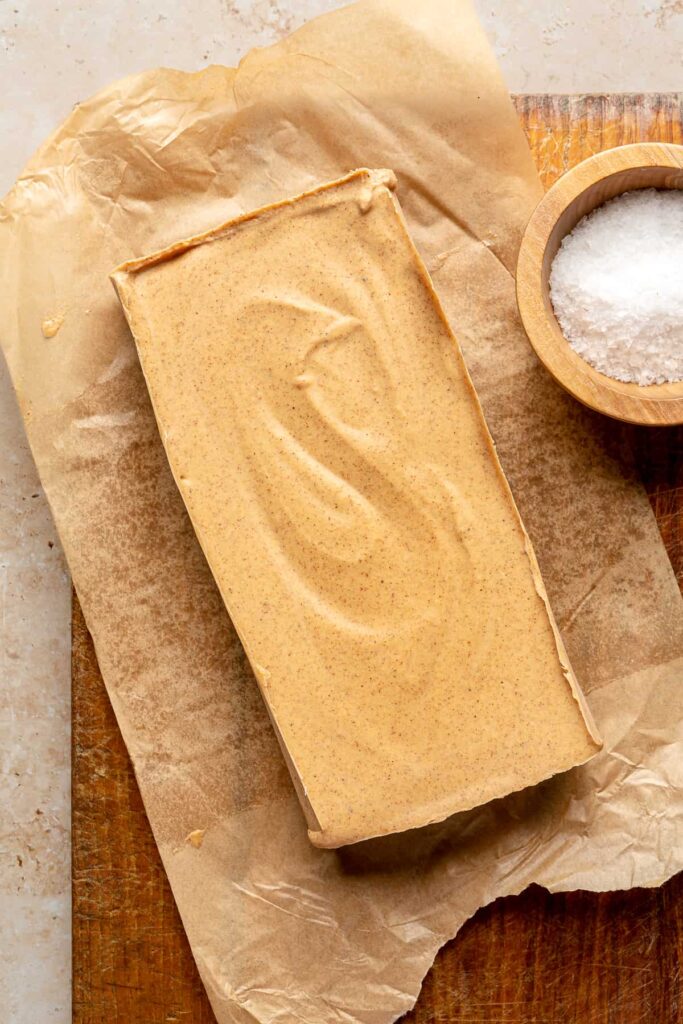
Press dough-like base into bottom of parchment paper-covered loaf tin and freeze for 10 minutes while you make the filling.
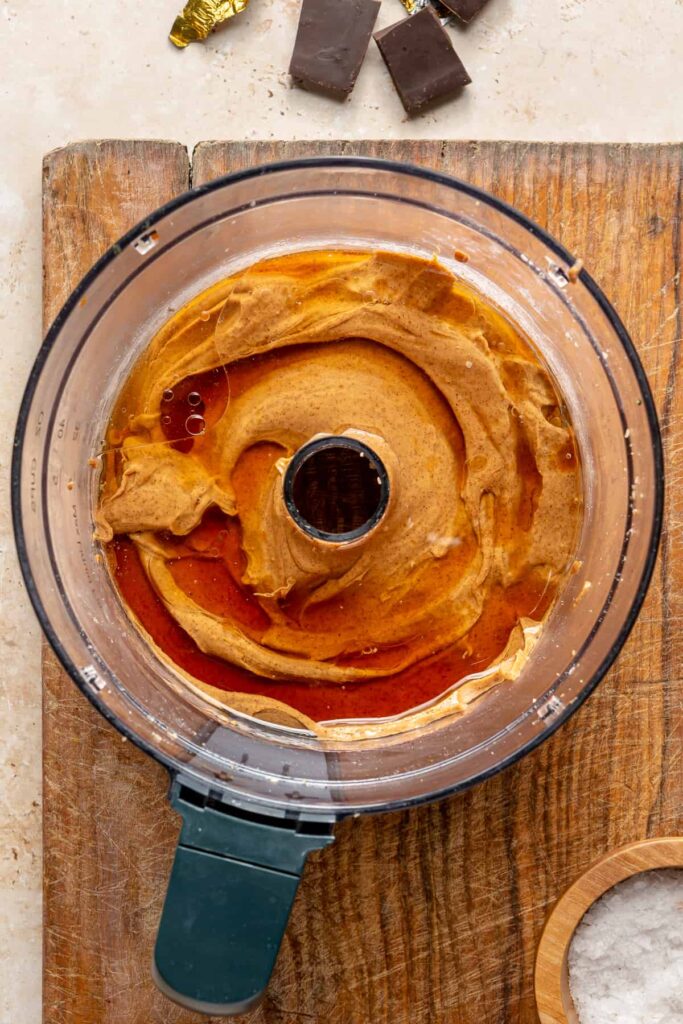
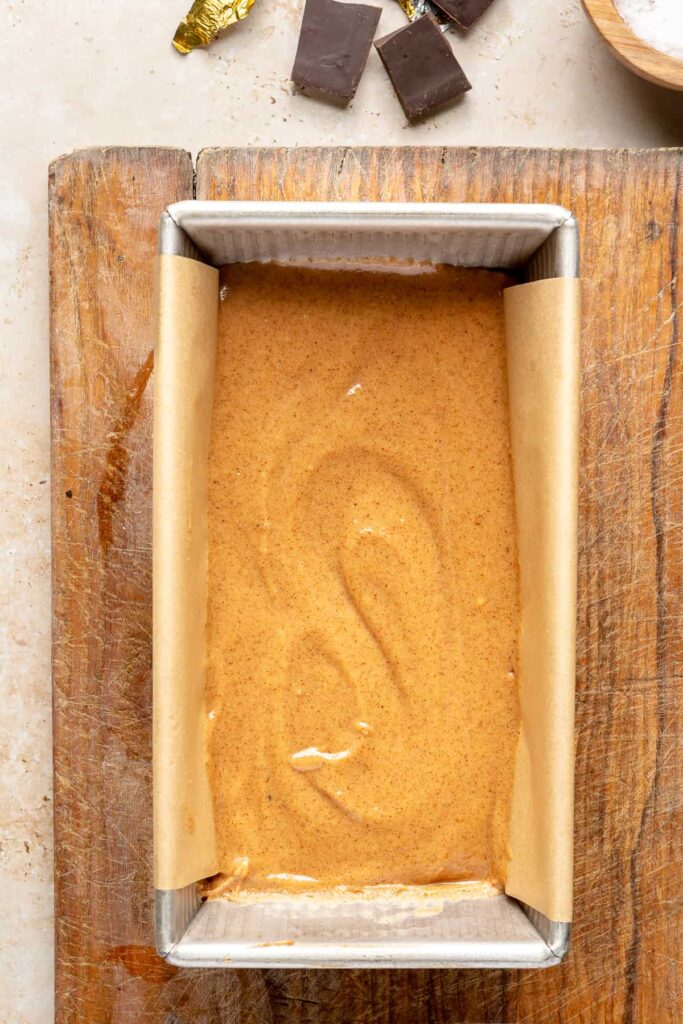
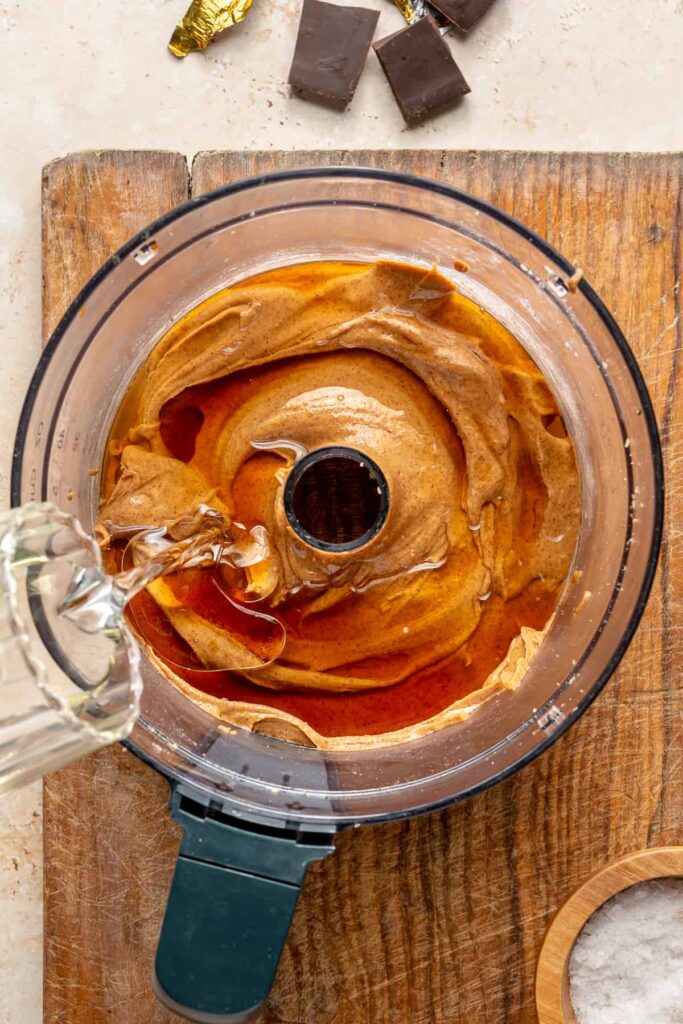
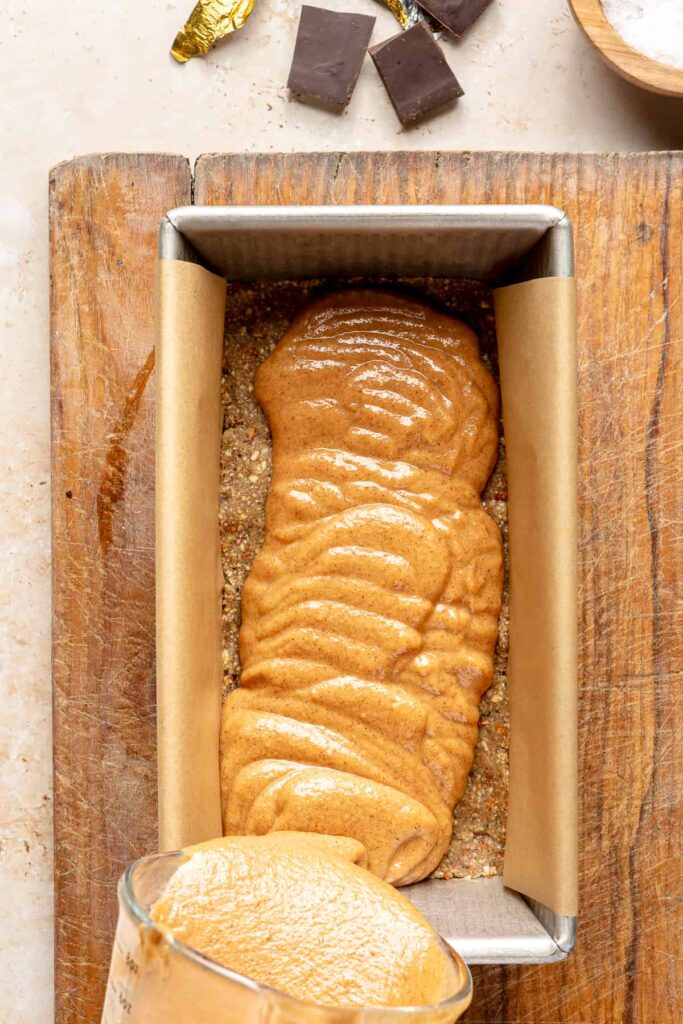
In same food processor, pulse together all filling ingredients. Pour filling over the top of the chilled base and freeze once more for about 1-2 hours, or until firm.
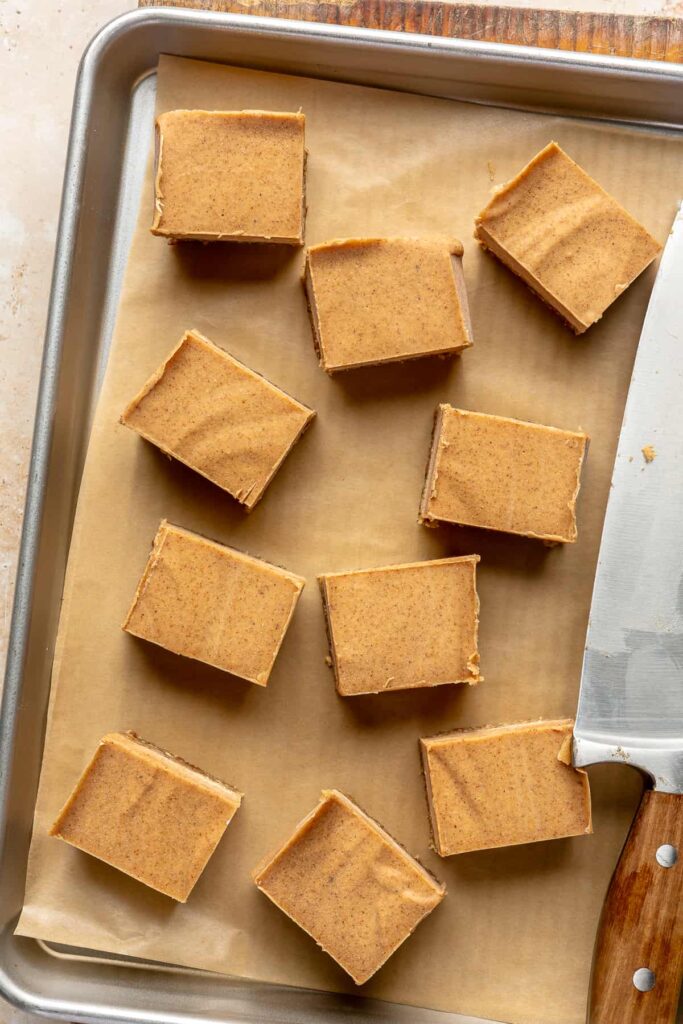
Once firm, remove from loaf tin, place on cutting board and use a knife to cut into rectangles (or desired shape/size).
Chocolate Coating
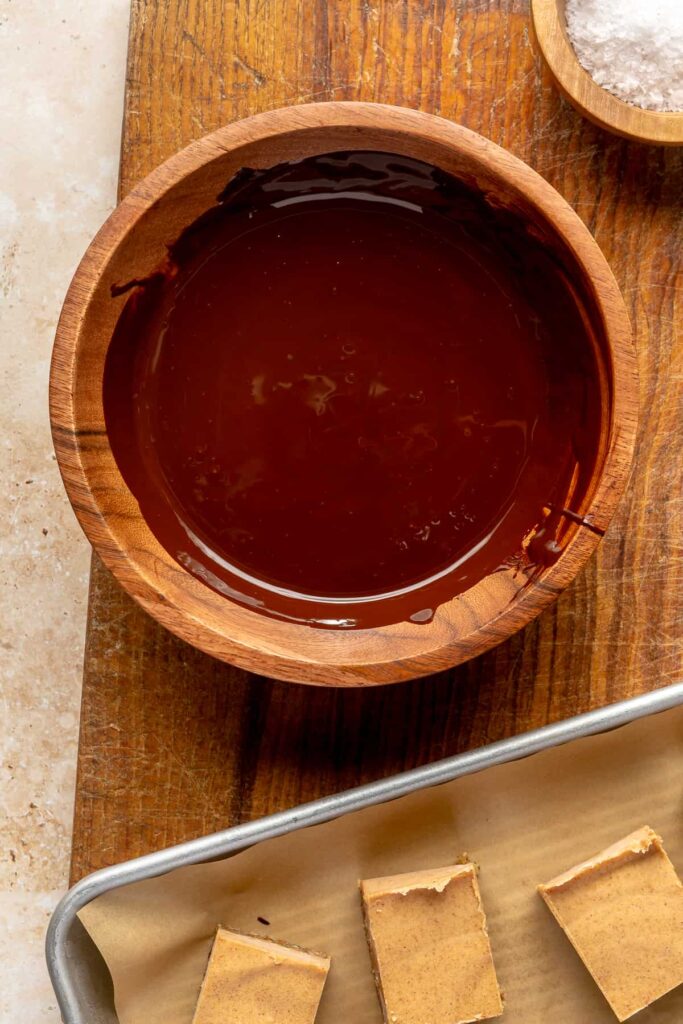
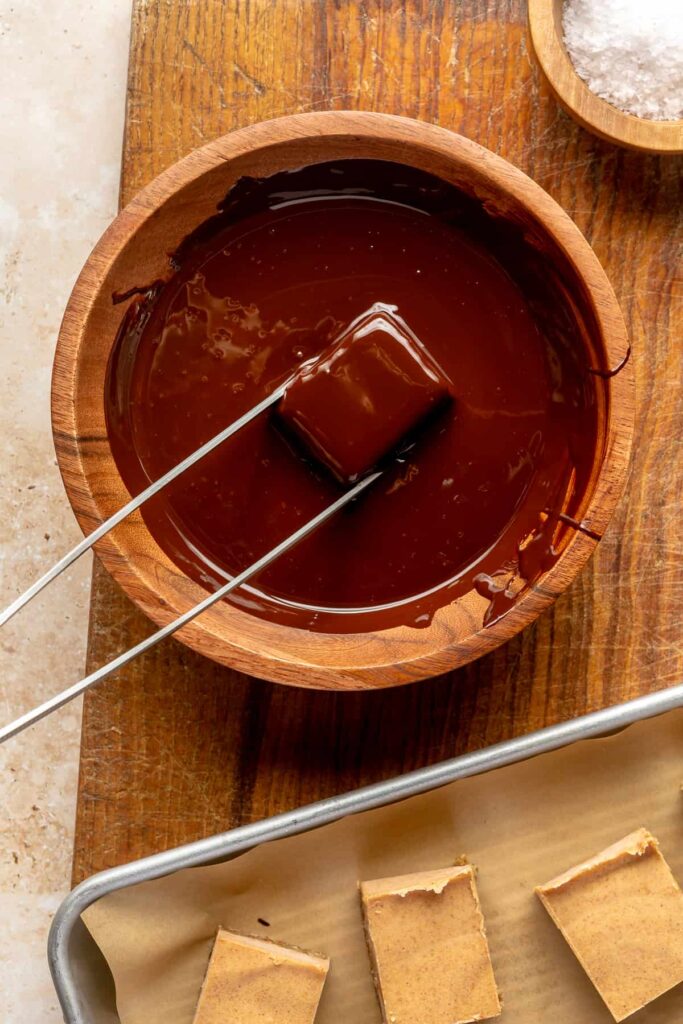
Break up your chocolate bar of choice into a medium bowl and add coconut oil. Melt together by warming in the microwave for 30 second intervals, stirring in between, until completely liquified. You could also heat the chocolate + coconut oil over the stove, if preferred.
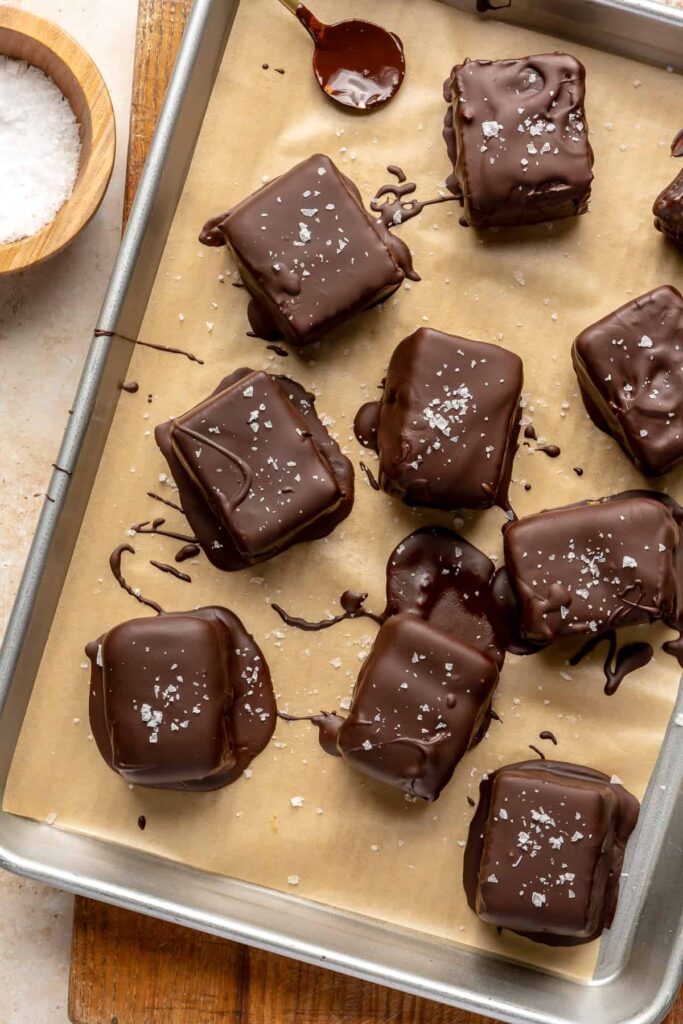
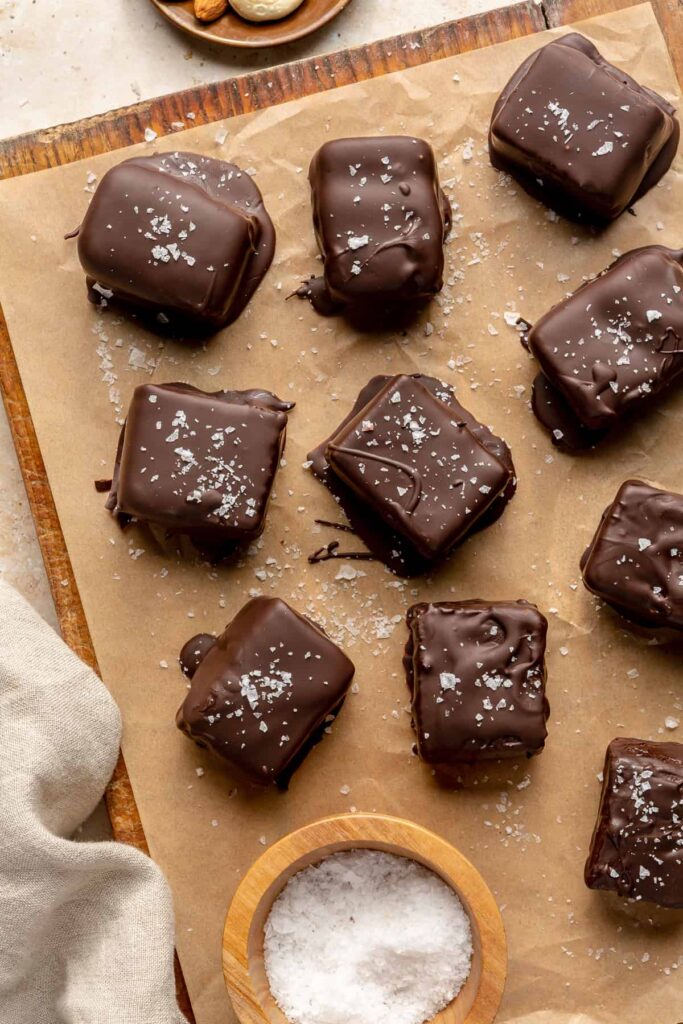
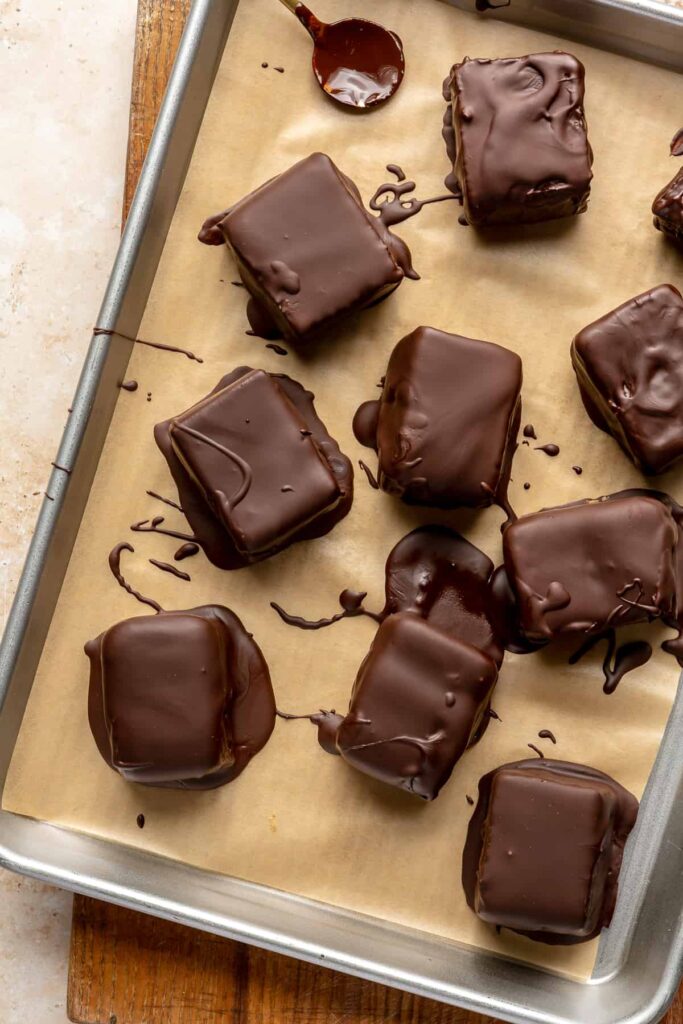
Dip each bar into melted chocolate until fully covered. Place fully-coated bars on a parchment paper-covered baking sheet (or freezer-safe plate) and place back into the freezer to harden, about 10-15 minutes.
Serve and Store
Remove from freezer, sprinkle sea salt over top and enjoy.
Store in airtight container in freezer for up to 6 months, if they last that long!
RECIPE SUBSTITUTIONS & QUESTIONS
I love these Raw Mars Bars as is, and haven’t tried them any other way, but there are definitely a few swaps you can make based on preference or whatever you may already have in your pantry.
For the base, instead of using a 1/2 cup each of almonds and cashews, you could do 1 cup of either, and/or could sub in peanuts. Walnuts or even pine nuts could be a good swap for the cashews, and Brazil nuts might also work in place of the almonds.
Hemp seeds are optional, but worth it for the nutritional boost, in my opinion. However, feel free to add ground flaxseed in their place. You can also omit the cinnamon if preferred.
Peanut butter instead of almond butter could work in the filling, just make sure it pairs well with any nut subs you go for in the base layer. Honey should also work in place of the maple syrup.
Melted butter, olive or avocado oil can generally be used as a coconut oil replacement. And feel free to use your favorite chocolate bar for the coating (milk or dark, baker’s choice!).
All in all, feel free to get a little creative. Let me know if you try any subs that turn out good!
WHAT IS IN THE MIDDLE OF A MARS BAR?
In the regular candy bar version of Mars Bars, there are mostly sugar-based ingredients that make up the nougat and caramel base and filling.
Since my recipe is for Raw Mars Bars, each of these layers are made using real, whole food ingredients like nuts, nut butters and maple syrup that will more naturally satisfy your sweet tooth.
IS THERE A TRICK TO MELTING CHOCOLATE?
While there’s no one trick per se, I prefer and typically recommend to add coconut oil (or some form of shortening like butter, olive or avocado oil) to chocolate whether melting over the stove or in the microwave.
Doing so gives the chocolate a nice, shiny, glossy look and helps it to melt more smoothly. It also helps to give the chocolate that liquid-like consistency which is great for dipping, drizzling and coating.
SHOP THIS RECIPE
LOOKING FOR MORE BETTER-FOR-YOU TREATS AND CANDY BAR REMAKE RECIPES?
Copycat Reese’s Peanut Butter Cups

Raw Mars Bars (GF, DF, Grain-Free and Refined Sugar-Free)
Equipment
- Food processor
- loaf tin
- baking sheet
Ingredients
Base
- 1/2 cup almonds
- 1/2 cup cashews
- 3 tablespoon hemp seeds, (optional, can sub with ground flaxseed)
- 1 tablespoon maple syrup
- 2 tablespoon filtered water
- 1/4 teaspoon cinnamon
- Pinch sea salt
Filling
- 3/4 cup almond butter
- 1/2 cup melted coconut oil
- 2 1/2 tbsp maple syrup
- 1/4 cup filtered water
Chocolate Coating
- 3/4 chocolate bar, melted, (I used Evolved Chocolate – Signature Dark Chocolate Bar)
- 1 teaspoon melted coconut oil
- Pinch flakey sea salt, (I like Maldon)
Instructions
Base and Filling
- In a food processor, pulse together all base ingredients until it reaches a dough-like consistency.
- Press dough-like base into bottom of parchment paper-covered loaf tin and freeze for 10 minutes while you make the filling.
- In same food processor, pulse together all filling ingredients. Pour filling over the top of the chilled base and freeze once more for about 1-2 hours, or until firm.
- Once firm, remove from loaf tin, place on cutting board and use a knife to cut into rectangles (or desired shape/size).
Chocolate Coating
- Break up your chocolate bar of choice into a medium bowl and add coconut oil. Melt together by warming in the microwave for 30 second intervals, stirring in between, until completely liquified. You could also heat the chocolate + coconut oil over the stove, if preferred.
- Dip each bar into melted chocolate until fully covered. Place fully-coated bars on a parchment paper-covered baking sheet (or freezer-safe plate) and place back into the freezer to harden, about 10-15 minutes.
Serve and Store
- Remove from freezer, sprinkle sea salt over top and enjoy.
- Store in airtight container in freezer for up to 6 months, if they last that long!





Wow. This was absolutely fabulous. I made a double batch last week and everyone who tried it loved it.
Thanks
Did you use raw almonds/cashews or roasted?
You could honestly do either 🙂 I believe I just did raw.
Hi there – I wanted to make these while I am on holiday with my family but don’t think the place we have hired has a freezer. Will the base still solidify in the fridge? Or does it need a freezer.
Thanks!
Unfortunately, they need a freezer! 🙁
So, so good! Keep these as a snack in my fridge and am bringing to all the potlucks this season!
Just made these for the first time – subbed walnuts for the cashews because they were on hand! Curious as to how long they last in the freezer?! SO GOOD, great recipe!!! Xoxo
I’m so glad you loved them!!! 🙂 One of my favorites, for sure. They definitely last a good while in the freezer if they’re stored in an airtight container. I would say up to 2 months.
Would you mind posting the nutritional information for this recipe? Thank you!
Unfortunately, my approach isn’t to focus on the numbers, but instead, the nutrients! <3
Oh man these were incredible !
So glad you loved!! xx
Whoa, girl. These blew my mind. Super easy to make and so tasty! Thank you for sharing!!!
I just had one myself! 😉
So glad you love them!